lead bays
The Lead Lads | Technical Leadwork Guides

Lead Bays

The complete guide to lead bays and lead bay window roofs, covering rolled lead sheet, lead codes, timber rolls, drips, welts, bay sizing, thermal movement, construction, common defects, repairs and recognised leadwork standards.

Lead bays are among the most recognisable features of traditional British architecture and remain one of the finest applications of rolled lead sheet. Whether protecting a Victorian bay window, a contemporary extension or a listed building, successful leadwork depends on thoughtful design, correct detailing and skilled craftsmanship rather than simply selecting the appropriate lead code.

This technical guide explains how professional lead bays are designed, constructed and maintained, helping homeowners, architects, surveyors, contractors and property professionals understand the principles that underpin long-lasting lead roofing.

Lead Bay Projects Ultimate Lead Roofing Guide Get a Leadwork Quote
The Lead Lads Technical Guide

Understanding Lead Bays and Bay Window Roofs

Traditional craftsmanship supported by modern technical guidance.

Lead bays are among the most technically demanding applications of rolled lead sheet. Although relatively modest in size, they must accommodate thermal movement, rainfall, structural interfaces, drainage, expansion and architectural detailing whilst maintaining complete weather resistance.

A professionally constructed lead bay roof is considerably more sophisticated than a sheet of lead fixed over timber. Every component, from the supporting deck and separation layer to the timber rolls, drips, welts and flashings, contributes to the overall performance of the roof.

Many of the failures encountered on older bay roofs—including fatigue cracking, splitting, distorted sheets, failed drips and leaking junctions—are not caused by the lead itself. They are usually the consequence of poor detailing, incorrect bay dimensions, unsuitable substrates or insufficient allowance for thermal movement.

Throughout this guide we explore every stage of professional lead bay construction, from selecting the appropriate rolled lead sheet through to understanding bay sizing, welding, maintenance and long-term performance. Along the way you’ll also find links to our wider technical resources, including the Ultimate Lead Roofing Guide, our Leadwork Standards Library, completed Lead Roofing Projects and technical products available through The Lead Shop.

Whether you are specifying a new lead bay roof, repairing an existing installation or simply seeking a better understanding of traditional leadwork, this guide provides an accessible introduction to one of roofing’s most respected specialist crafts.

Explore Lead Roofing Projects

What Are Lead Bays?

A lead bay is a roof covering formed using rolled lead sheet over a projecting bay window, entrance canopy or similar architectural feature. Unlike tiled or slated coverings, lead bays rely upon continuous support beneath the sheet and carefully detailed junctions that allow the material to expand and contract naturally throughout its service life.

Lead bays have been used throughout Britain for centuries and remain synonymous with high-quality construction. They are particularly common on Victorian and Edwardian properties, Georgian townhouses, churches, listed buildings and premium residential developments, where their durability and refined appearance complement traditional architecture.

One of lead’s greatest strengths is its ability to form complex roof geometry without sacrificing weather resistance. Curved bays, faceted projections, decorative entrance roofs and bespoke architectural features can all be formed using rolled lead sheet, provided recognised detailing principles are followed.

Although lead bays often appear relatively straightforward, successful installations depend upon careful consideration of substrate design, drainage, timber rolls, drips, welts, secret fixings, flashings and thermal movement. Simply increasing the thickness of the lead cannot compensate for poor detailing or incorrect construction.

Where Are Lead Bays Commonly Used?

  • Victorian bay window roofs.
  • Edwardian projecting bays.
  • Georgian architectural features.
  • Listed buildings and conservation projects.
  • Modern glazed extensions.
  • Entrance canopies.
  • Curved and segmented bay roofs.
  • Oriel windows.
  • Architectural feature roofs.
  • Premium residential developments.

Lead bays frequently integrate with adjoining lead dormers, lead flashings, lead gutters, parapet details and other specialist weathering components to create a complete, durable roofing system.

Understanding how these individual elements work together is fundamental to producing lead bays capable of performing reliably for generations.

Traditional Lead Bay Roofs

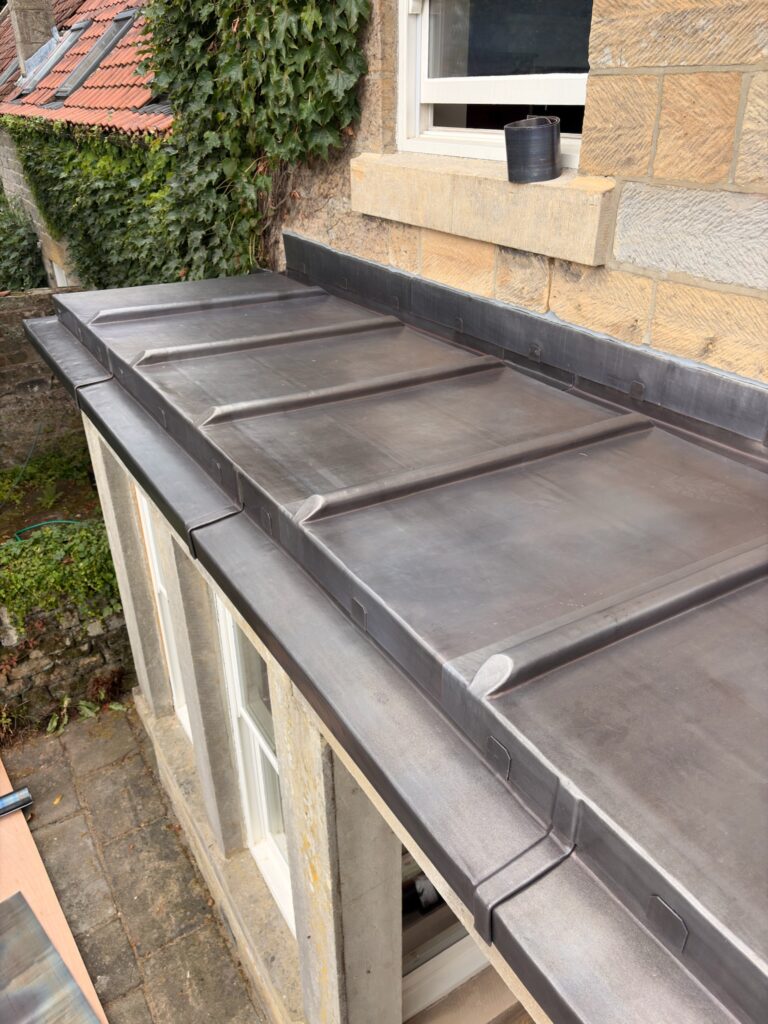
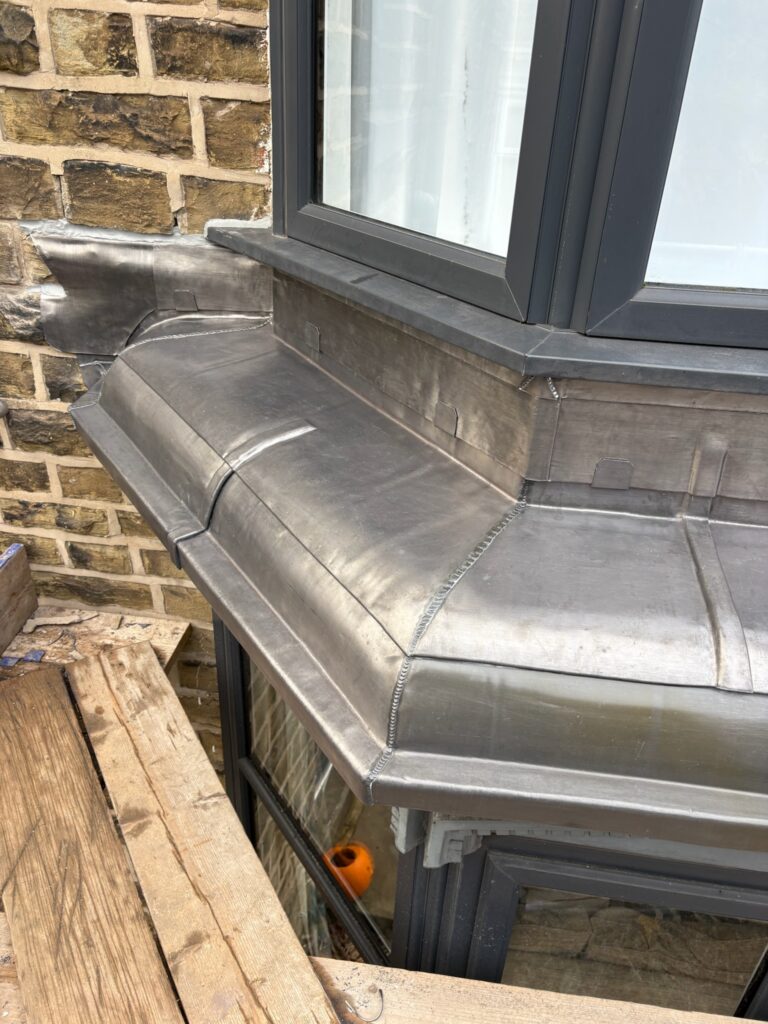
Traditional lead bays remain one of the defining features of Victorian, Edwardian and Georgian architecture. Constructed using rolled lead sheet over a fully supported timber deck, these roofs combine durability with elegant architectural detailing. Properly designed bays allow the lead to move naturally while protecting the building from water ingress for many decades.

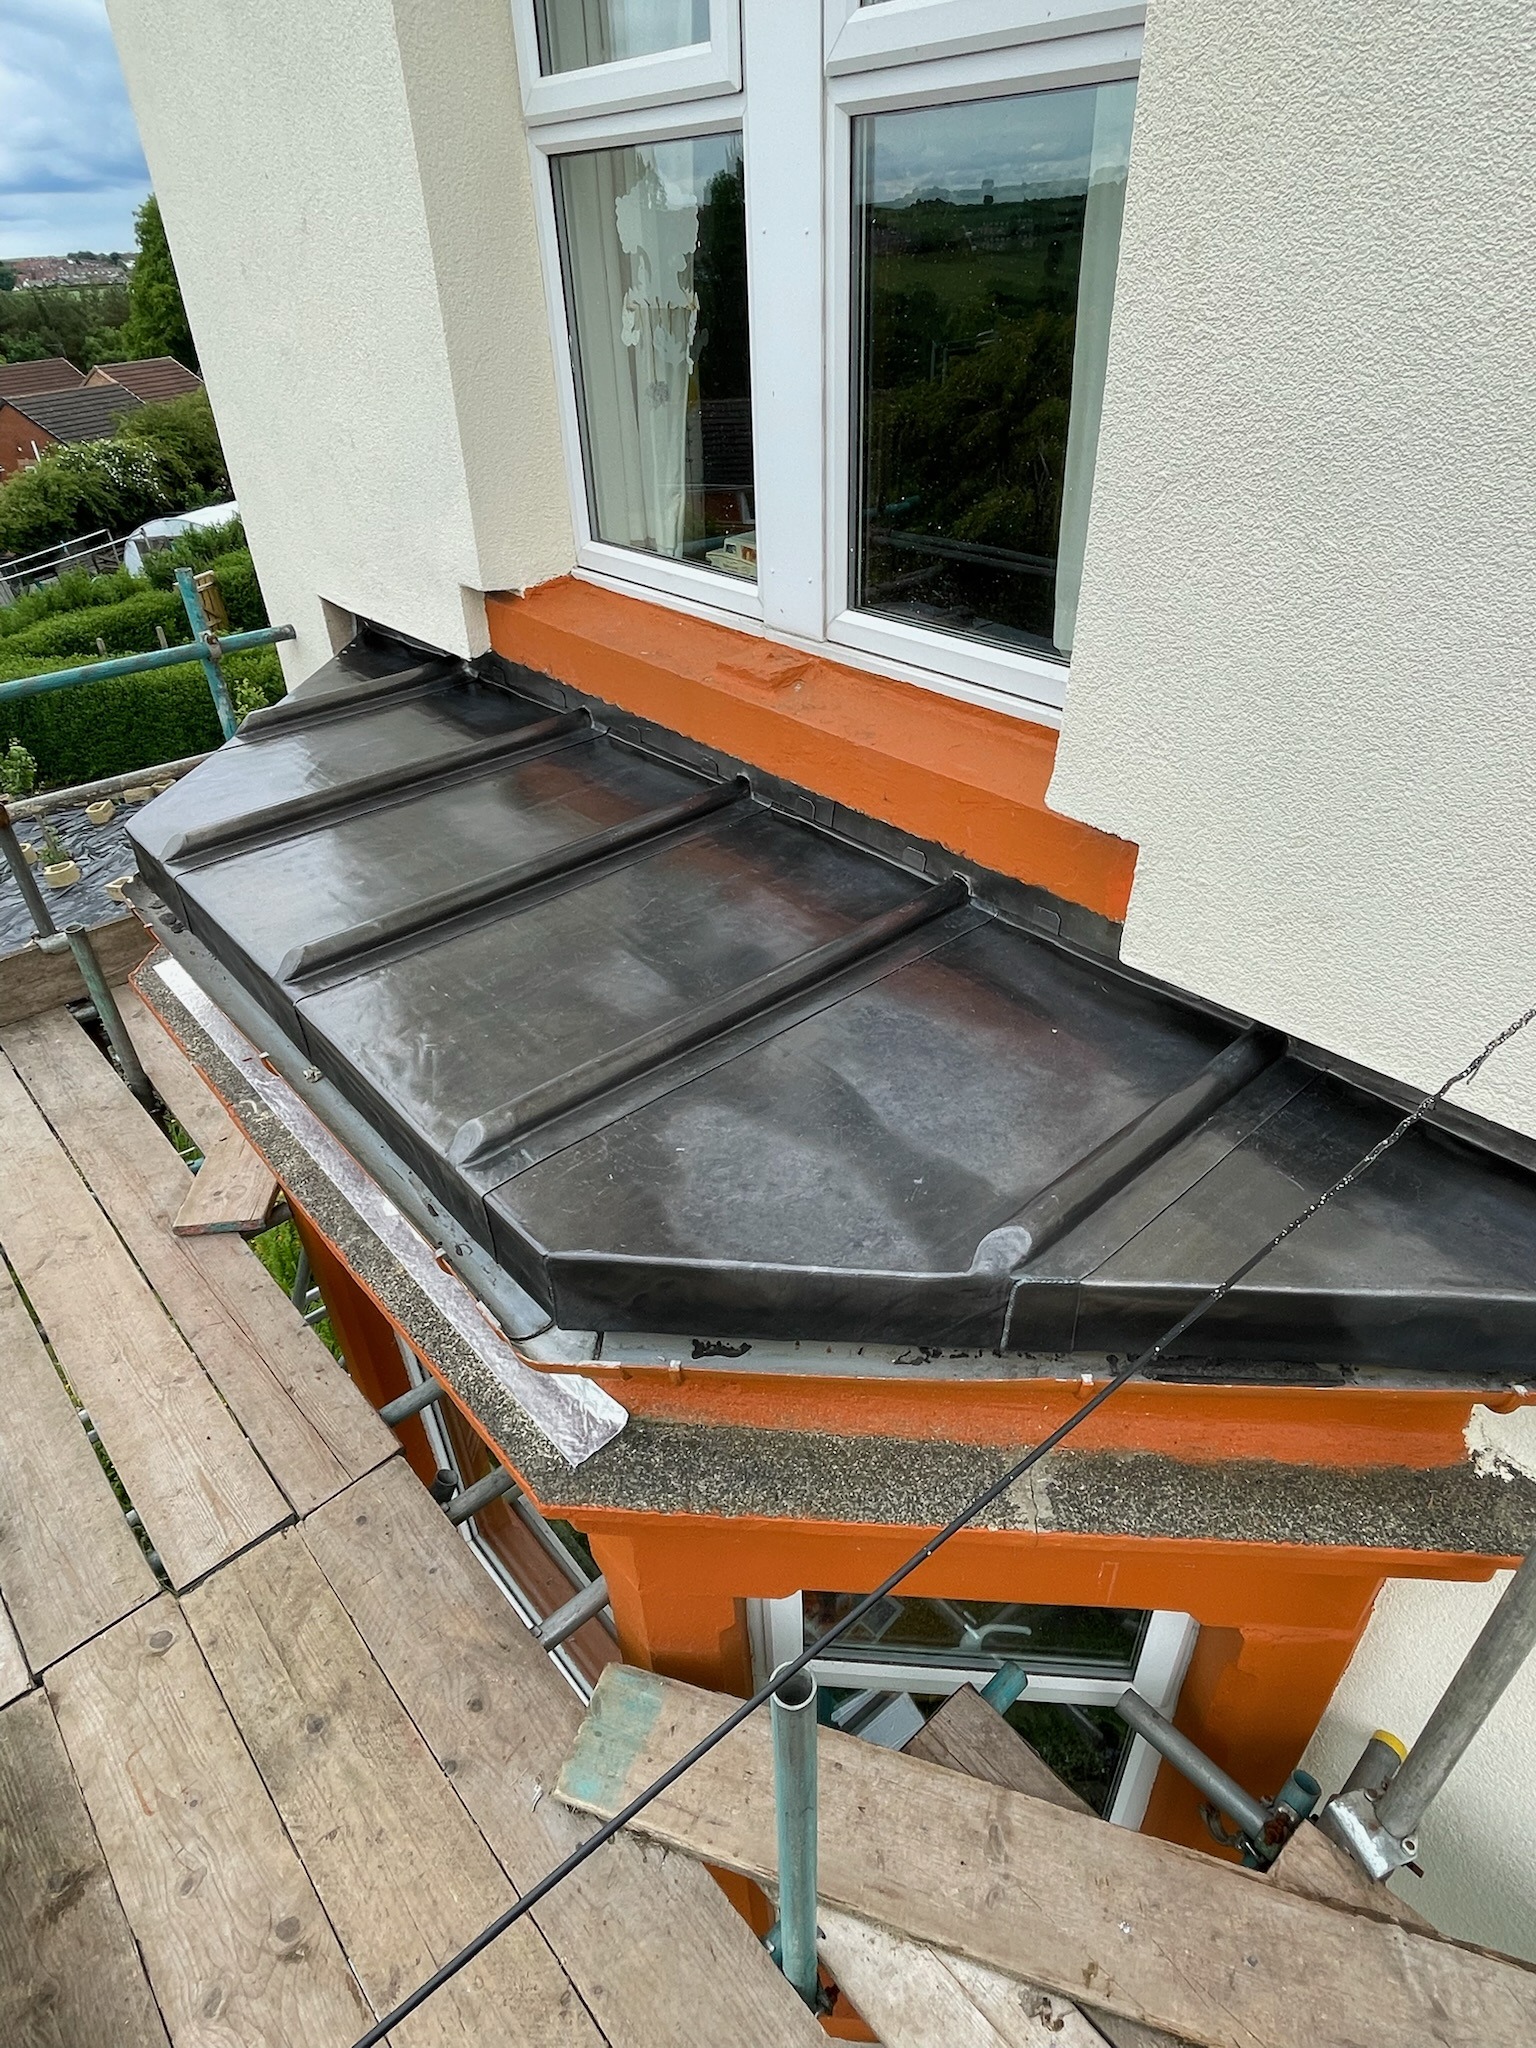
modern leadwork to bay window

Contemporary Lead Bay Design

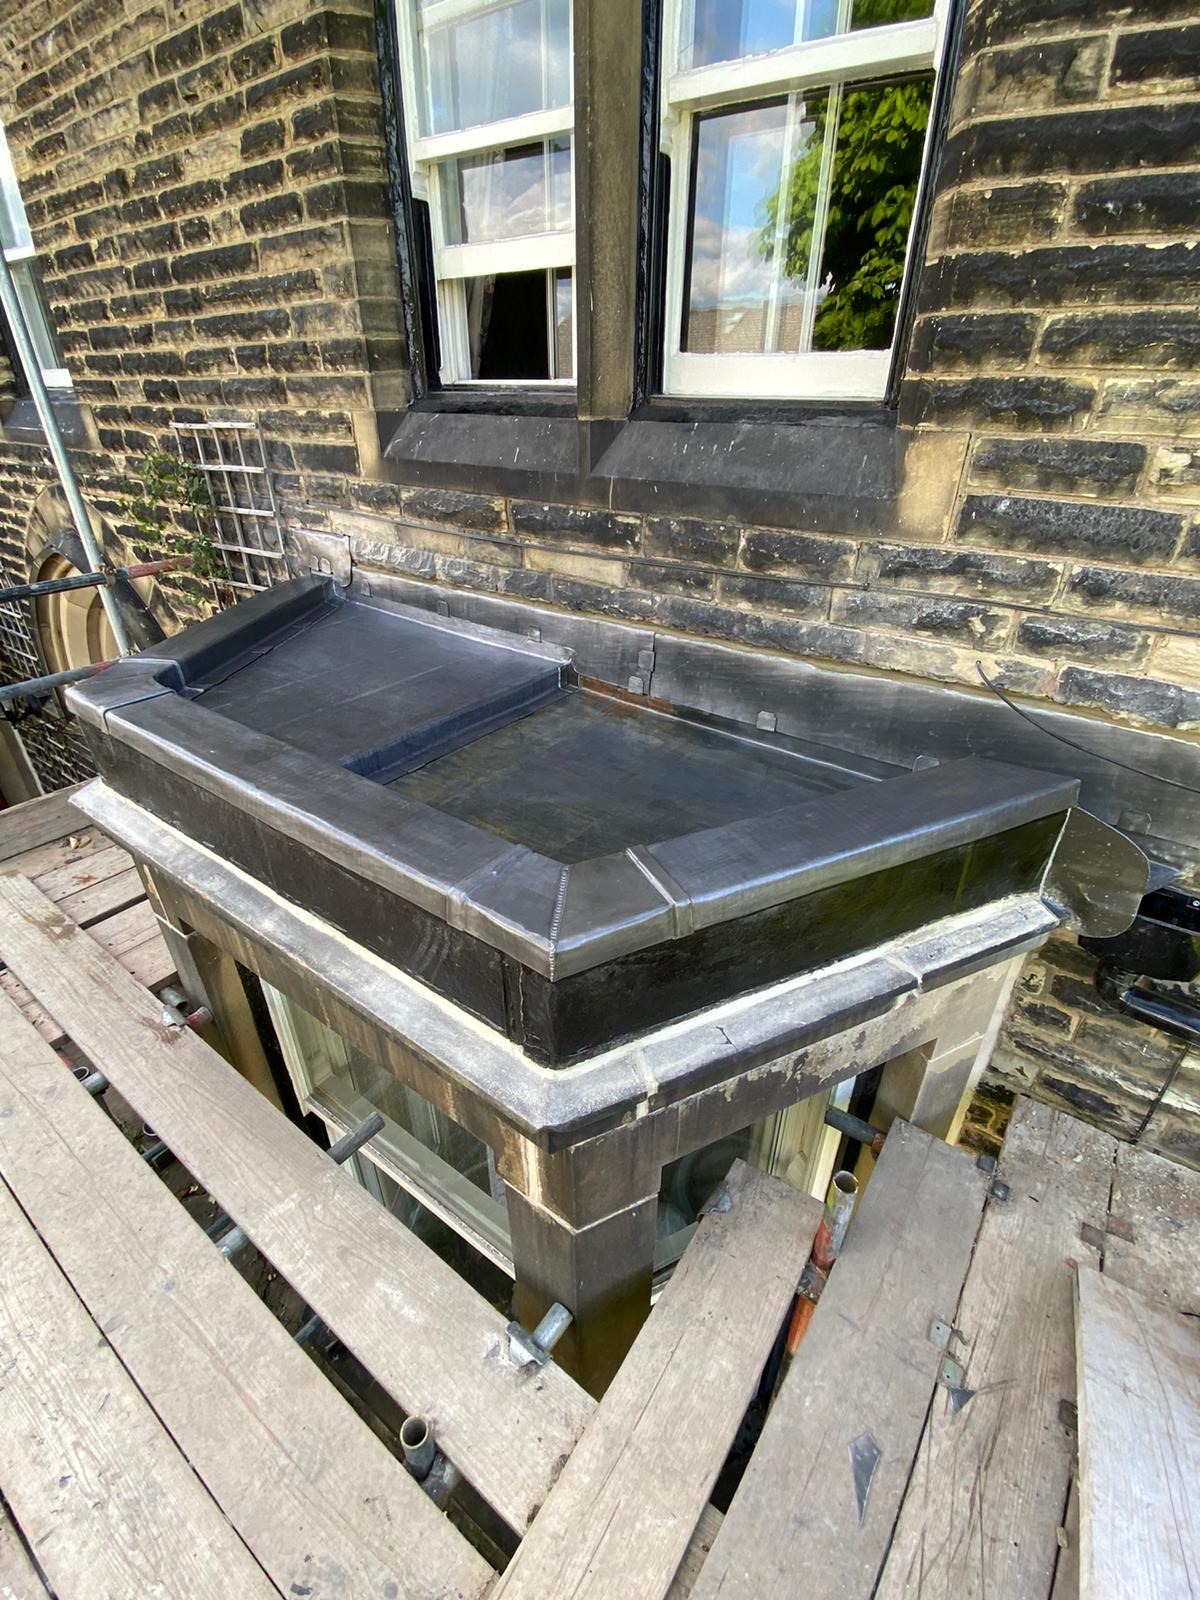
Lead is equally suited to modern architecture. Clean lines, crisp detailing and the ability to weather naturally make lead bays a popular choice for contemporary extensions, glazed projections and bespoke residential developments. Although the appearance may differ, the technical principles remain exactly the same.

lead bay roof

Bespoke Leadwork

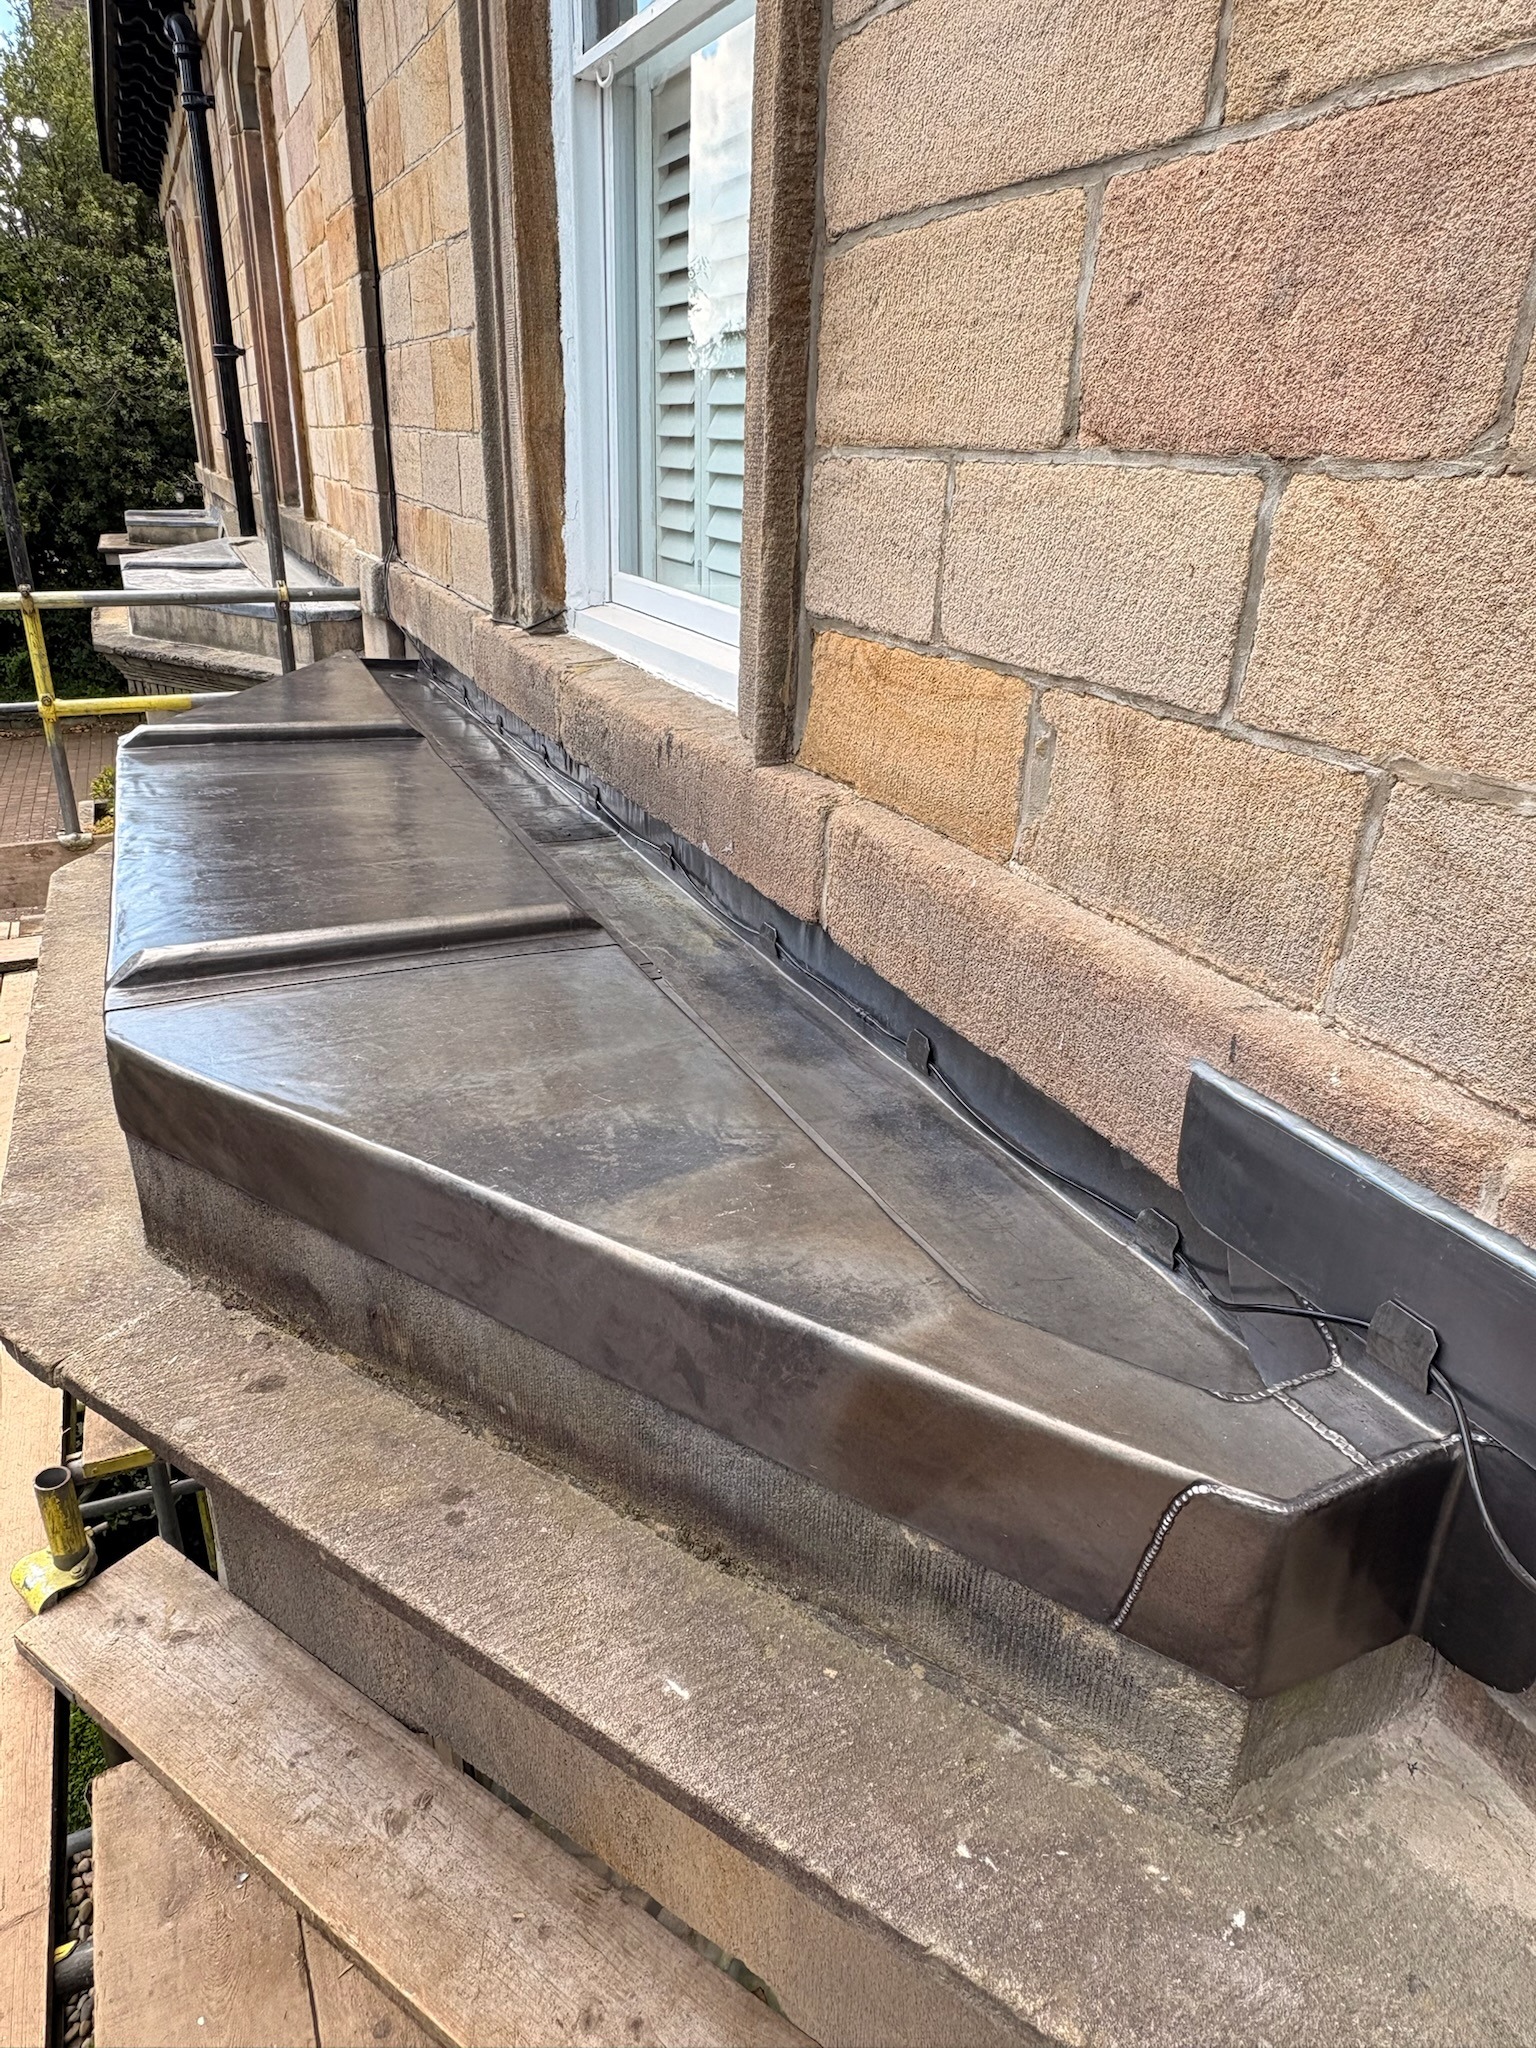
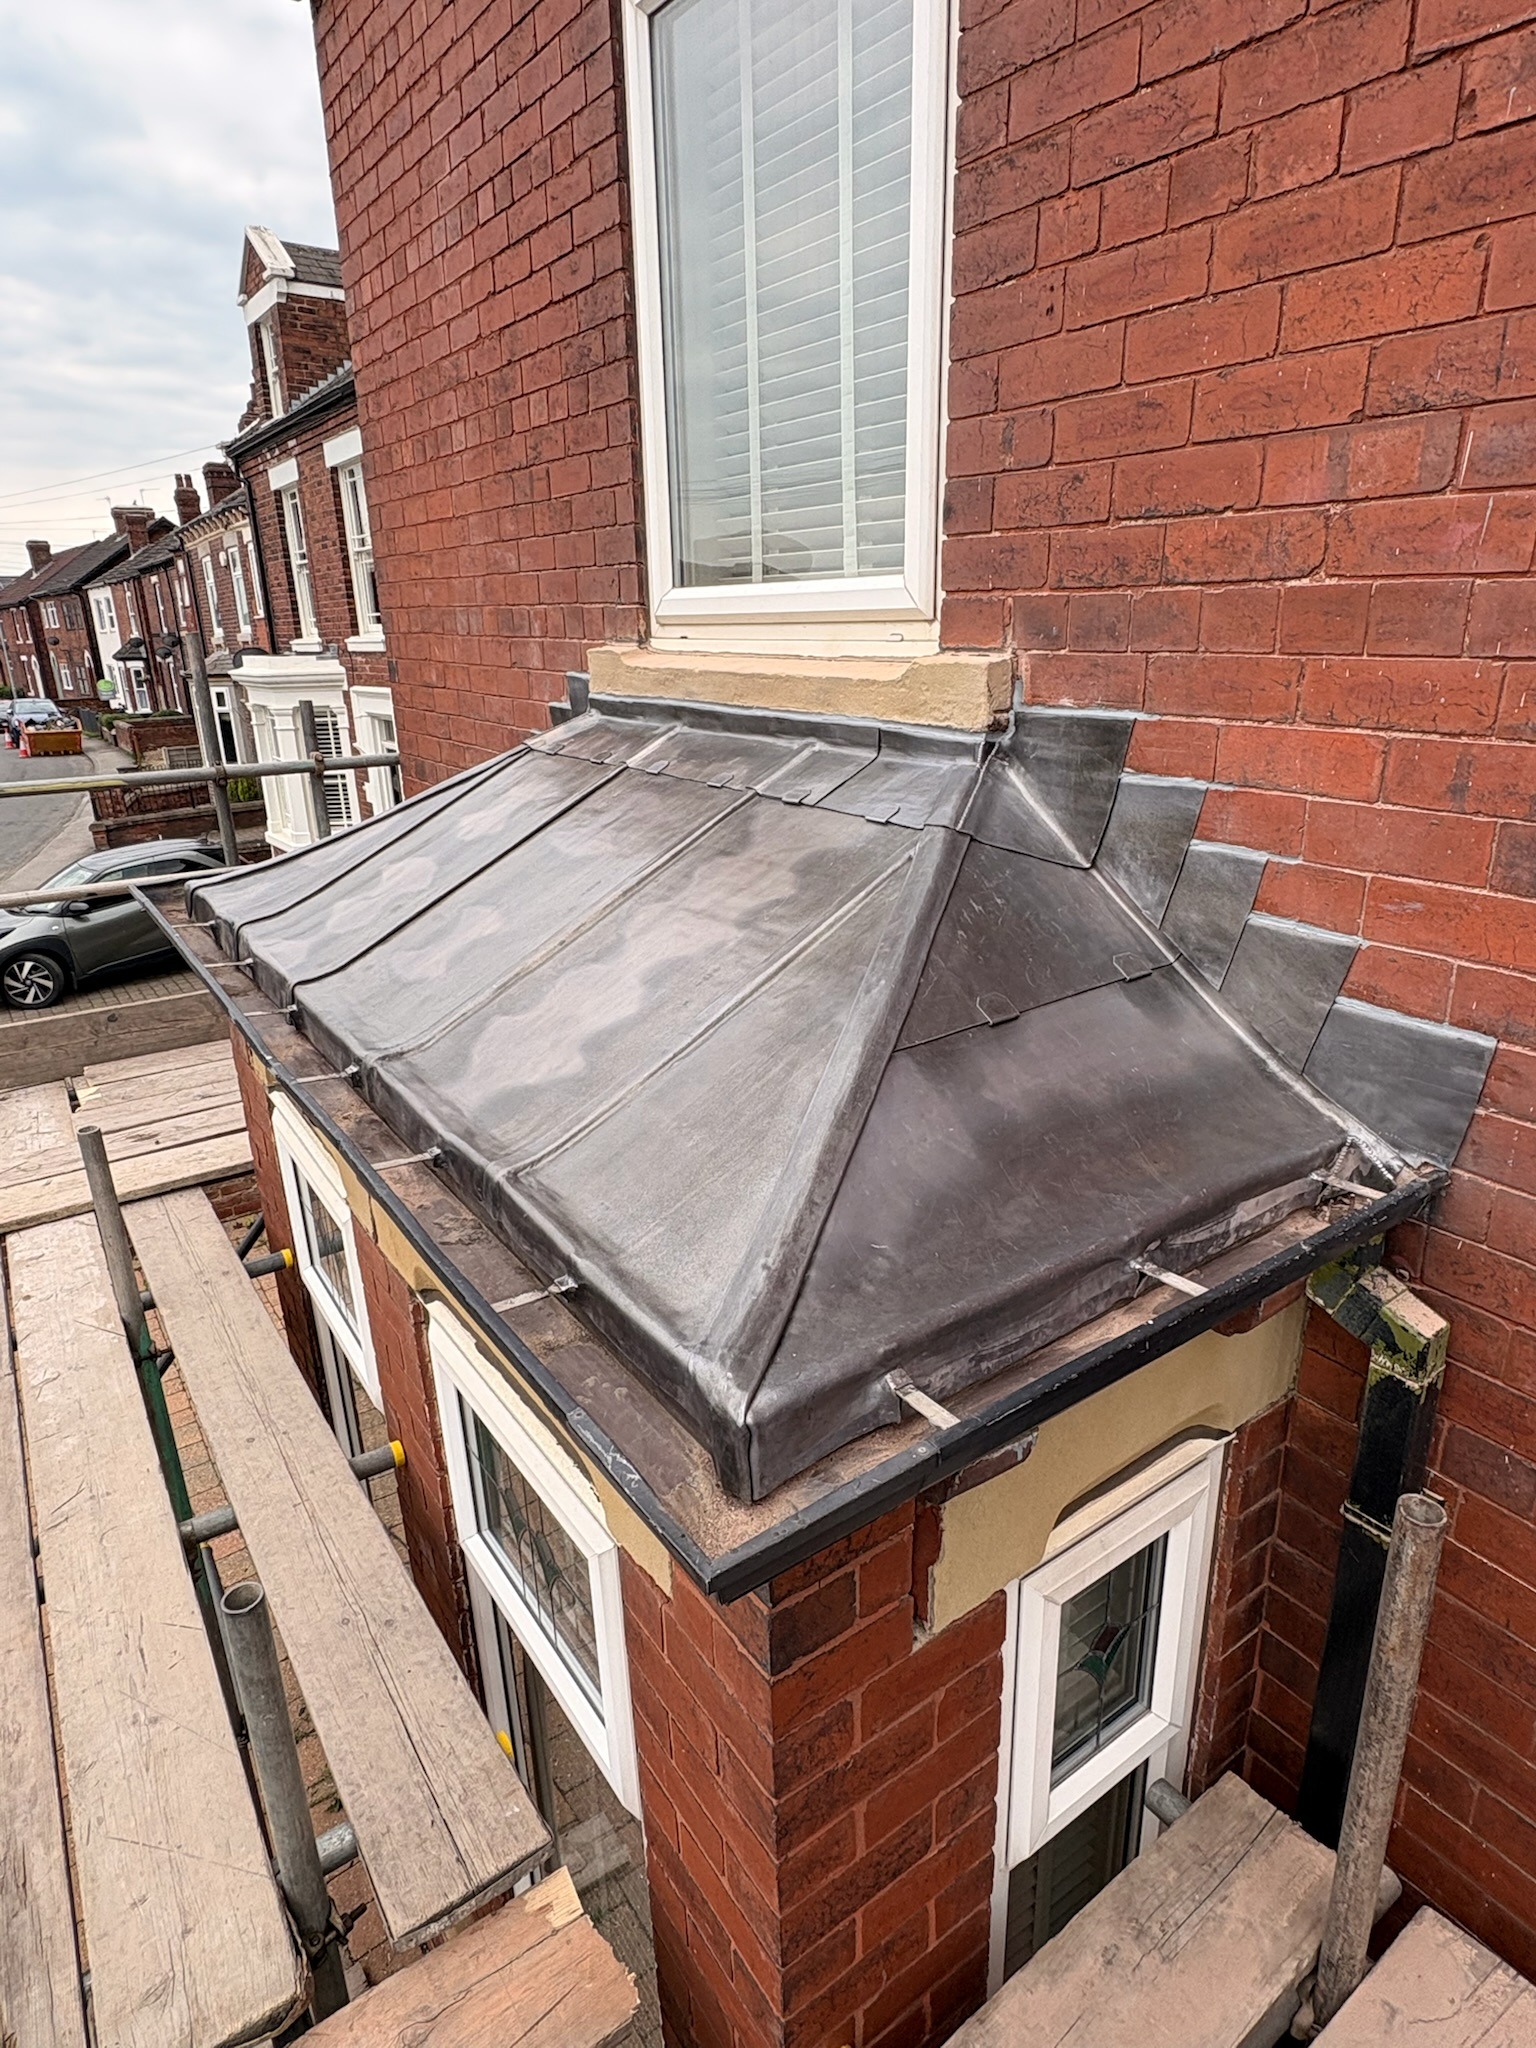
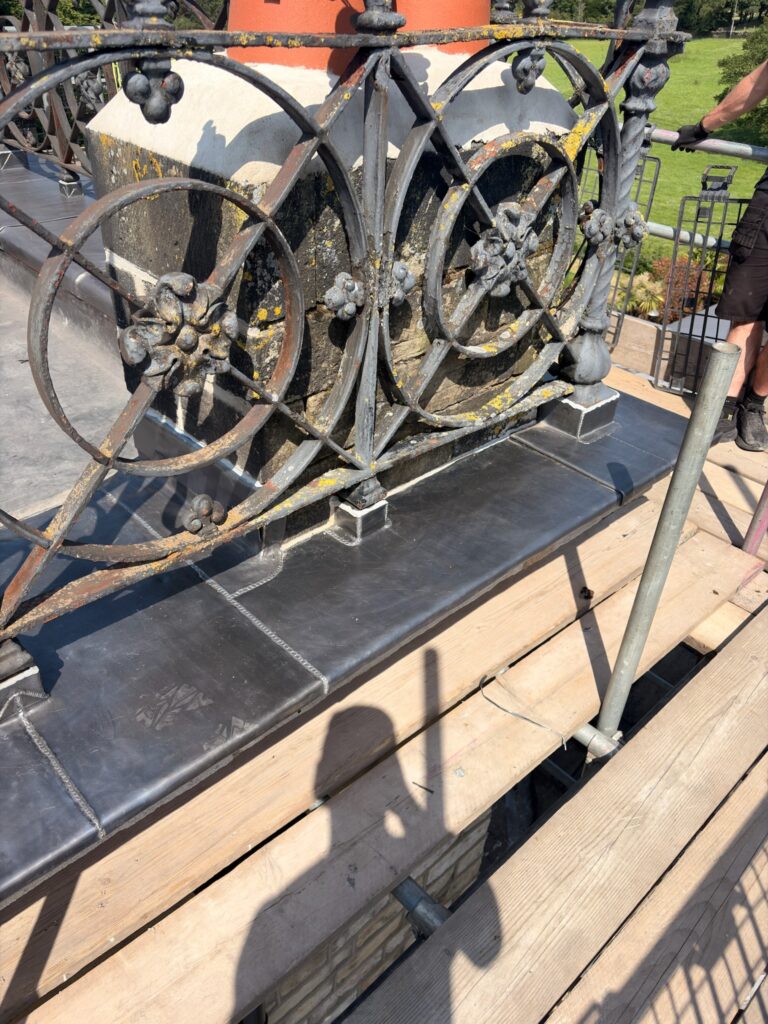
Every lead bay presents unique challenges. Curved bays, segmented projections, entrance canopies and complex roof junctions often require specialist fabrication, careful dressing and traditional leadworking techniques to achieve a durable and visually balanced result.

How Is a Lead Bay Roof Constructed?

A professionally constructed lead bay is a complete roofing system rather than simply a sheet of lead fixed over timber. Every component beneath the visible lead contributes to the roof’s performance, durability and ability to accommodate thermal movement.

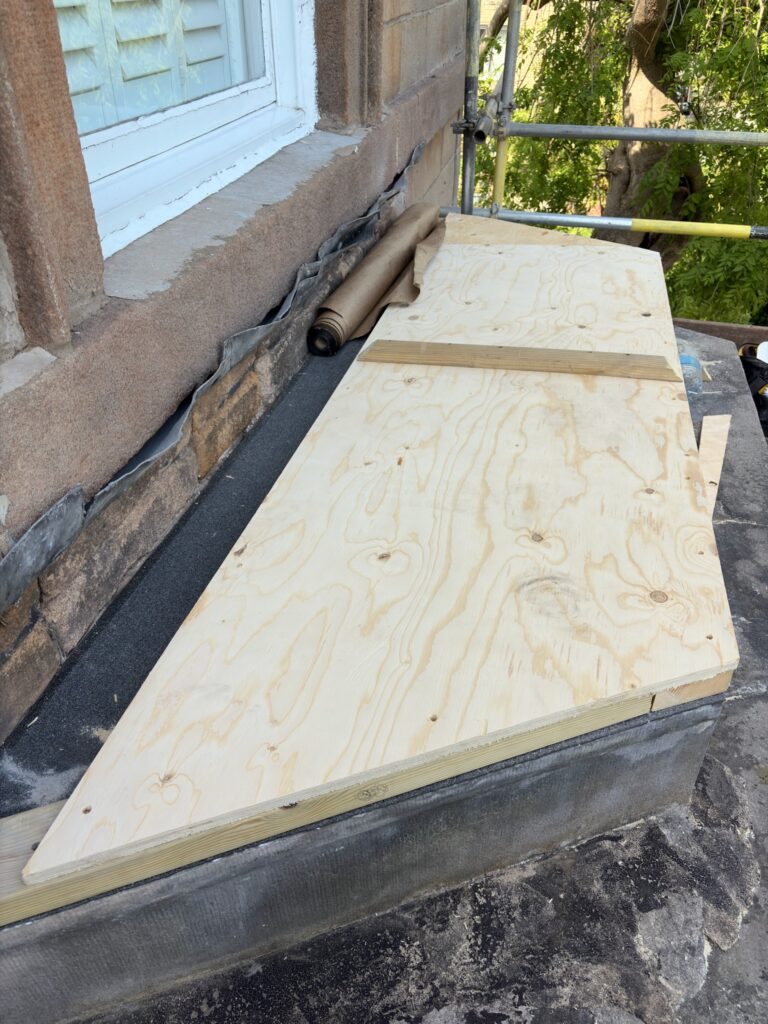
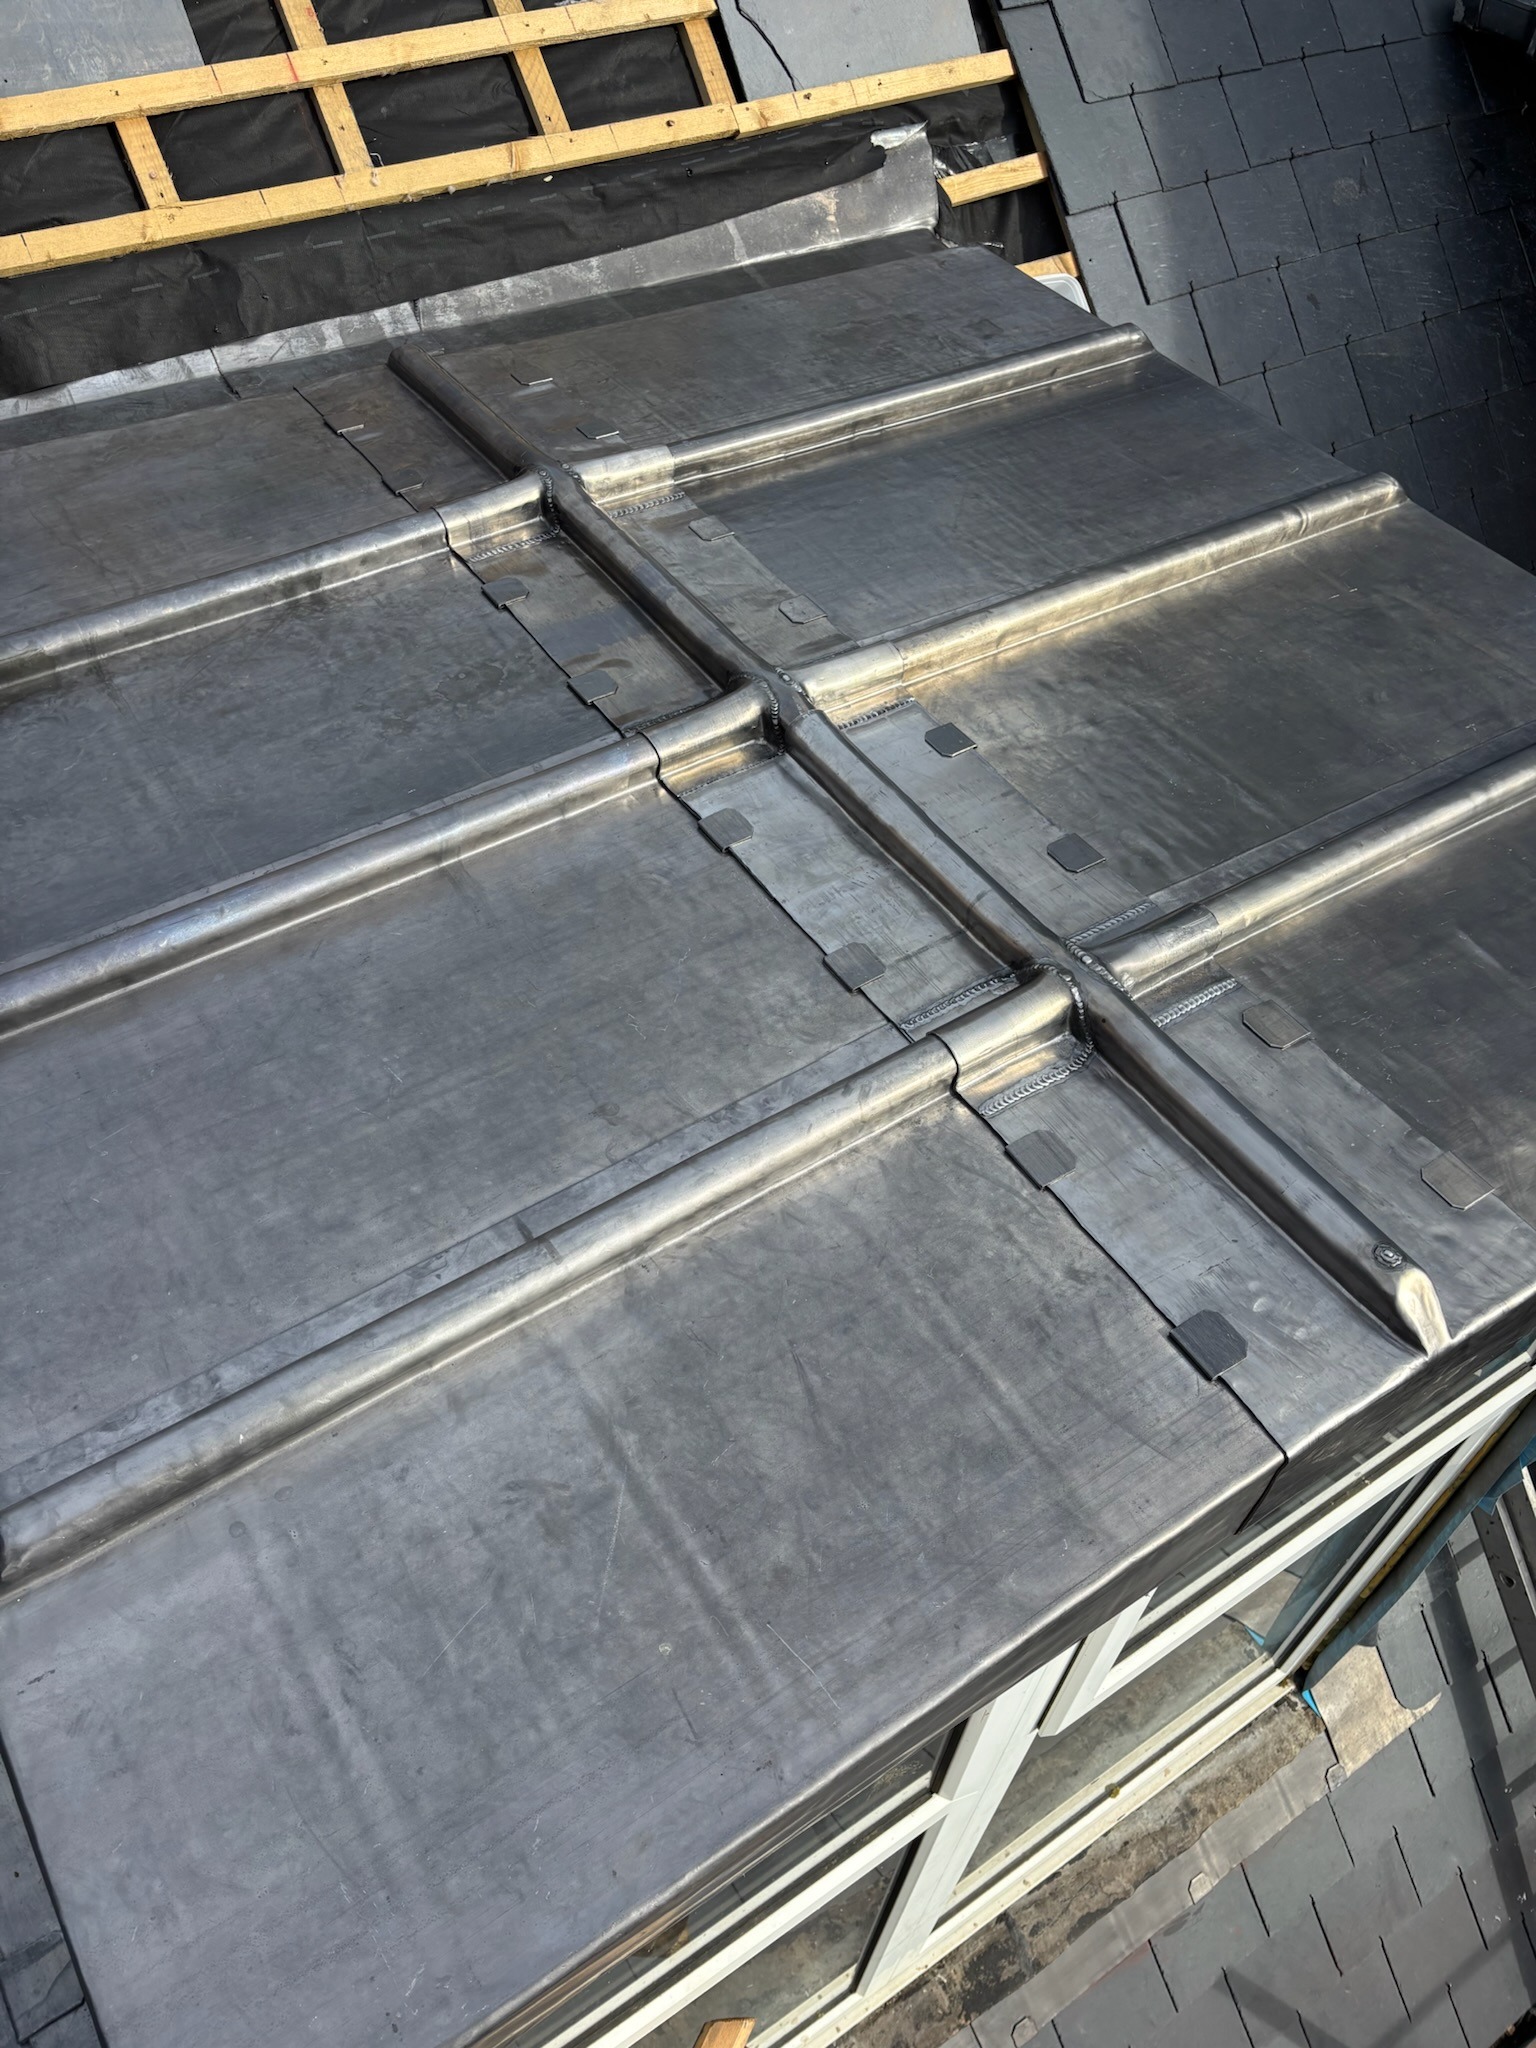
The finished roof generally begins with a structural timber framework that supports continuous decking. A suitable separation layer is then installed before the rolled lead sheet is dressed into position using recognised detailing methods. Timber rolls, drips, welts, flashings and secret fixings all work together to create a roof that remains weatherproof while allowing the lead to expand and contract naturally.

Although individual bay roofs vary considerably in size and geometry, the objective is always the same: provide continuous support, unrestricted movement and effective drainage whilst minimising stress within the lead sheet.

The Typical Build-Up of a Lead Bay

  • Structural timber framing.
  • Continuous timber decking.
  • Suitable separation layer beneath the lead.
  • Rolled lead sheet selected for the application.
  • Timber rolls where required.
  • Drips and welts to exposed edges.
  • Secret clips and restrained fixings.
  • Lead flashings to adjoining masonry.
  • Rainwater falls and drainage outlets.

Every detail should work together to ensure the lead can move freely without excessive restraint. Correct construction is often far more important than selecting a heavier lead code.

Professional leadworkers therefore focus on the complete roofing system rather than simply the visible lead covering.

lead bay roof
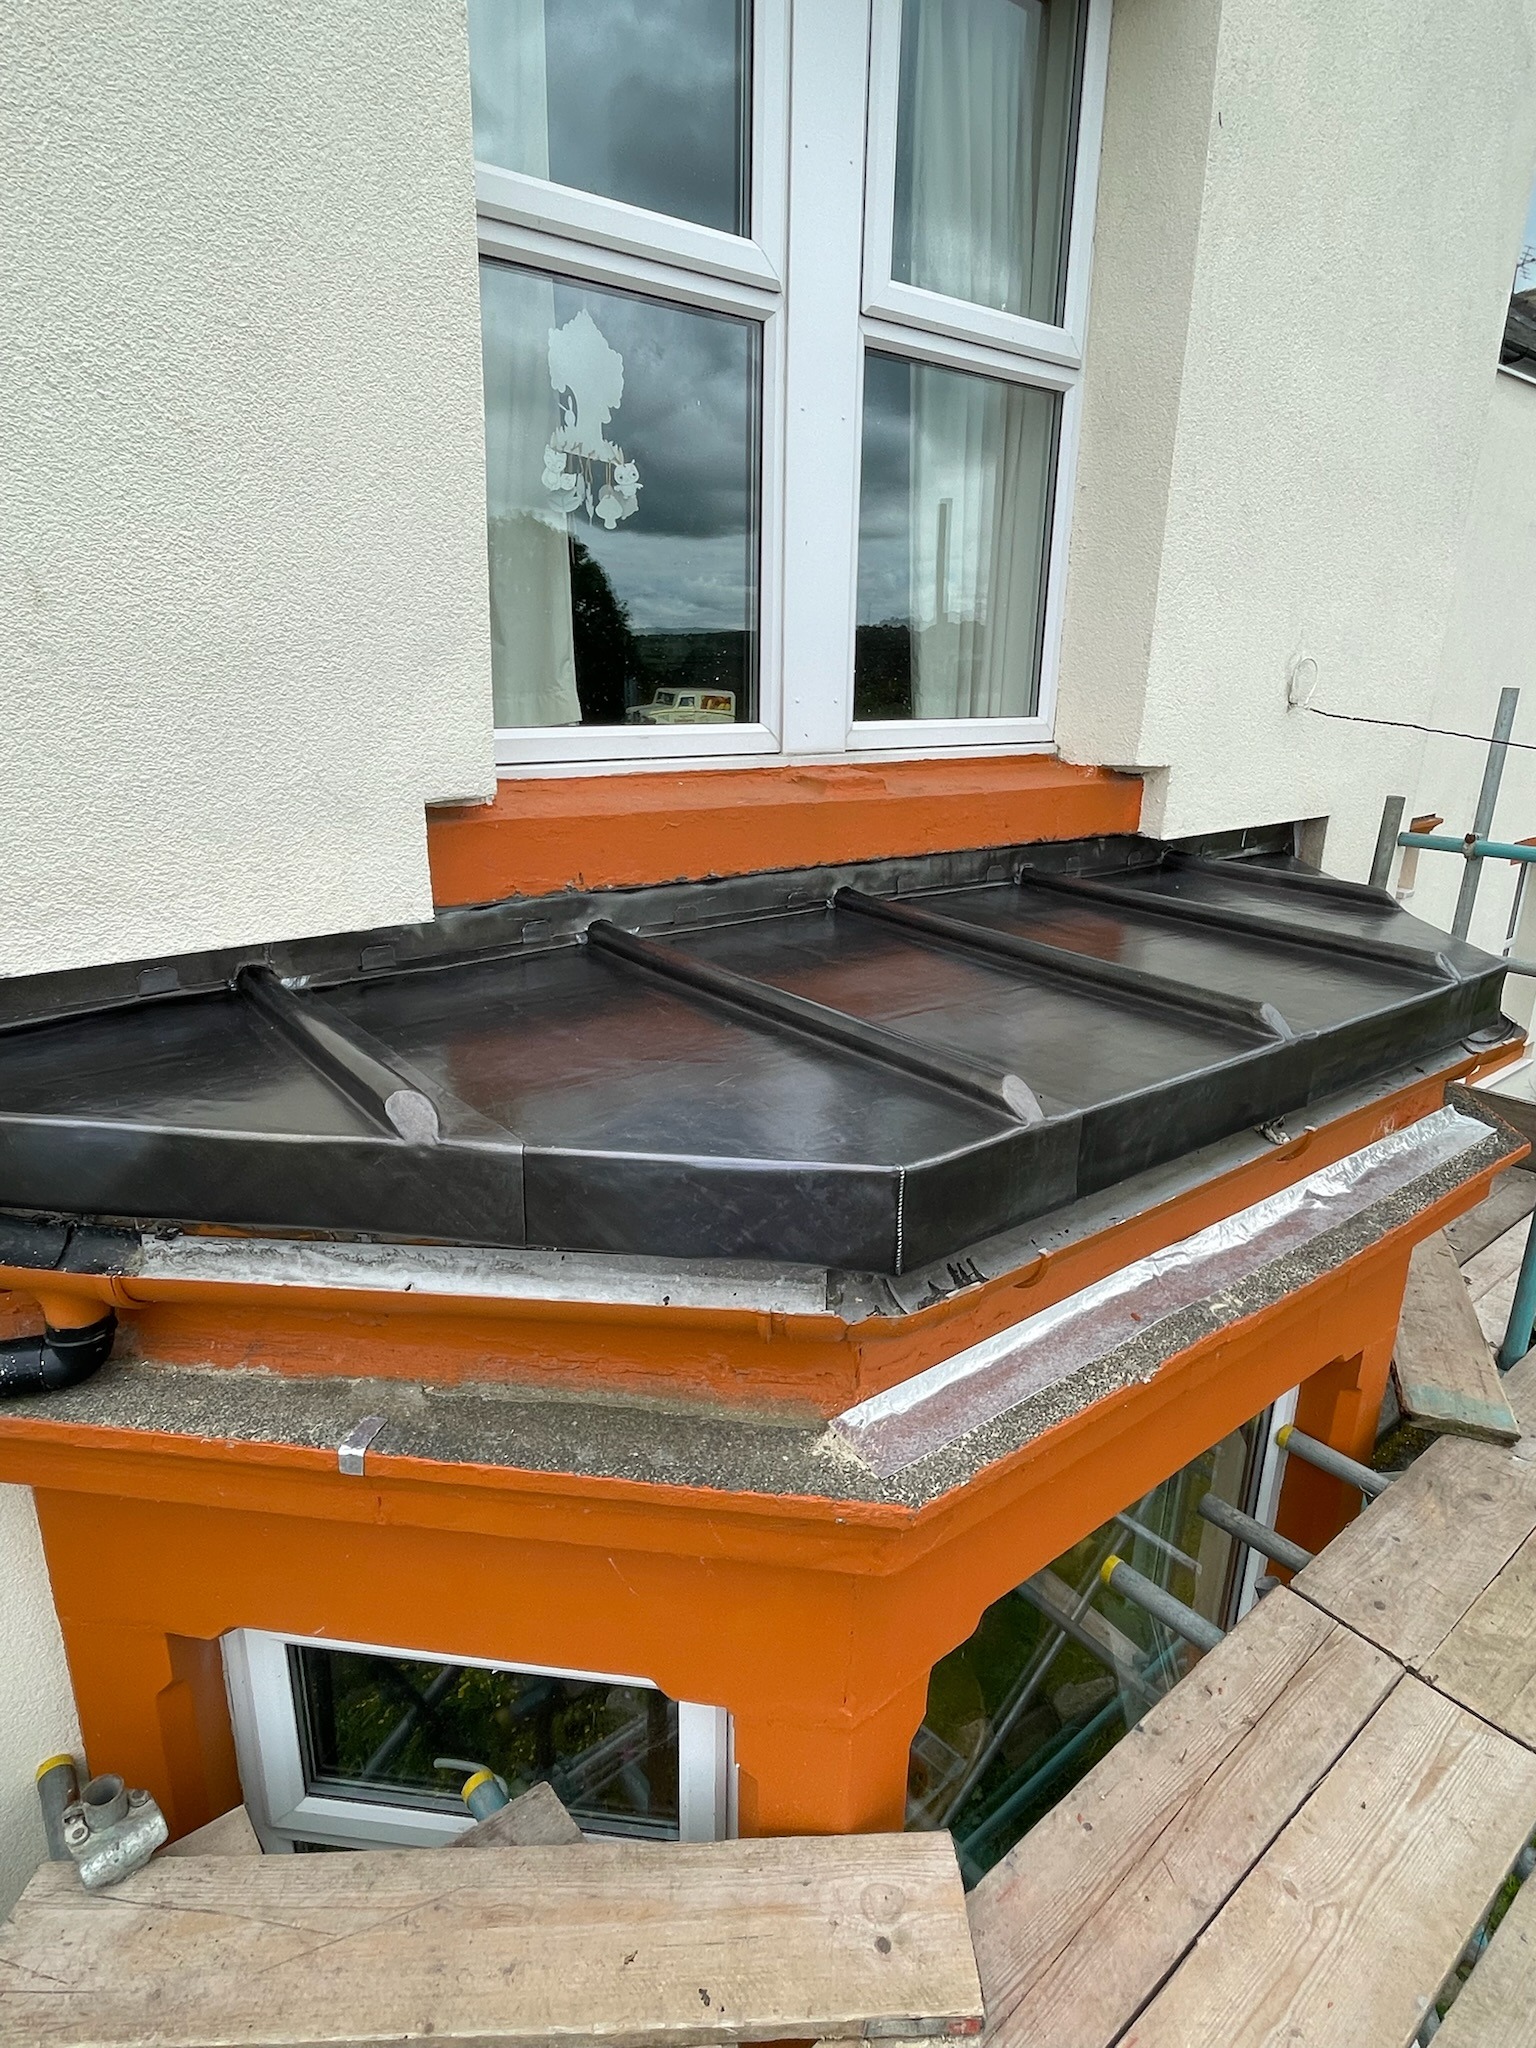
lead bay with timber rolls

Timber Rolls

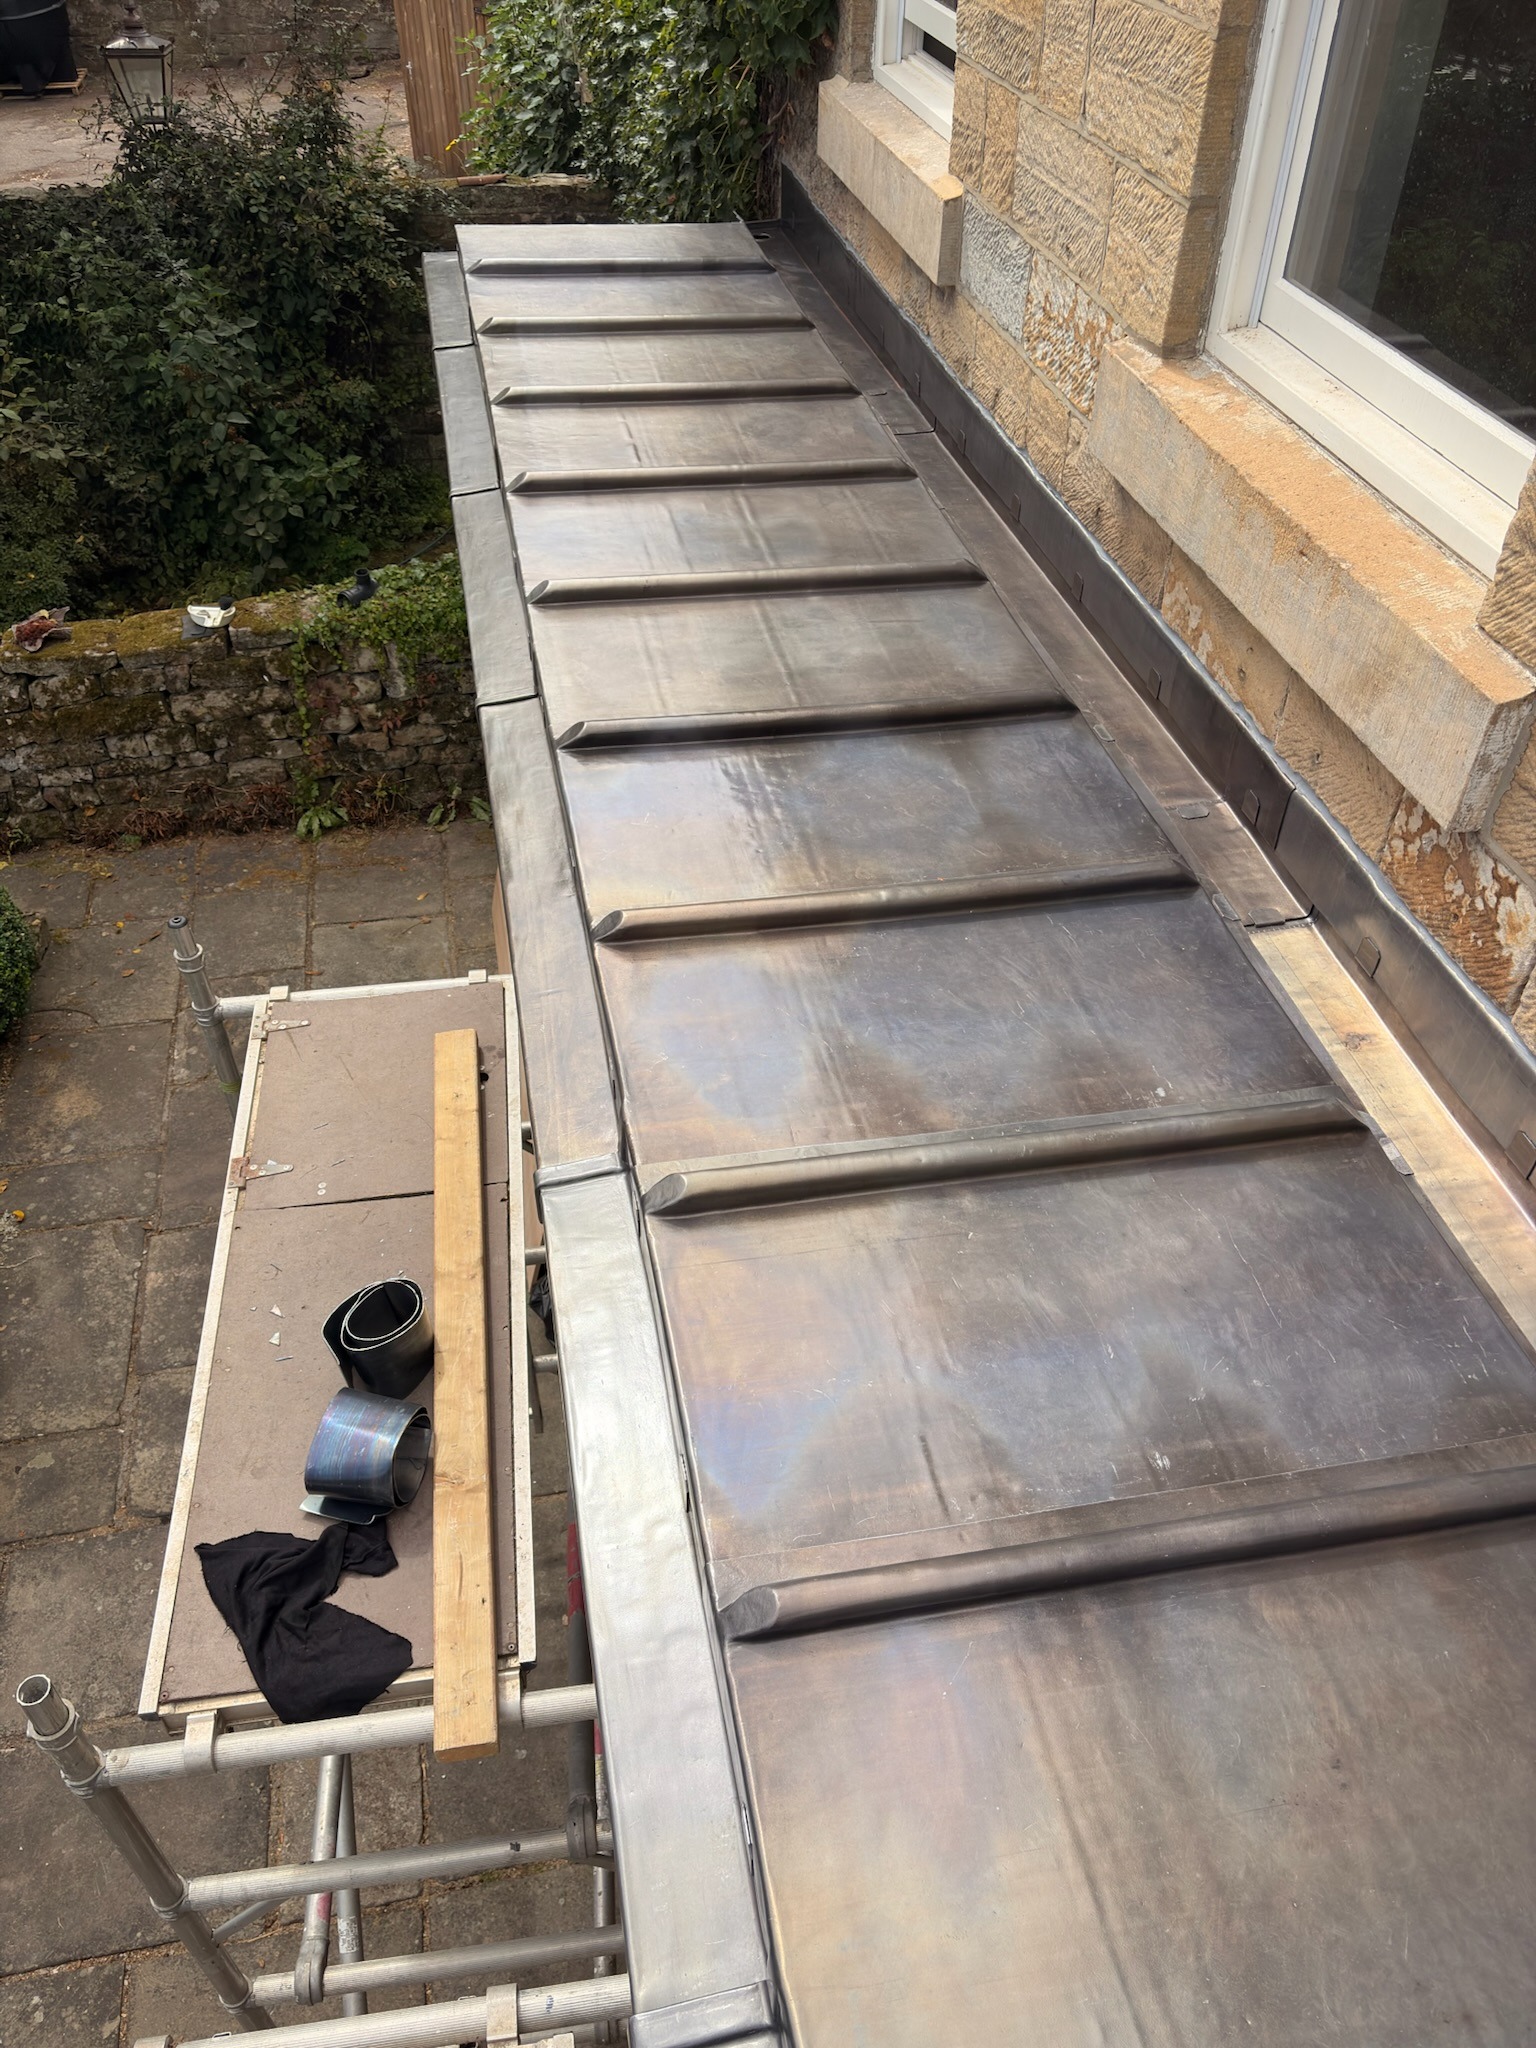
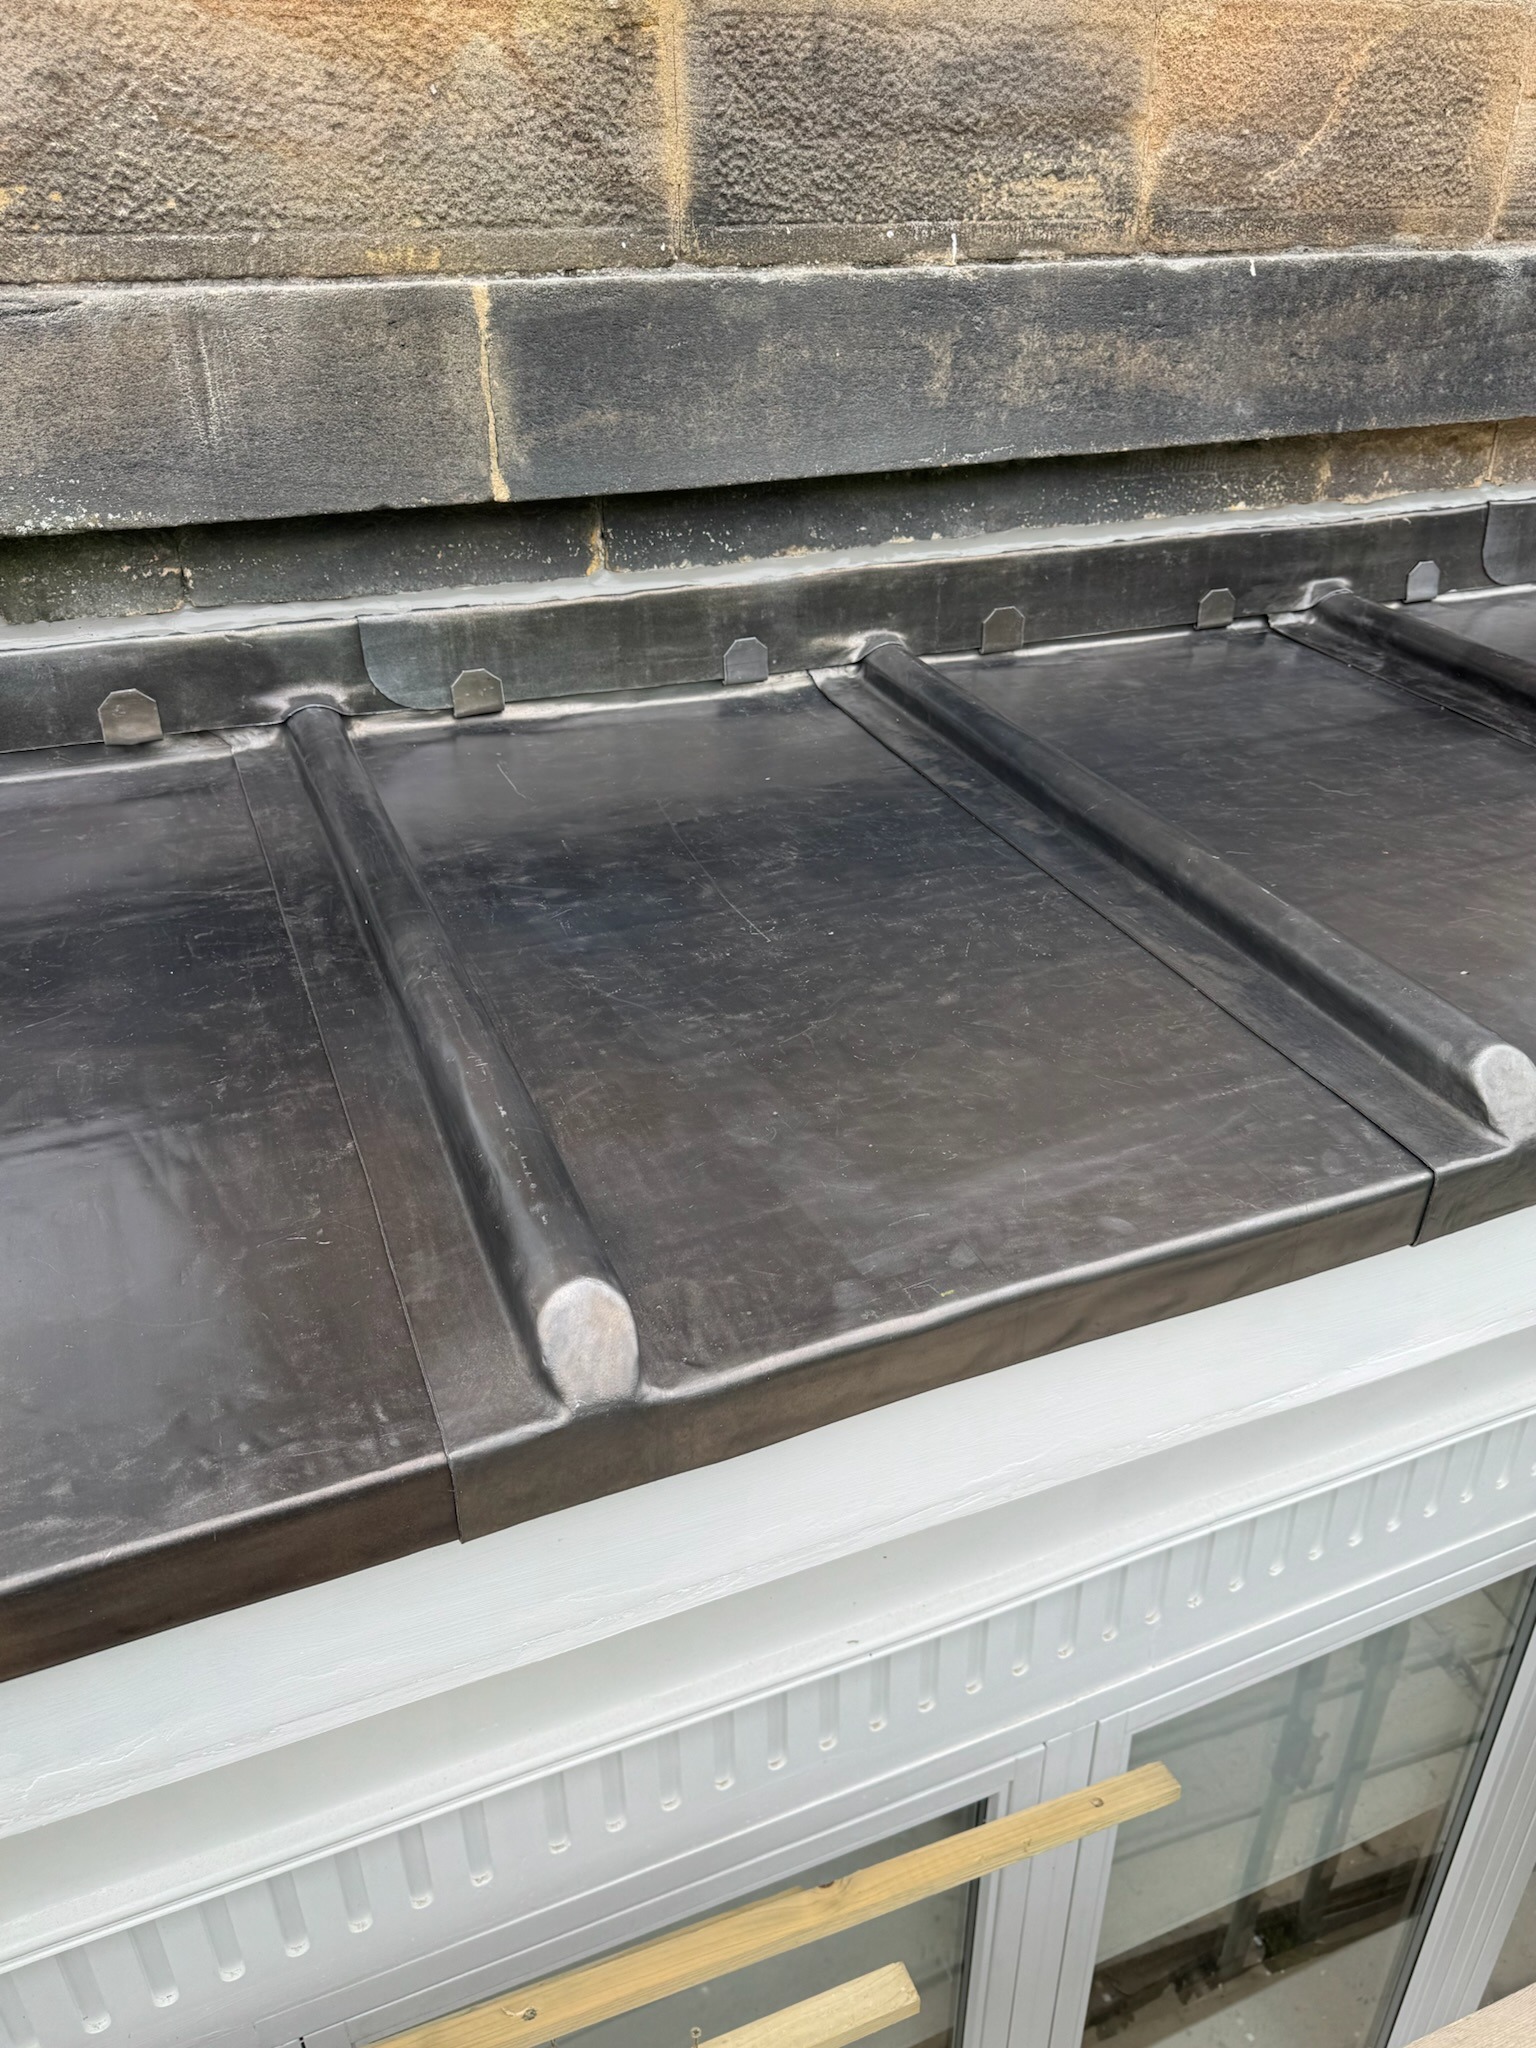
Traditional timber rolls divide larger roof areas into manageable bays whilst creating one of the most recognisable features of quality leadwork. They accommodate movement, strengthen the visual appearance of the roof and form an integral part of traditional lead detailing.

lead bay roofing

Perimeter Drips & Welts

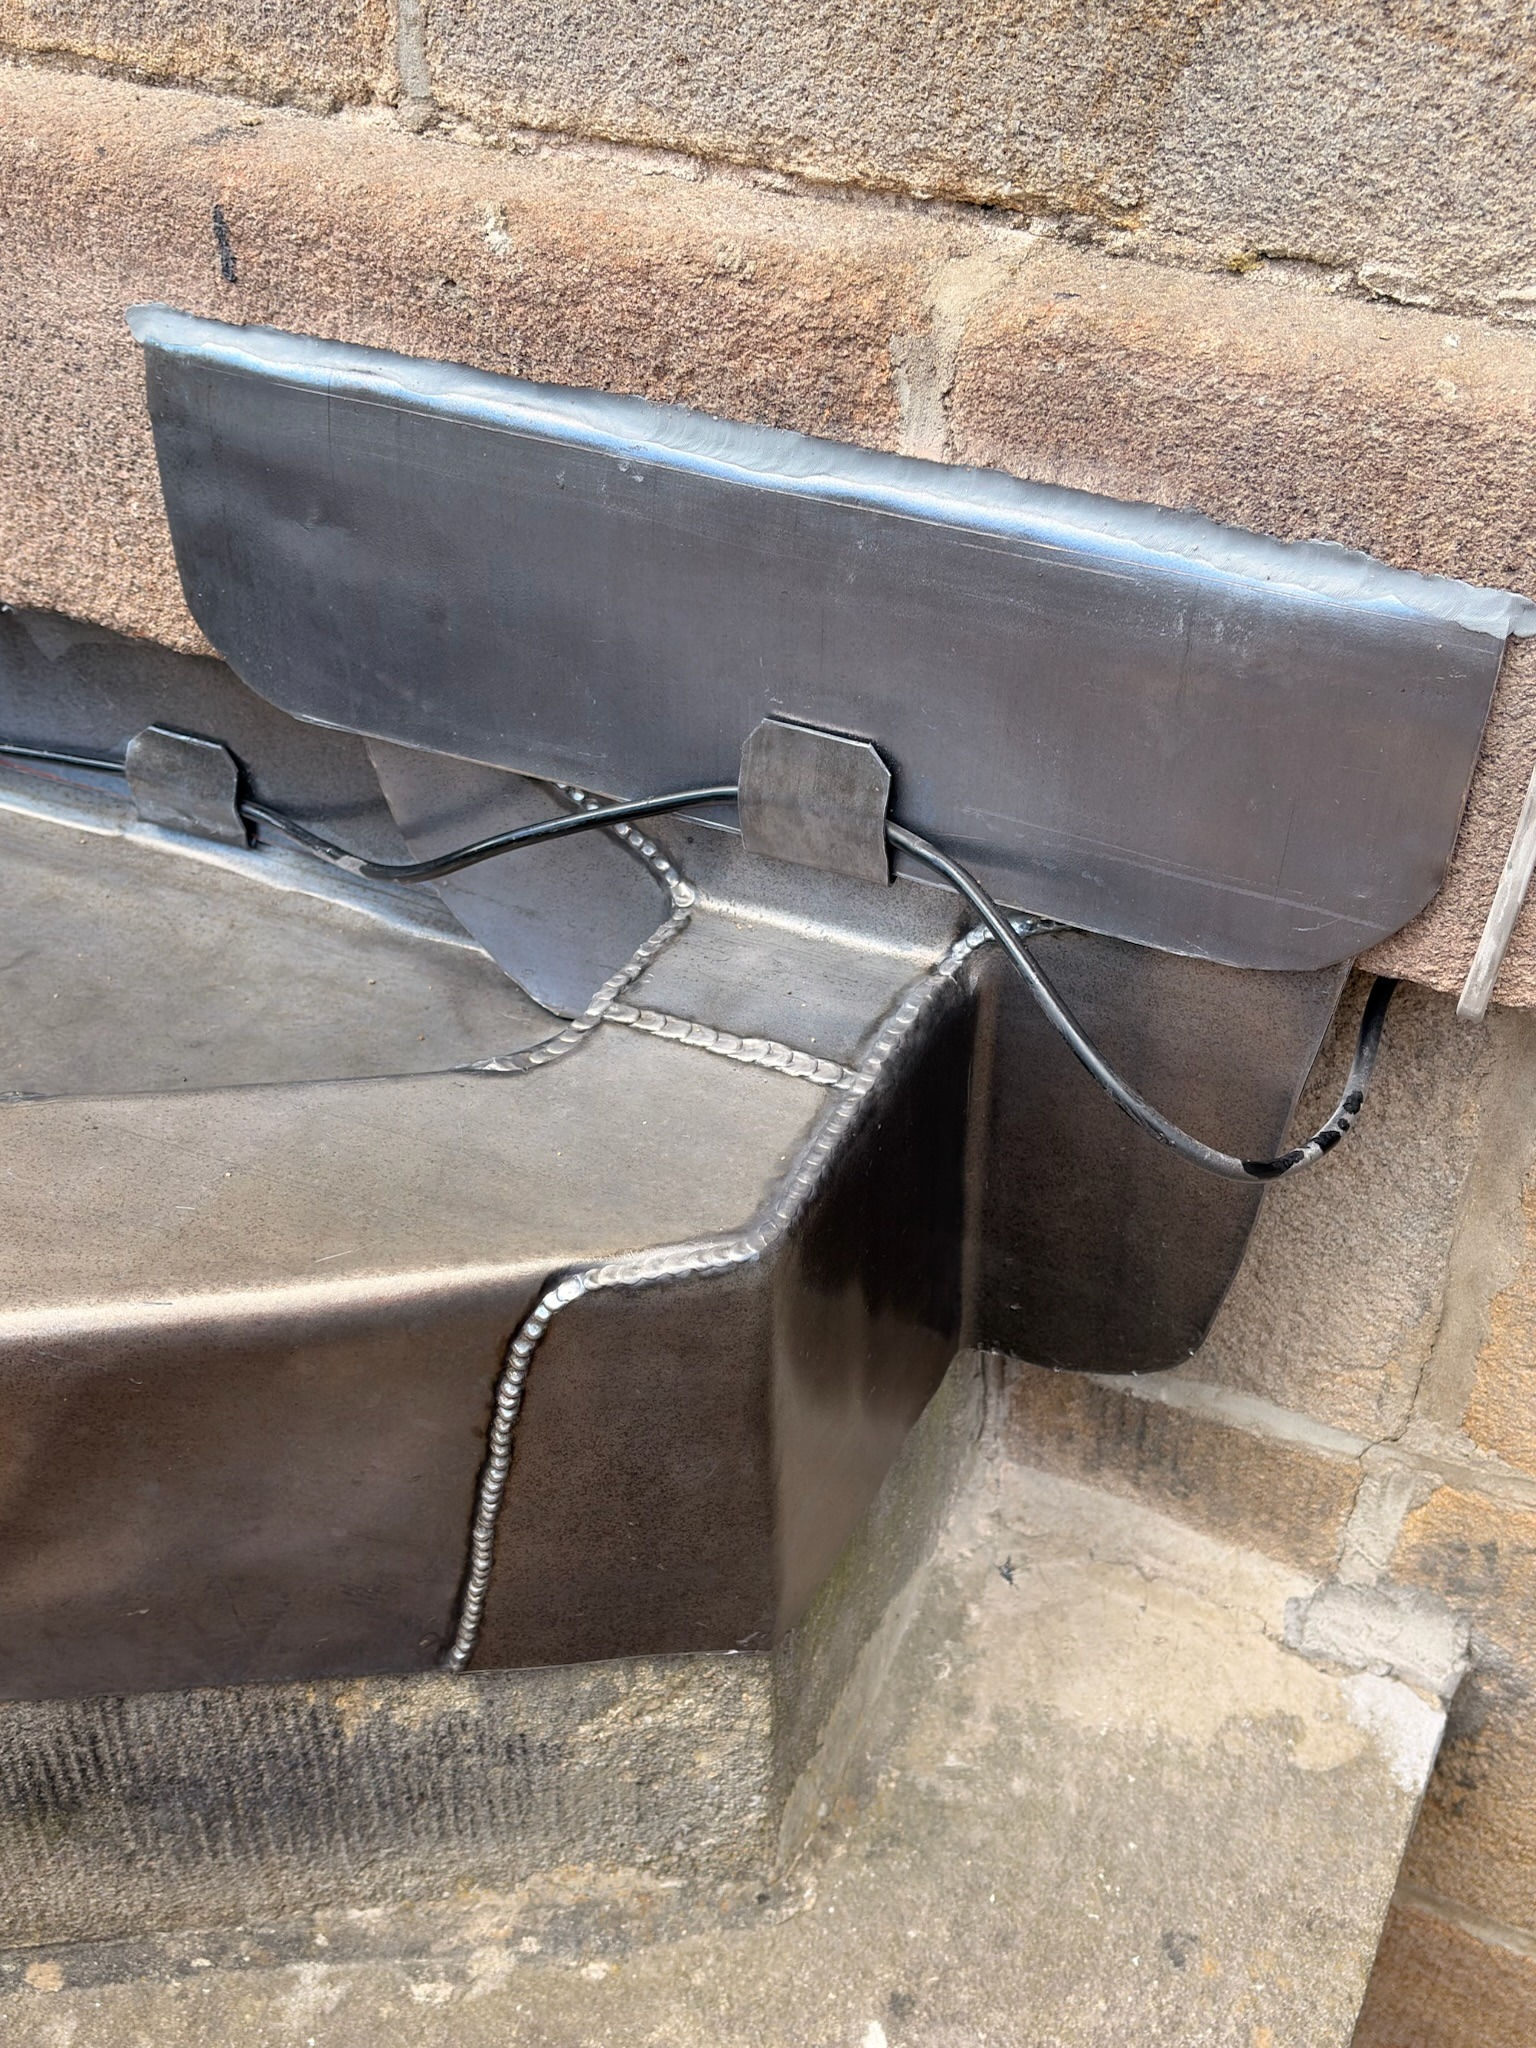
Drips and welts provide weather protection around exposed roof edges whilst encouraging water to discharge efficiently. Correctly formed edge details also allow the lead to expand naturally without concentrating stress at vulnerable locations.

lead flashings for bays

Lead Flashings & Junctions

Flashings complete the connection between the lead bay and adjoining walls, windows and masonry. Accurate detailing at these interfaces is essential to prevent water ingress whilst maintaining the architectural appearance of the finished roof.

Why Do Lead Bay Roofs Fail?

Lead itself is an exceptionally durable roofing material. In the vast majority of cases, failures occur because the bay has been incorrectly designed or detailed rather than because the lead has reached the end of its service life.

Rolled lead sheet naturally expands during warm weather and contracts as temperatures fall. This movement is significant and must be accommodated within every bay roof. When movement is restrained by oversized bays, excessive fixing, poor detailing or incorrectly formed joints, stress gradually builds within the lead until fatigue cracking develops.

Many lead bay failures are therefore entirely avoidable. Careful planning, recognised detailing techniques and experienced workmanship remain far more important than simply specifying a heavier lead code.

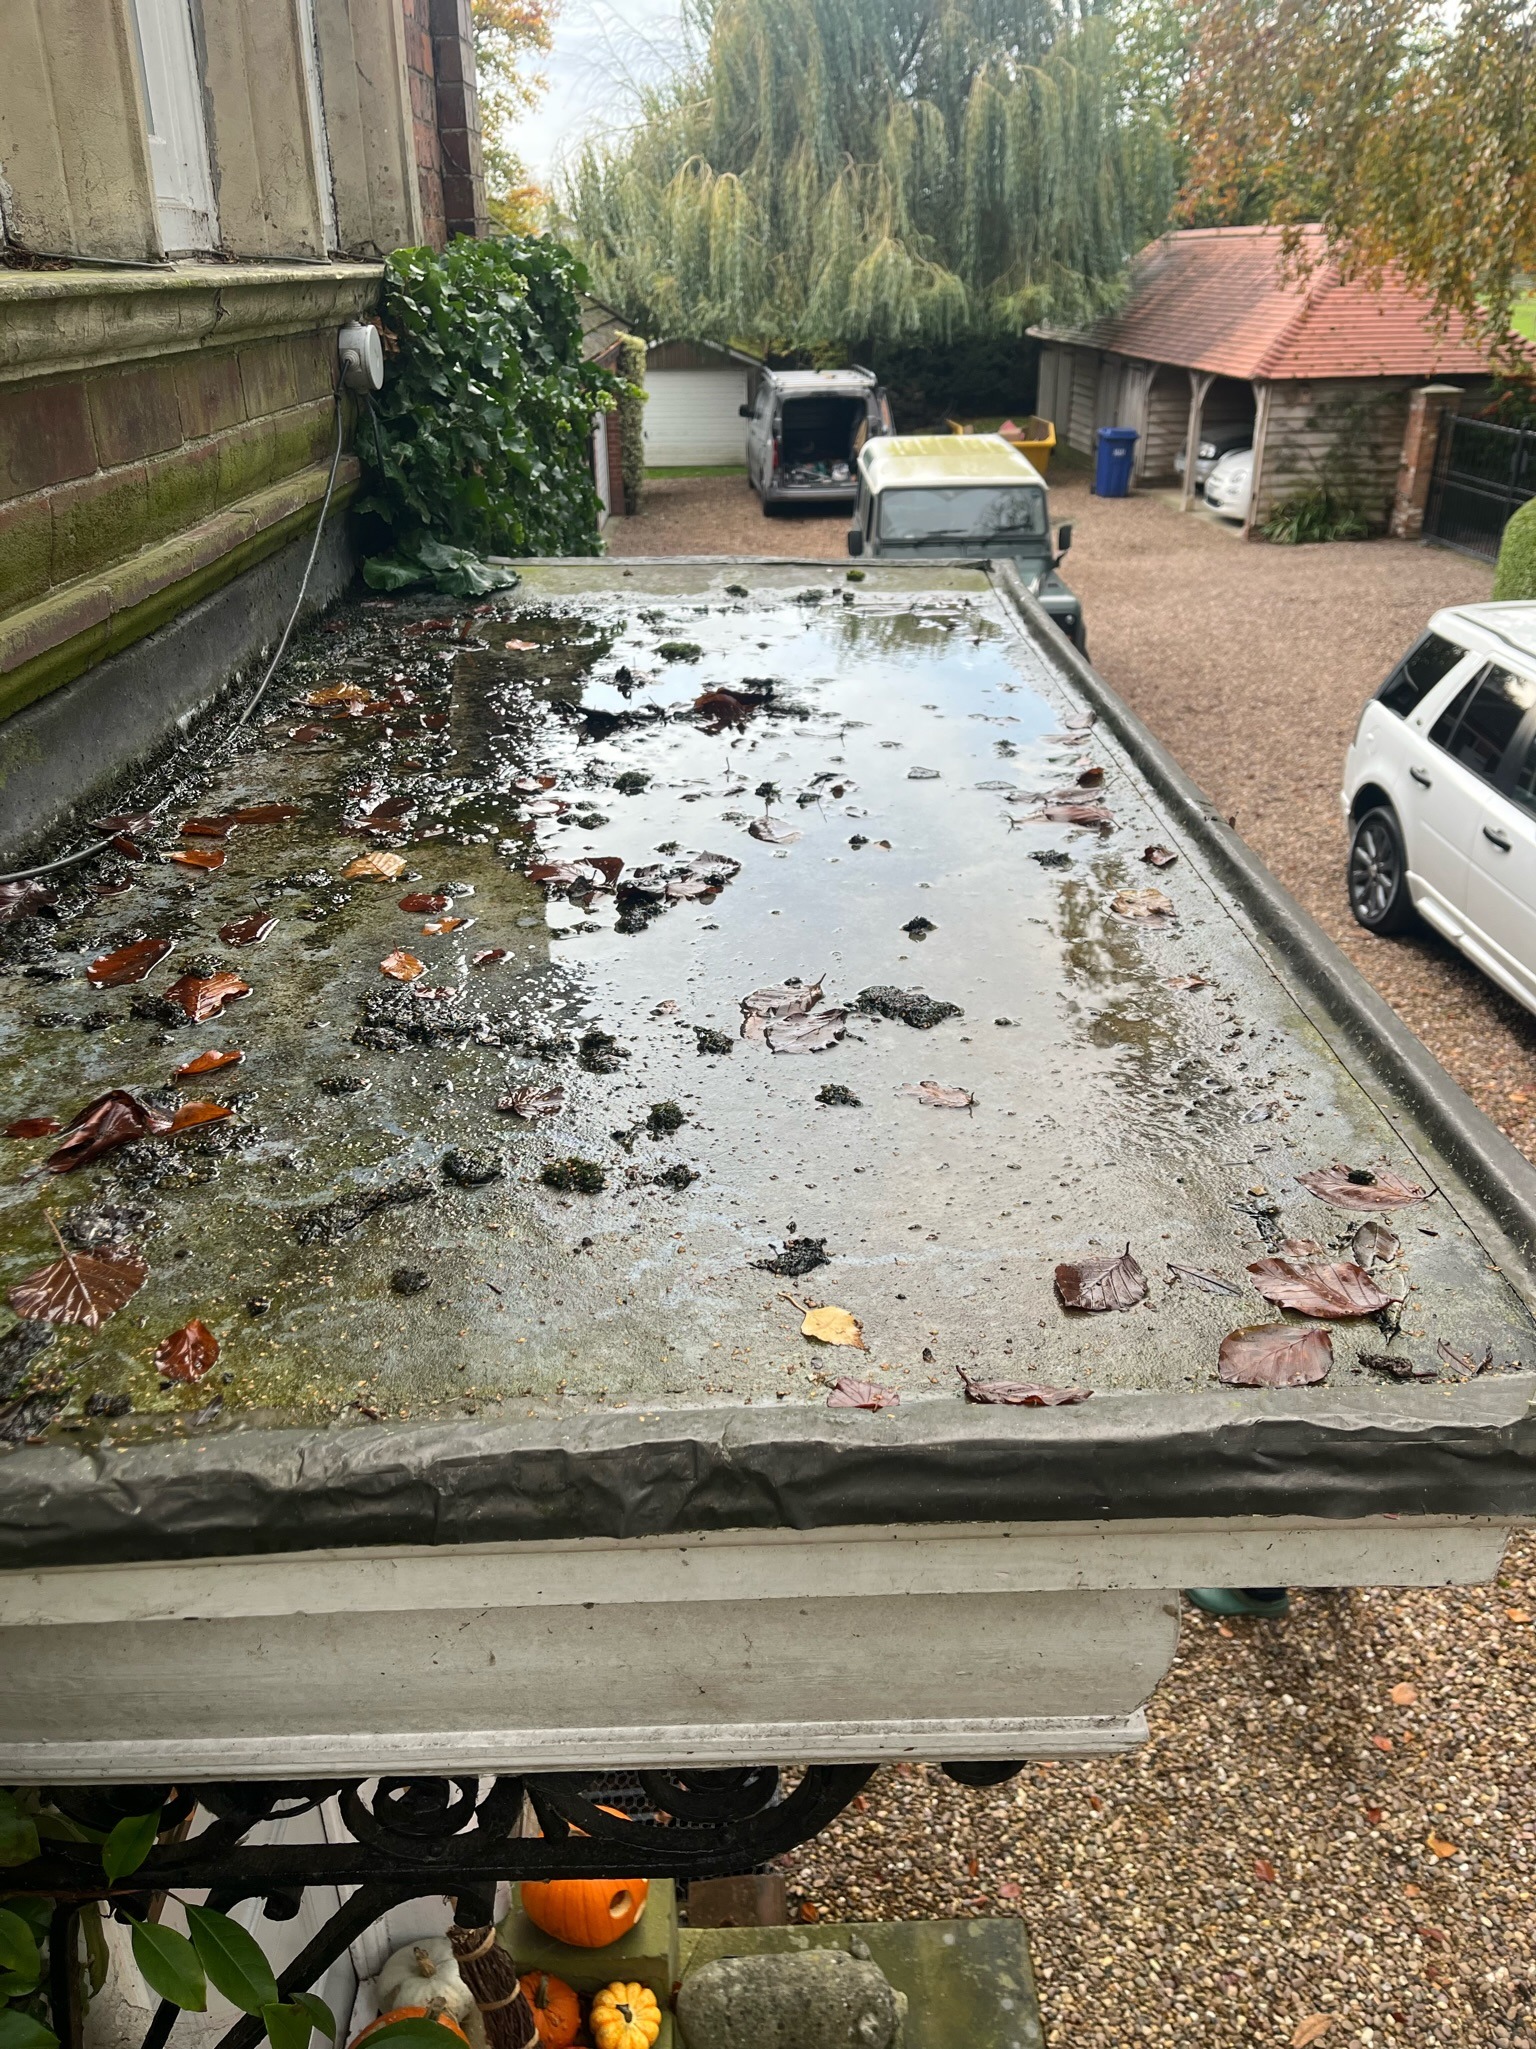
Water management is equally important. Standing water, inadequate falls, poorly positioned outlets and failed perimeter details all increase the likelihood of long-term deterioration. Although lead is highly resistant to weathering, no roofing material performs well if water is allowed to remain trapped against the surface.

Common Causes of Lead Bay Failure

  • Insufficient allowance for thermal movement.
  • Bay dimensions exceeding recommended sizes.
  • Incorrect lead code selection.
  • Poorly formed timber rolls.
  • Incorrectly detailed drips and welts.
  • Restrained or excessive fixings.
  • Standing water caused by inadequate falls.
  • Unsuitable timber substrates.
  • Poor welding or failed joints.
  • Defective flashings around walls and windows.

Most of these issues develop gradually over many years before becoming visible internally. Early inspection often allows isolated defects to be repaired before complete replacement becomes necessary.

restrained leadwork

Recognising the Warning Signs

Lead bay roofs rarely fail without warning. Small defects often develop slowly before eventually allowing water to penetrate the roof structure. Regular inspections can identify these early signs and significantly reduce the extent of future repairs.

Property owners should pay particular attention to the condition of exposed joints, timber rolls, edge details and rainwater outlets. Even relatively minor movement or lifting of the lead may indicate that excessive stress is developing within the roof covering.

Signs That a Lead Bay Requires Attention

  • Visible cracking within the lead sheet.
  • Splits developing alongside timber rolls.
  • Lifting or distorted lead.
  • Standing water after rainfall.
  • Staining beneath bay windows.
  • Damp patches to internal ceilings.
  • Failed mortar joints around flashings.
  • Open welded seams.
  • Loose perimeter details.
  • Signs of previous patch repairs.

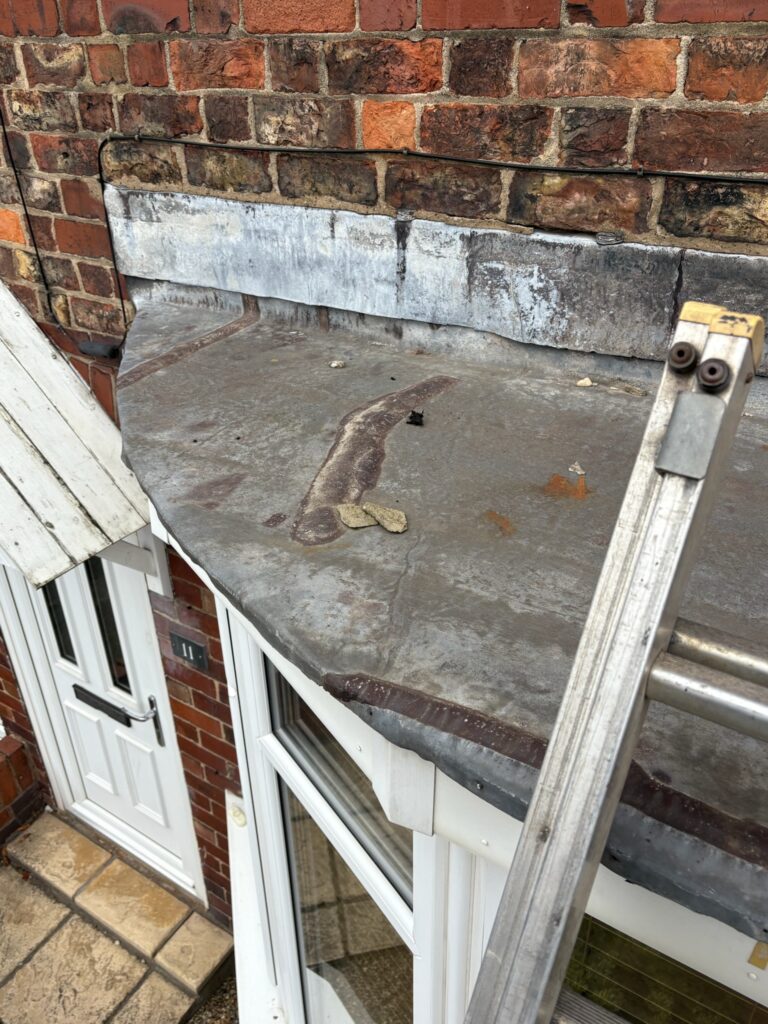
Many older lead bays have undergone multiple repairs throughout their lifetime. While isolated repairs can be extremely effective, repeated patching may indicate that the original bay dimensions or detailing no longer comply with modern recommendations.

lead roof failures

Oversized Bays

Large uninterrupted sheets of lead generate greater thermal movement. Traditional detailing divides roofs into manageable sections using timber rolls and drips, reducing stress and extending service life.

thermal movement

Restrained Movement

Lead should never be rigidly fixed across its entire surface. Correct fixing methods allow controlled movement while preventing wind uplift and maintaining long-term weather resistance.

lead bay roof with poor drainage

Poor Drainage

Standing water is often a symptom of inadequate falls or poorly detailed outlets. Efficient drainage is fundamental to the long-term performance of every lead bay roof.

Timber Rolls

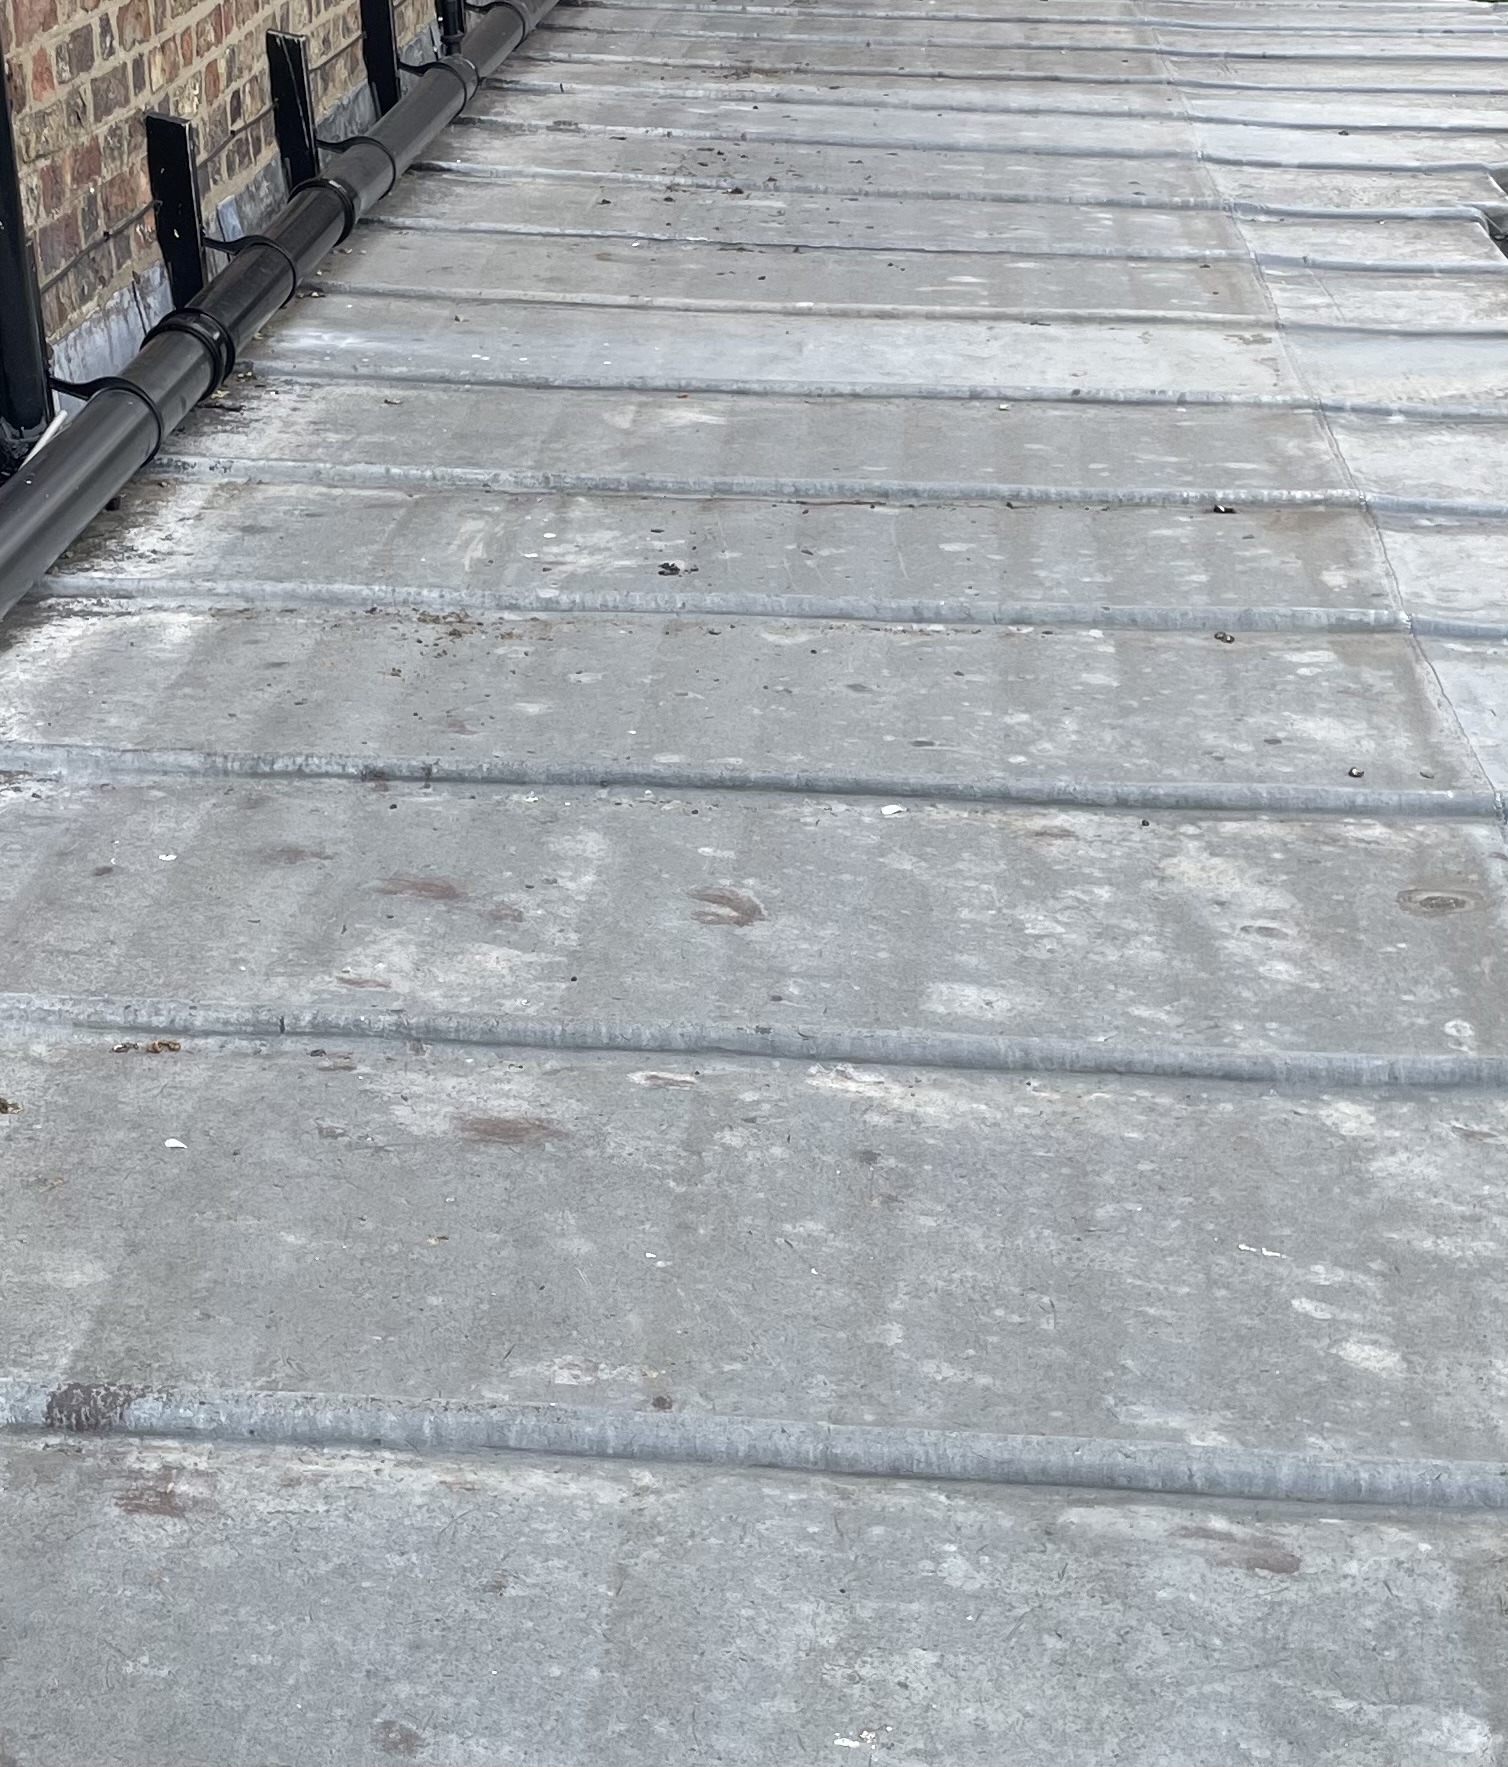
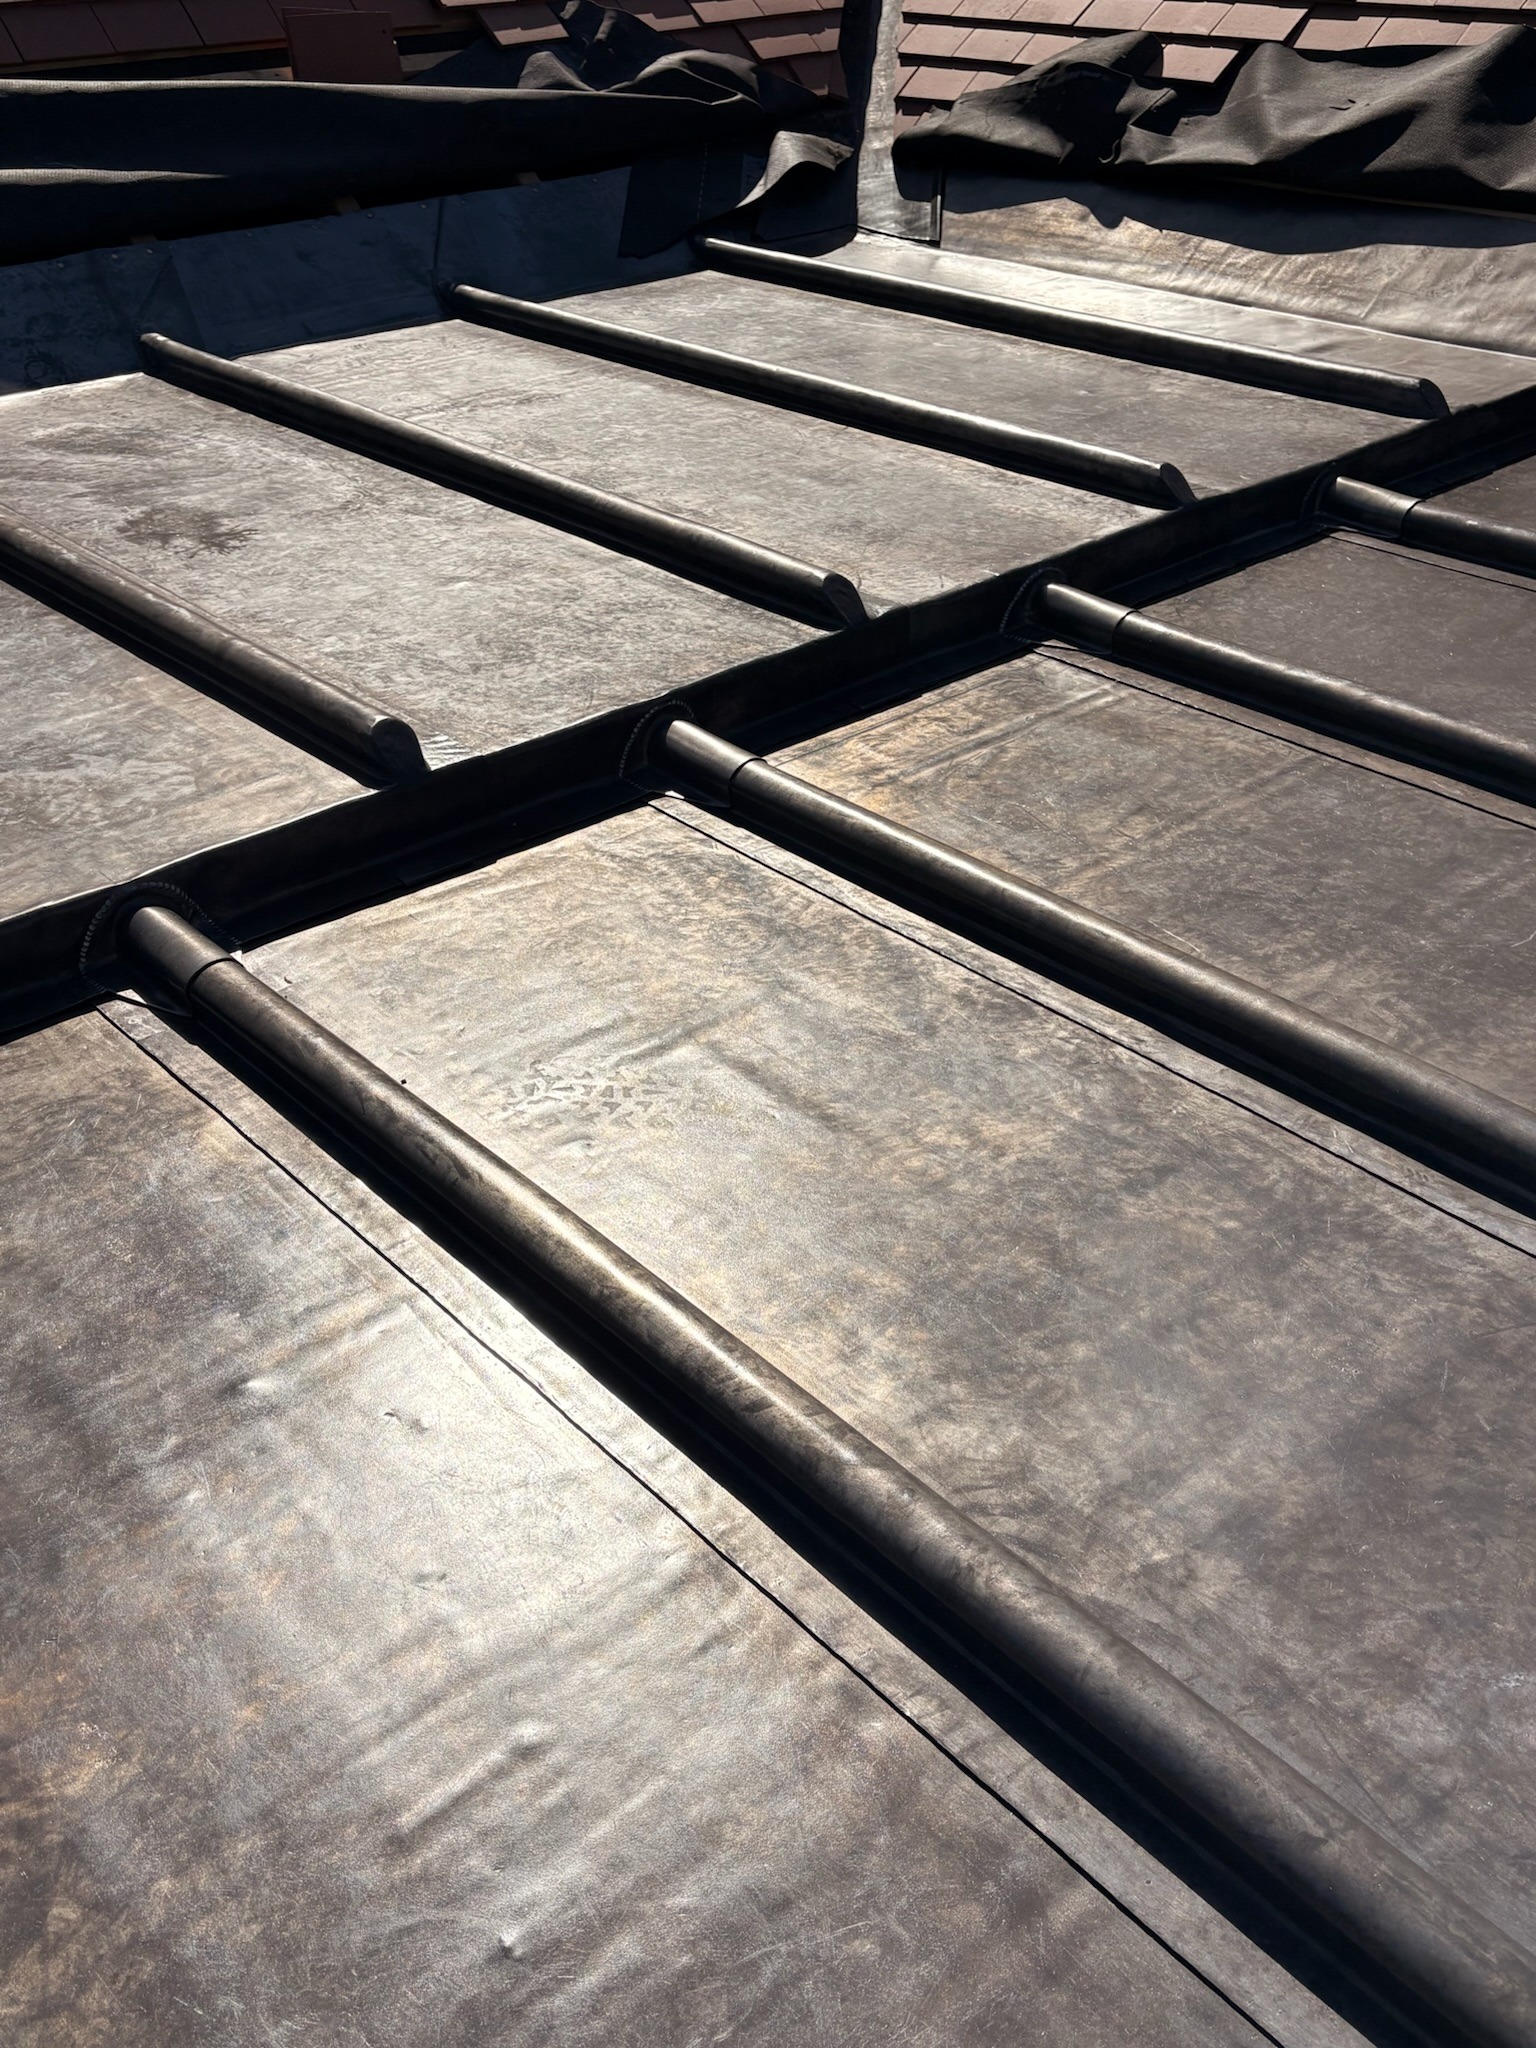
Timber rolls separate individual lead bays whilst allowing each sheet to expand and contract independently. This greatly reduces the stresses created by thermal movement and remains one of the fundamental principles of traditional leadwork.

The timber roll itself is formed over a raised timber core before the adjoining lead sheets are dressed over each side and secured using secret clips. Because the fixings remain concealed, the lead can move naturally without being punctured by exposed nails or screws.

Timber rolls also provide structural definition across the roof, creating neat visual lines that have become synonymous with quality leadwork.

Benefits of Timber Rolls

  • Divide large roof areas into manageable bays.
  • Allow independent thermal movement.
  • Reduce fatigue cracking.
  • Provide concealed fixing locations.
  • Improve appearance and symmetry.
  • Extend the service life of rolled lead sheet.

Roll spacing should always comply with recognised leadwork guidance and be determined by the selected lead code, roof geometry and anticipated thermal movement.

timber rolls for lead bays
lead bays with timber rolls

Traditional Timber Rolls

Raised timber rolls have been used for centuries to separate lead bays and remain the preferred detailing method for many heritage and high-quality roofing projects.

fixing timber rolls

Secret Fixings

Properly detailed timber rolls conceal the lead clips beneath the finished covering, allowing movement without visible mechanical fixings.

lead rolls and welts

Movement Joints

Each timber roll effectively creates a movement joint, reducing stresses within the lead and helping prevent premature fatigue cracking.

lead drips

Lead Drips

Lead drips accommodate expansion whilst encouraging rainwater to discharge cleanly from one section of roofing to the next. They are an essential feature wherever roof lengths exceed recommended dimensions.

Without correctly formed drips, thermal movement becomes concentrated within large sheets of lead. Over time this repeated movement may lead to buckling, distortion or fatigue cracking.

Drips also improve drainage by creating a controlled break between adjoining bays. This minimises standing water and reduces the likelihood of moisture remaining trapped against the lead surface.

Functions of Lead Drips

  • Allow controlled expansion.
  • Break long roof slopes into smaller sections.
  • Improve water discharge.
  • Reduce stress within the lead sheet.
  • Increase overall roof durability.

Lead Welts

Welts are folded edge joints that strengthen exposed edges whilst preventing water penetration. They create a clean architectural finish and are widely used around bay perimeters, drips and exposed roof margins.

A correctly formed welt provides rigidity without restricting movement. Traditional leadworkers carefully shape each fold so the lead remains free to expand and contract throughout seasonal temperature changes.

Welts also improve resistance to wind uplift by stiffening exposed edges and reducing the likelihood of distortion over time.

Where Welts Are Commonly Used

  • Perimeter roof edges.
  • Side upstands.
  • Parapet junctions.
  • Drip details.
  • Lead bay margins.
  • Architectural weatherings.

Neatly formed welts are often one of the clearest indicators of high-quality craftsmanship and remain a hallmark of traditional lead roofing.

lead bay roof

Working Together as a Complete Roofing System

Timber rolls, drips and welts should never be considered in isolation. Each element performs a specific role, but together they create a roofing system that manages thermal movement, controls rainwater and protects the structure beneath.

Successful lead bays depend on achieving the correct balance between restraint and movement. Excessive restraint leads to fatigue cracking, whilst insufficient restraint can allow wind uplift or distortion. Traditional detailing has evolved over centuries to achieve this balance, which is why recognised guidance continues to recommend these construction principles today.

In the following section we examine one of the most important factors influencing lead bay performance—bay sizing and thermal movement—and explain why even perfectly installed lead can fail if the bay dimensions exceed recognised recommendations.

Bay Sizes & Thermal Movement

Thermal movement is one of the most important considerations in the design of every lead bay roof. Rolled lead sheet expands as temperatures rise and contracts as temperatures fall. Throughout the year this movement occurs repeatedly, placing continual stress upon the roof covering if it has not been designed to accommodate it.

Unlike rigid roofing materials, lead is deliberately detailed so that it can move naturally. Timber rolls, drips, welts and concealed fixings all work together to manage this movement whilst maintaining a weatherproof roof covering.

Many premature failures occur because bays have simply been made too large. Increasing the thickness of the lead will not eliminate thermal movement. Instead, the roof should be divided into appropriately sized sections using recognised detailing methods that allow each piece of lead to move independently.

Successful leadwork is therefore based upon controlling movement rather than preventing it.

Why Does Lead Expand?

Every roofing material responds differently to changes in temperature. Lead has a relatively high coefficient of thermal expansion, meaning even modest temperature changes produce measurable movement across the surface of the roof.

On a sunny summer afternoon the surface temperature of a lead roof can become significantly higher than the surrounding air temperature. During winter the same roof contracts as temperatures fall. This expansion and contraction occurs continuously throughout the life of the roof.

If movement is restrained, stresses accumulate within the sheet until fatigue cracking develops. These cracks frequently occur beside timber rolls, around fixings or close to junctions where movement has been restricted.

The objective of traditional detailing is not to stop movement, but to provide controlled movement in predictable locations.

Factors Affecting Thermal Movement

  • Overall bay dimensions.
  • Lead code and sheet thickness.
  • Roof orientation.
  • Solar gain and surface temperature.
  • Roof pitch.
  • Exposure to prevailing weather.
  • Location of fixings.
  • Drainage detailing.
lead bays expansion

Expansion

During warmer weather rolled lead sheet expands across its length and width. Professional detailing allows this movement to occur without overstressing the roof covering.

Contraction

As temperatures reduce, lead contracts. Every bay roof must be capable of accommodating this continual cycle throughout its service life.

Controlled Movement

Traditional detailing uses timber rolls, drips and secret fixings to manage thermal movement whilst maintaining complete weather protection.

correct bay sizing

Designing the Correct Bay Size

There is no single maximum size suitable for every lead bay. Appropriate bay dimensions depend upon the lead code, roof geometry, pitch, detailing and the recognised guidance published by the Lead Sheet Association.

Rather than attempting to cover large areas using one continuous sheet, experienced leadworkers divide roofs into a series of manageable bays. This approach reduces movement within each section, improves long-term durability and makes future maintenance considerably easier.

Timber rolls and drips are positioned so each section remains within recognised design recommendations. This proven approach has been refined over centuries and continues to form the basis of modern lead roofing practice.

Where unusually large bays are required, alternative detailing strategies may be necessary to accommodate increased thermal movement without compromising the integrity of the roof.

Good Design Is More Important Than Heavy Lead

A common misconception is that increasing the lead code will automatically produce a longer-lasting roof. In reality, poor detailing cannot be compensated for simply by installing thicker lead.

Correct bay sizing, suitable timber substrates, well-positioned timber rolls, accurately formed drips and concealed fixings all contribute more to long-term performance than increasing sheet thickness alone.

Lead codes should therefore be selected alongside the overall roof design rather than viewed as an isolated decision. A well-detailed Code 5 installation will often outperform a poorly designed roof constructed using heavier lead.

Professional leadworkers therefore consider the roof as a complete system, balancing movement, drainage, appearance and durability to produce a lead bay capable of performing for many decades.

Technical Guidance

Lead bay dimensions, detailing, fixing methods and movement allowances should always be designed in accordance with the latest guidance published by the Lead Sheet Association (LSA) and relevant British Standards. Every project should be assessed individually, taking account of roof geometry, exposure, pitch and the selected lead code.

Lead Codes, Welding & Leadwork Standards

Successful lead bay roofs rely upon selecting the correct lead code, following recognised detailing guidance and carrying out every stage of the installation to a consistently high standard. No single element determines the lifespan of a lead roof. Instead, long-term performance results from combining appropriate materials with proven construction techniques and experienced workmanship.

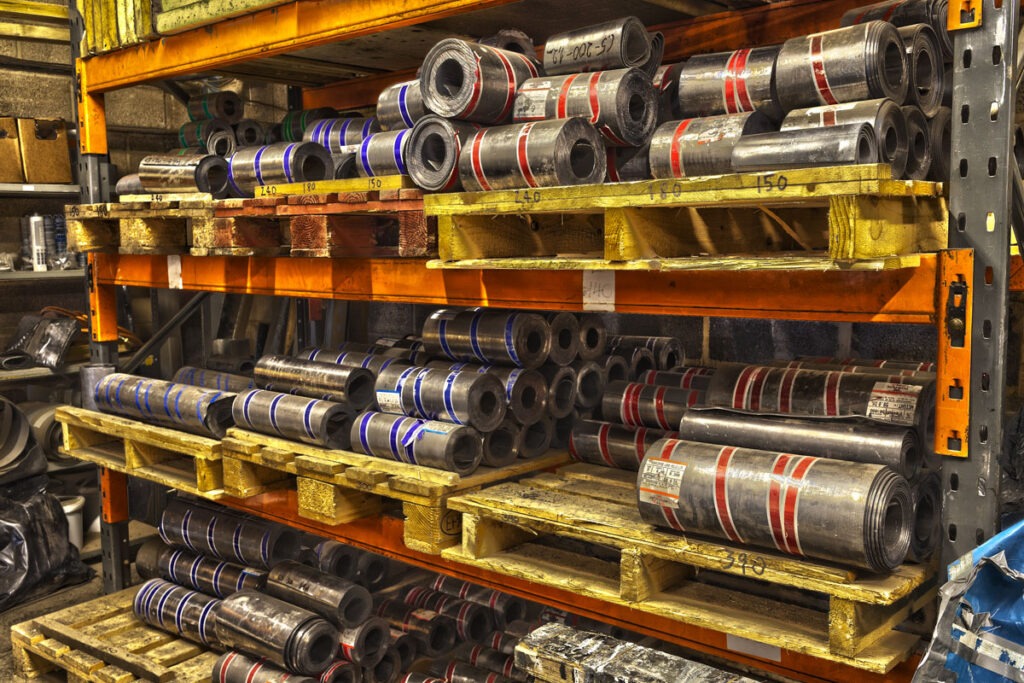
Rolled lead sheet is manufactured in a range of thicknesses, commonly referred to as lead codes. Each code has been developed for specific applications, taking account of roof geometry, anticipated movement, durability and ease of installation.

However, selecting a heavier lead code should never be viewed as a solution to poor design. Oversized bays, restrained movement or inadequate detailing will still result in premature failure regardless of sheet thickness.

Professional leadworkers therefore consider code selection alongside bay dimensions, thermal movement, drainage, substrate design and fixing methods to produce a balanced roofing system capable of performing for many decades.

Selecting the Correct Lead Code

Different lead codes are intended for different roofing applications. The correct choice depends upon the size of each bay, roof pitch, anticipated movement, exposure and the recommendations published by the Lead Sheet Association.

Thicker lead generally provides greater resistance to mechanical damage, but it also increases weight and cost. It does not eliminate thermal movement or compensate for poor detailing. For this reason, experienced leadworkers always begin by designing the bay correctly before selecting the most appropriate lead code.

Each project should be assessed individually, ensuring that bay dimensions, timber rolls, drips, welts and movement joints all work together with the chosen lead thickness.

Lead Code Selection Should Consider

  • Roof pitch.
  • Bay dimensions.
  • Thermal movement.
  • Exposure to wind and weather.
  • Structural support.
  • Architectural detailing.
  • Expected service life.
  • Current Lead Sheet Association guidance.

Appropriate lead code selection forms only one part of a much wider design process focused on achieving a durable and maintainable roof covering.

buy rolled lead sheet
Buy rolled lead sheet

Correct Lead Code

Selecting the appropriate lead code helps balance durability, movement and weight, ensuring the finished roof performs as intended throughout its design life.

Roll of Code 5 lead - theleadlads.co.uk

Balanced Design

Lead thickness should always be considered alongside bay size, detailing and thermal movement rather than as an isolated specification.

summer lead roof maintenance

Long-Term Performance

Correct detailing, workmanship and maintenance will usually have a greater influence on longevity than increasing the lead code alone.

Leadwork Guides

Lead Welding

Lead welding enables individual sections of rolled lead sheet to be permanently joined whilst maintaining the integrity of the roof covering. When undertaken correctly, welded joints produce neat, durable connections capable of withstanding decades of weather exposure.

Lead welding is particularly valuable where complex roof geometry, curved bays, bespoke flashings or intricate architectural details make traditional bossing techniques impractical.

The process demands considerable experience. Successful welds require clean surfaces, correct preparation, controlled temperatures and consistent technique. Poor welding can create weak joints that may eventually crack or allow water ingress.

Lead Welding Is Commonly Used For

  • Curved bay roofs.
  • Bespoke architectural details.
  • Complex lead flashings.
  • Rainwater outlets.
  • Lead hoppers.
  • Decorative weatherings.
  • Heritage restoration.

Whilst welding creates strong permanent joints, it should complement—not replace—good bay design and appropriate movement detailing.

Working to Recognised Standards

Professional leadwork should always be completed in accordance with recognised industry guidance and current best practice. Standards exist to improve consistency, minimise premature failures and ensure that lead roofs achieve the long service life for which they are renowned.

Guidance published by the Lead Sheet Association (LSA) provides comprehensive recommendations covering bay sizes, fixing methods, timber rolls, drips, welts, lead code selection, movement allowances and workmanship.

Leadwork should also be considered alongside relevant British Standards and project-specific design requirements. Listed buildings, conservation projects and architect-designed developments may introduce additional requirements that influence both detailing and material selection.

By following recognised standards throughout the design and installation process, property owners can significantly reduce the risk of avoidable defects whilst improving the durability and maintainability of the completed roof.

Further Technical Guidance

Explore our dedicated resources covering Leadwork Standards, the Ultimate Lead Roofing Guide, specialist Lead Roofing Projects and products available through The Lead Shop.