Project Duration
This lead lined gutter box was completed in around 4 days, excluding access setup.
Project Location
Leadwork Services
The Lead Lads provide specialist leadwork services for bays, flashings, valleys, gutters and traditional roof details.
Leadwork Project Details | The Lead Lads ®
The Property
Lead Gutter Linings Keepers Cottage – Boroughbridge, York
Keepers Cottage is a charming period property in Myton-on-Swale, near York. Originally built in 1860, it served as the former gamekeeper’s cottage for the historic Myton Estate.
Constructed in traditional masonry, the house displays strong heritage character throughout. In addition, it sits within approximately 1.8 acres of mature landscaped gardens and enjoys a peaceful rural setting.
Over time, the property has been carefully maintained and extended to provide spacious family accommodation while preserving its original appearance. Features such as traditional sash-style windows, pitched roofs, established stone and brickwork, and the vaulted outbuilding known as The Keep all reflect its historic origins.
As a result, the property remains a high-quality example of a restored Victorian estate cottage with both architectural and practical importance.
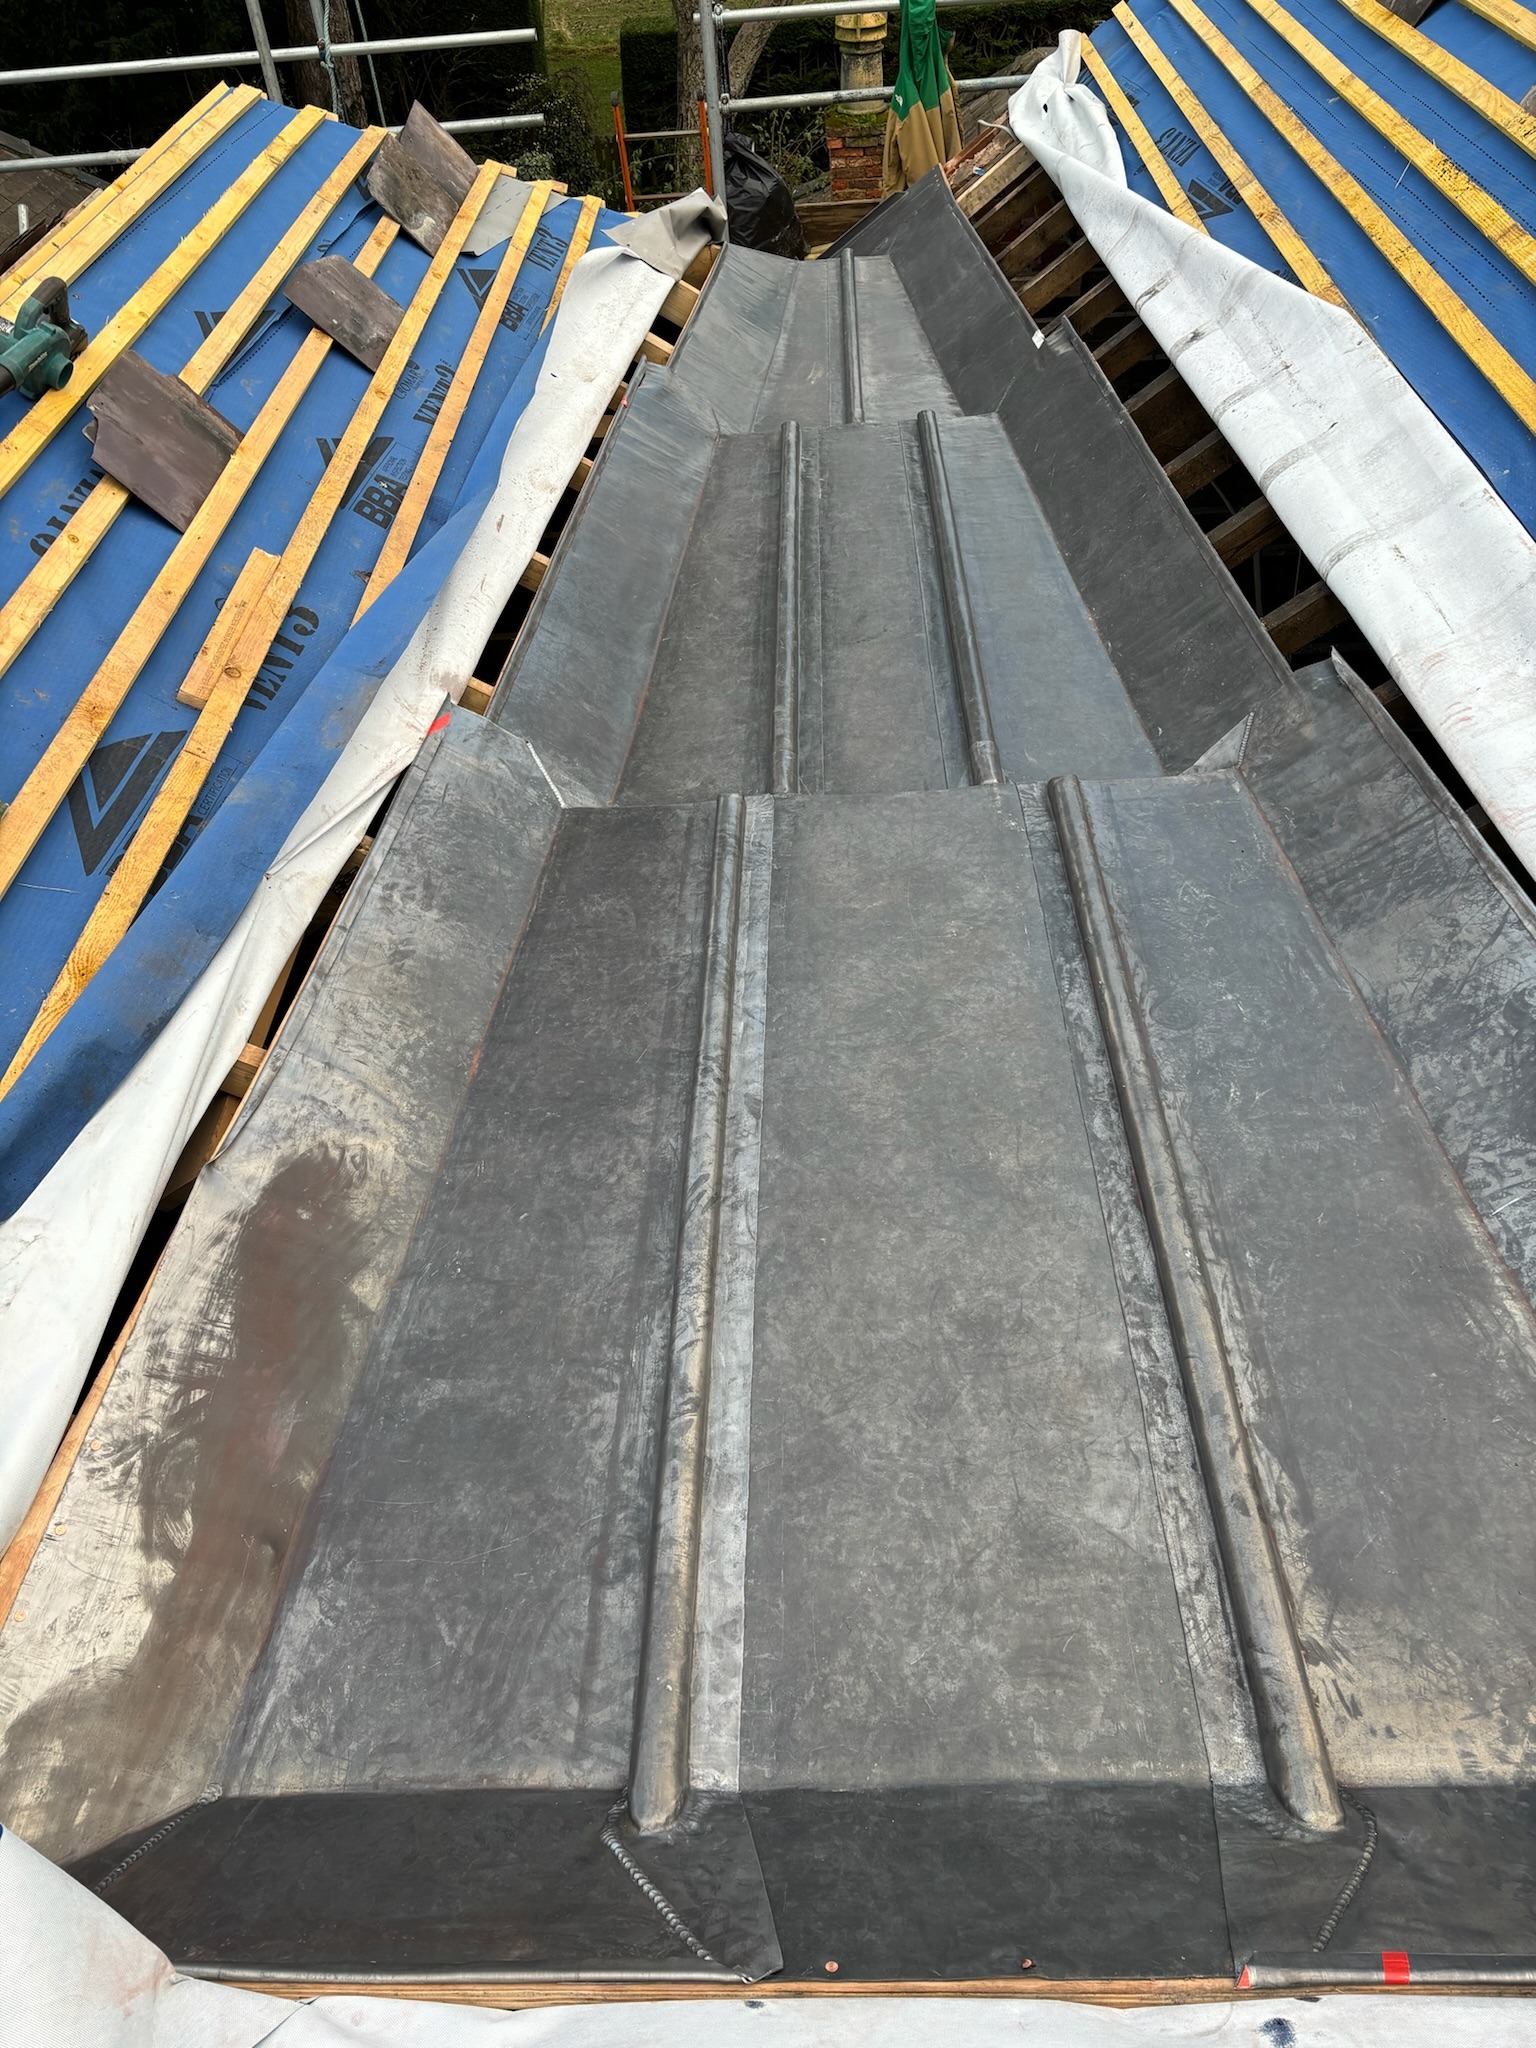
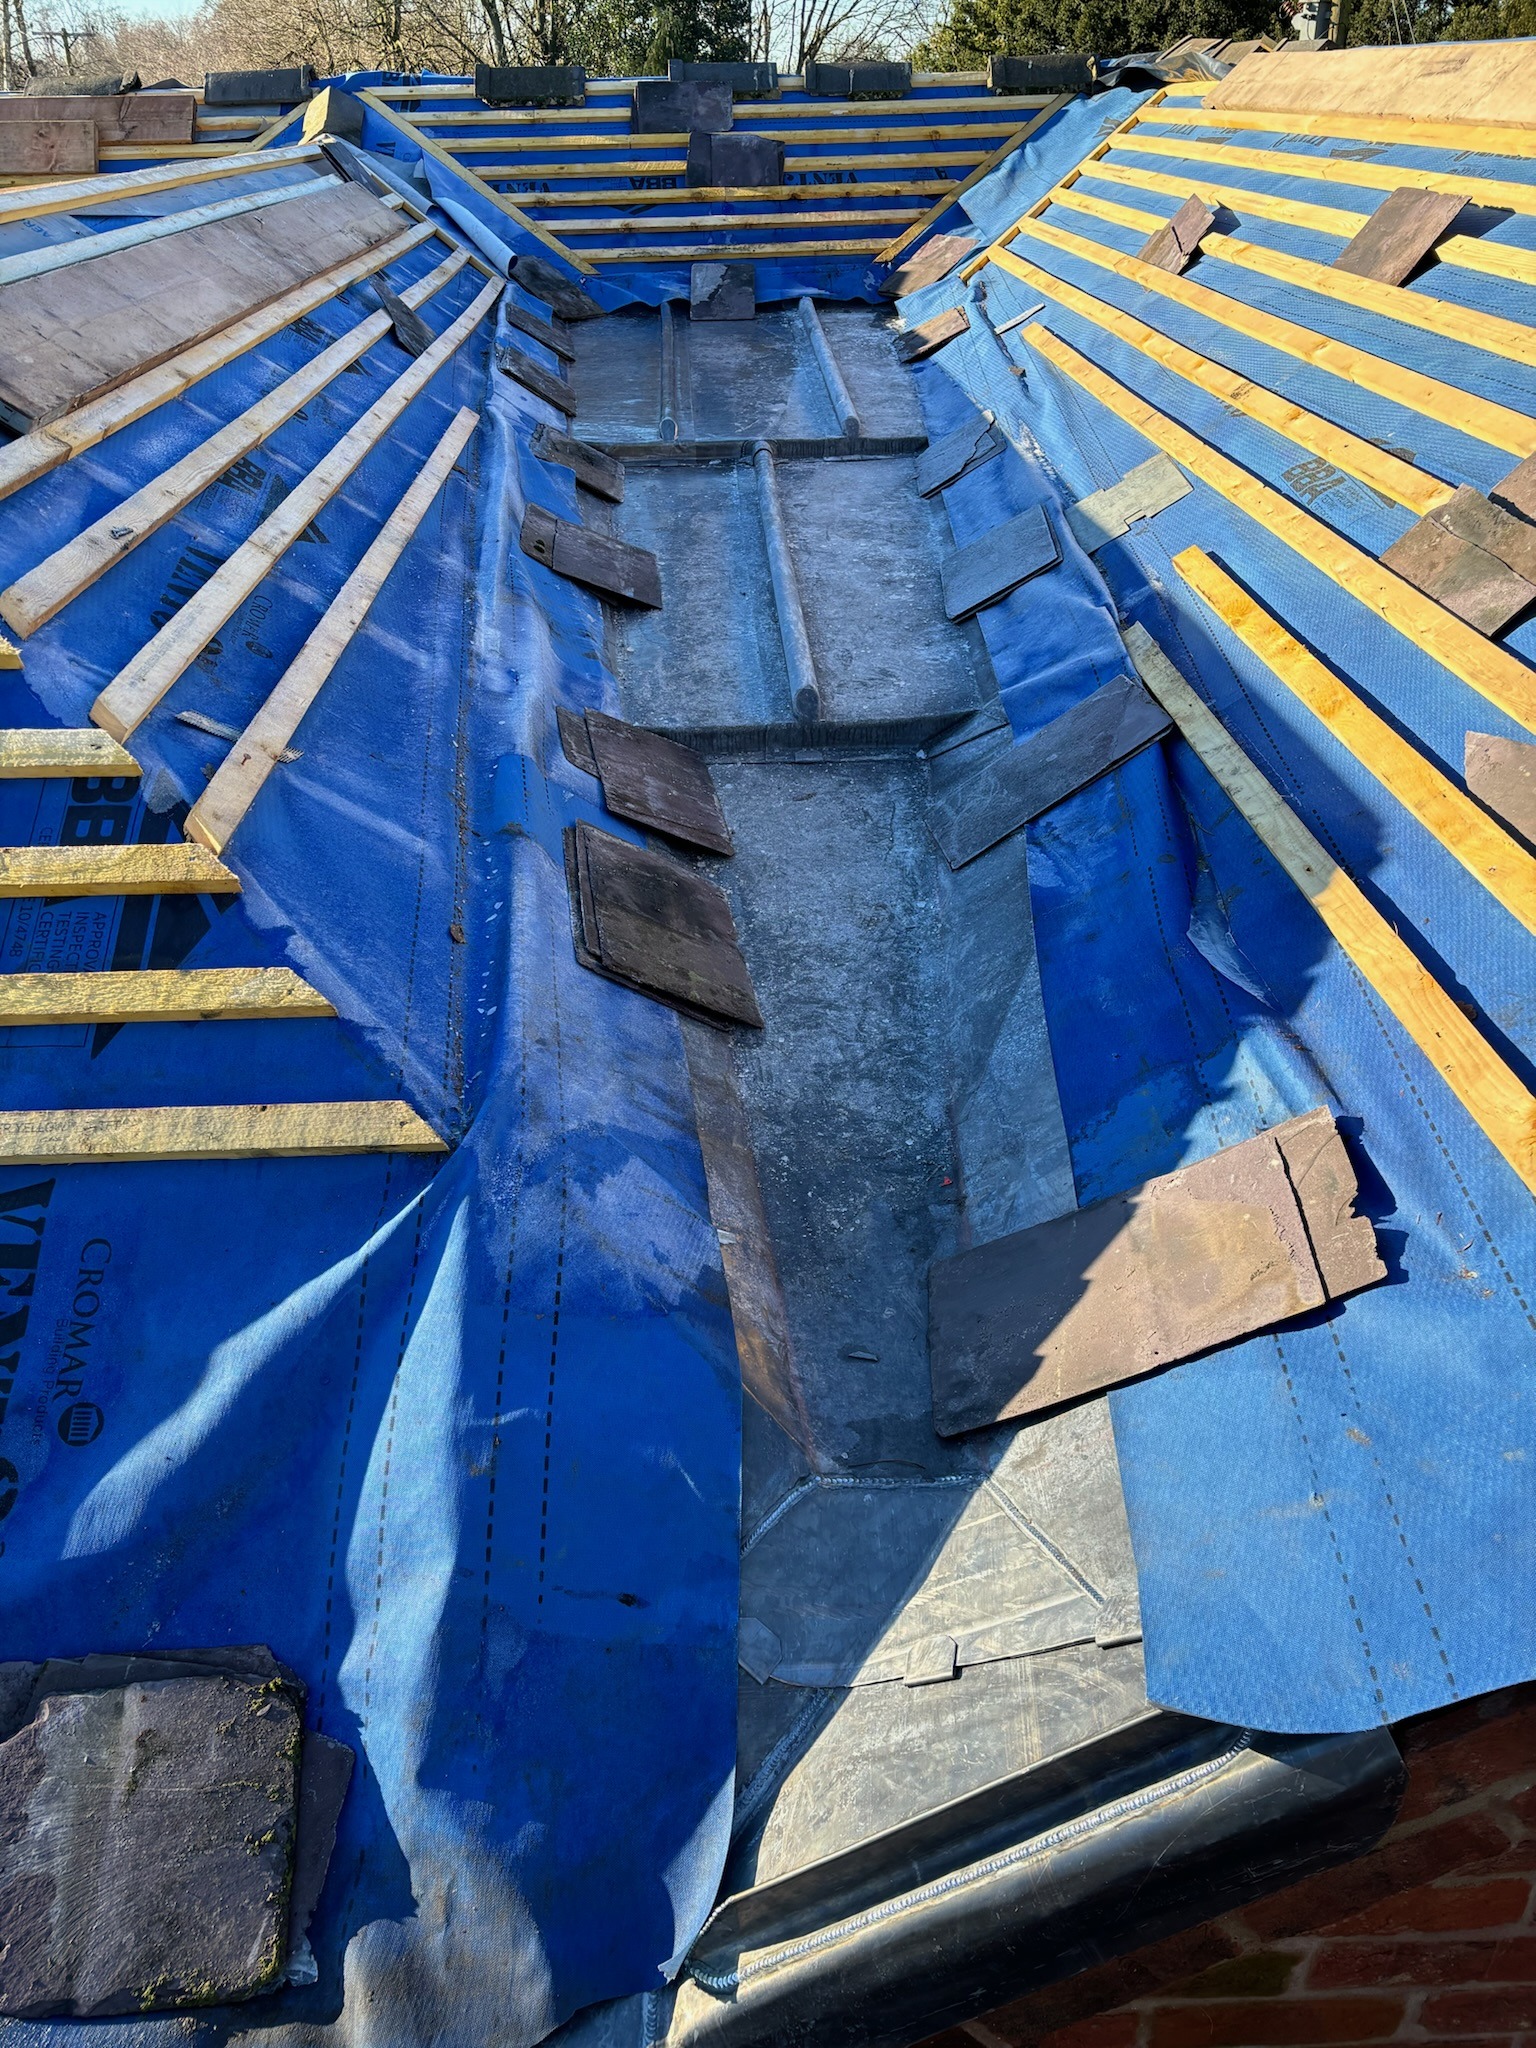
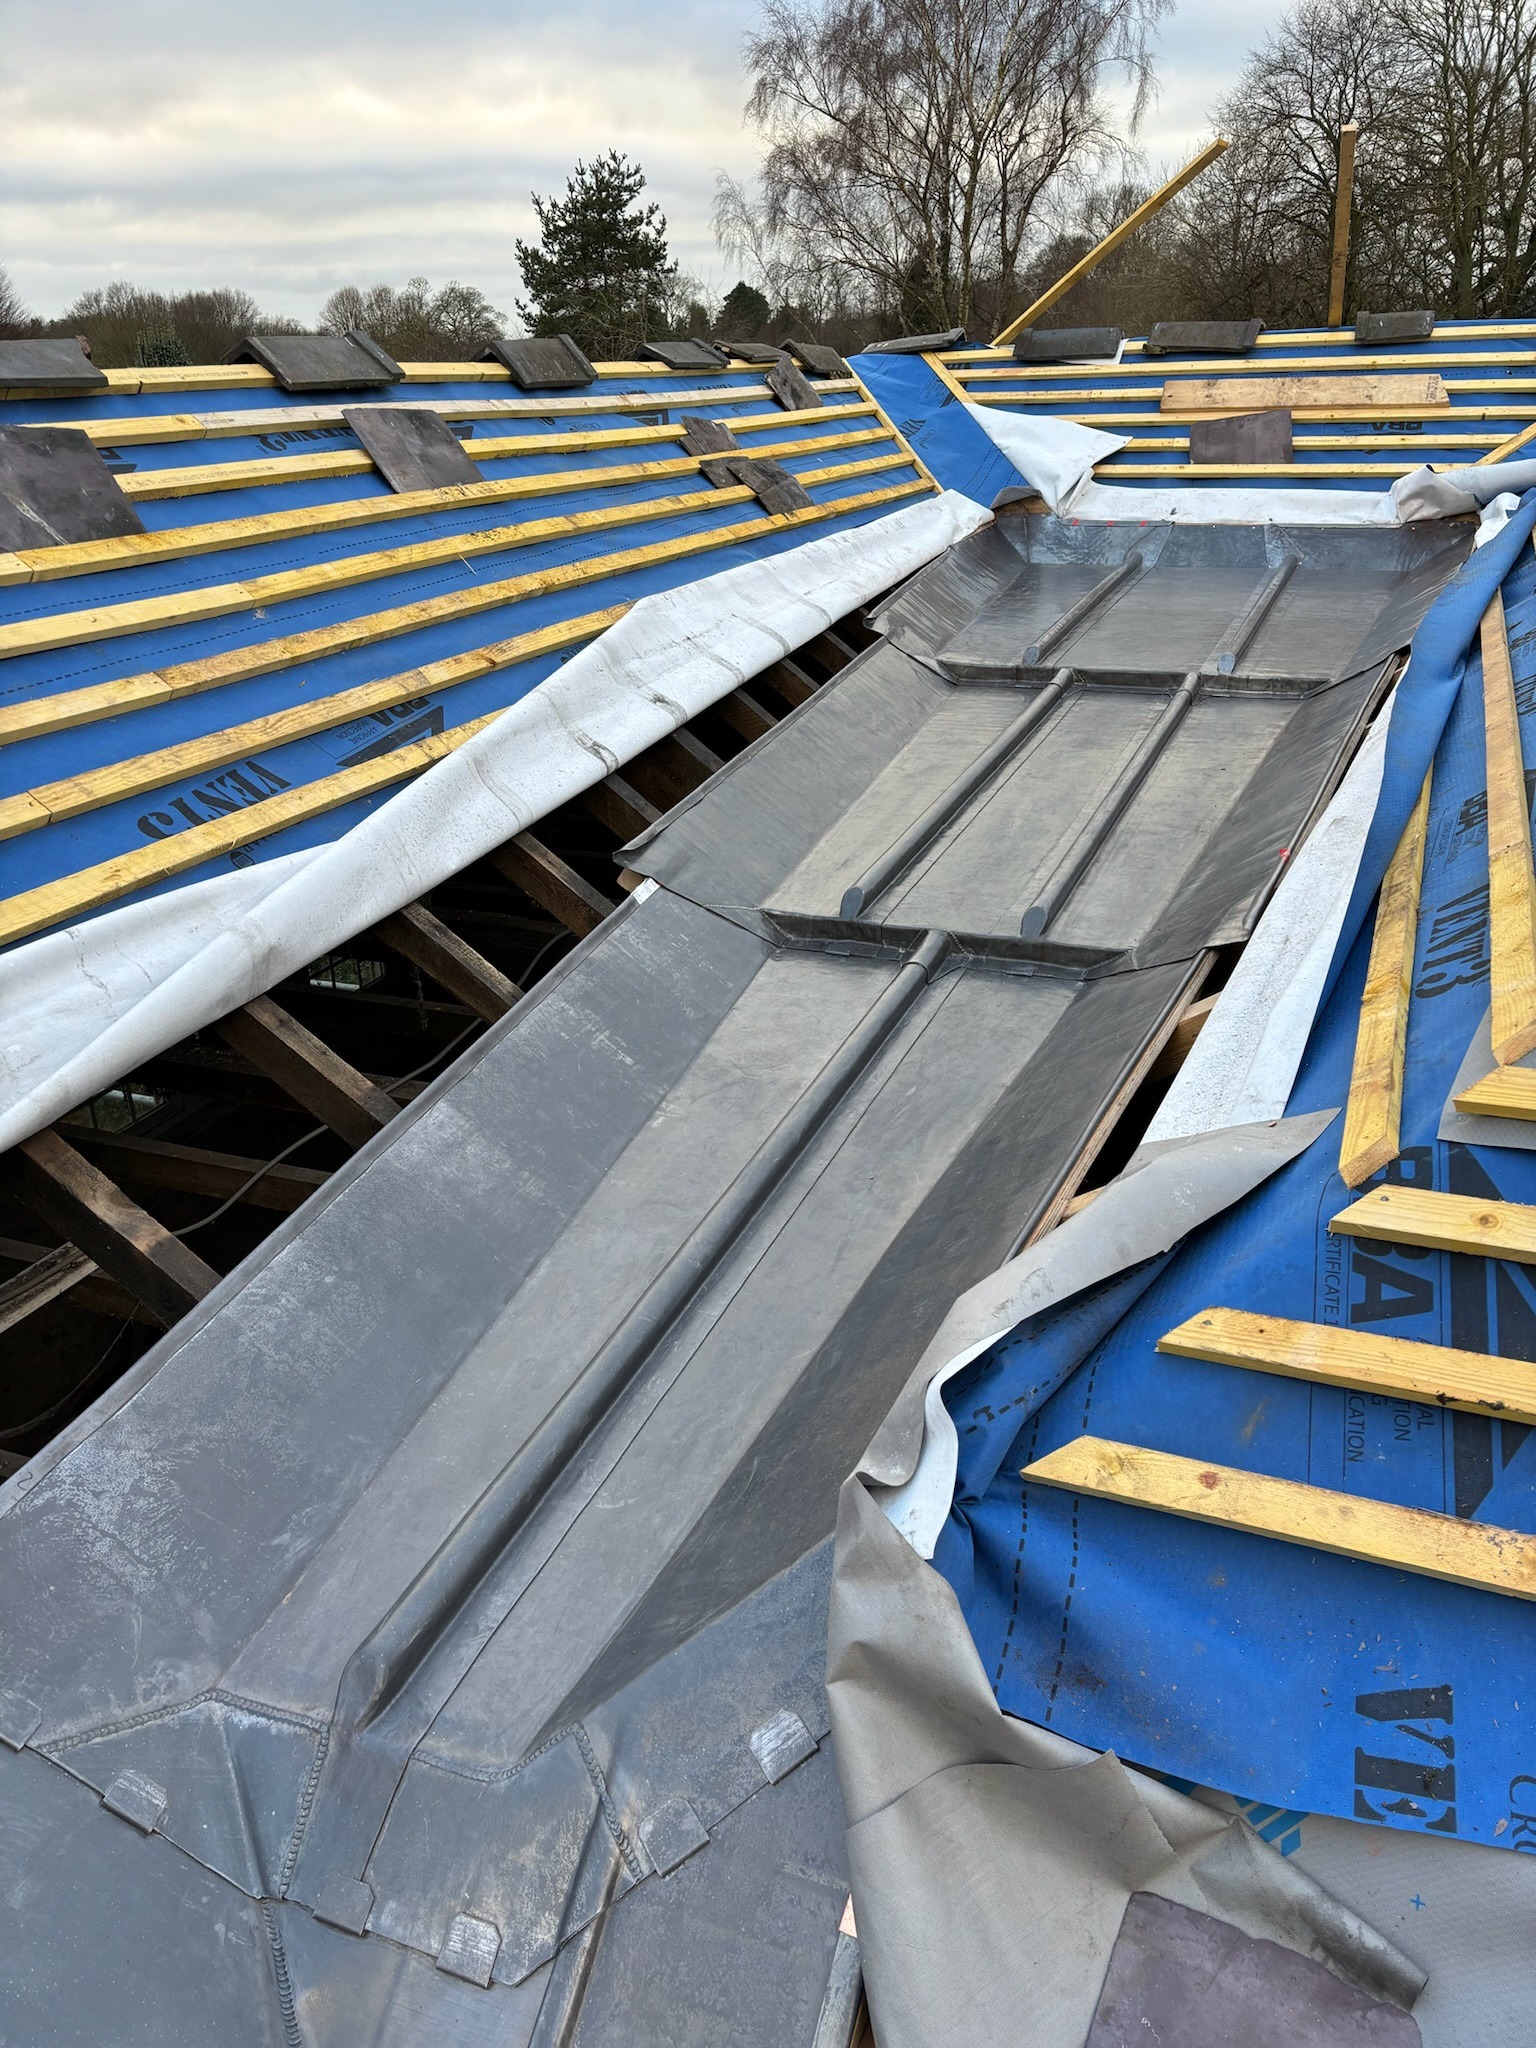
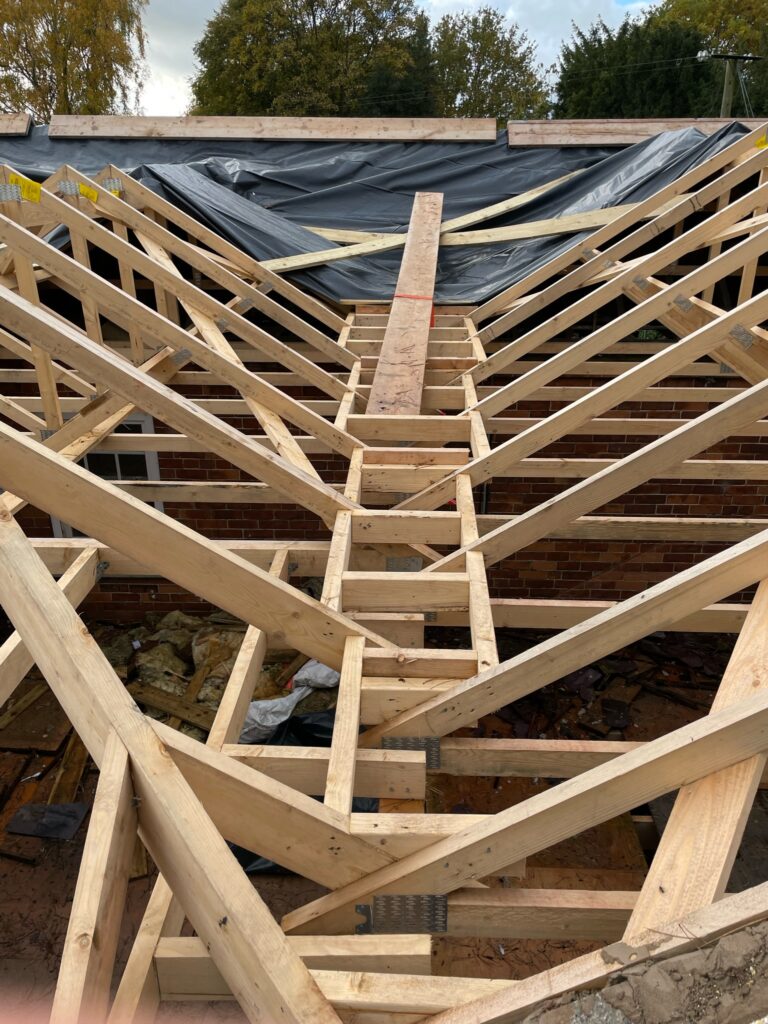
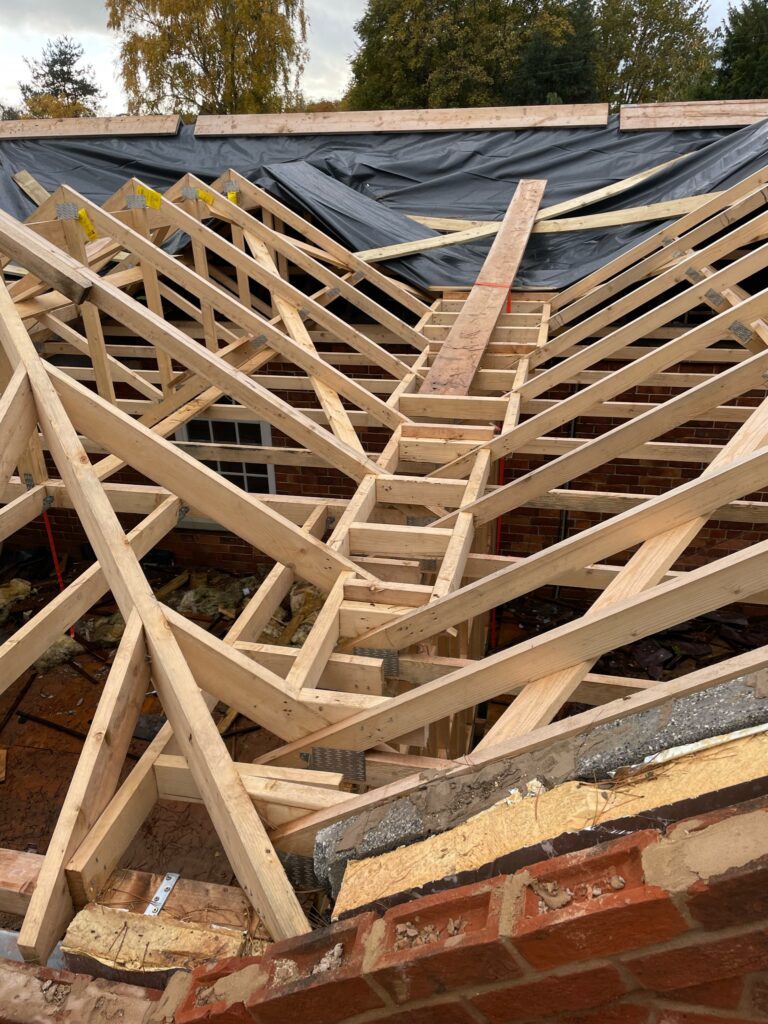
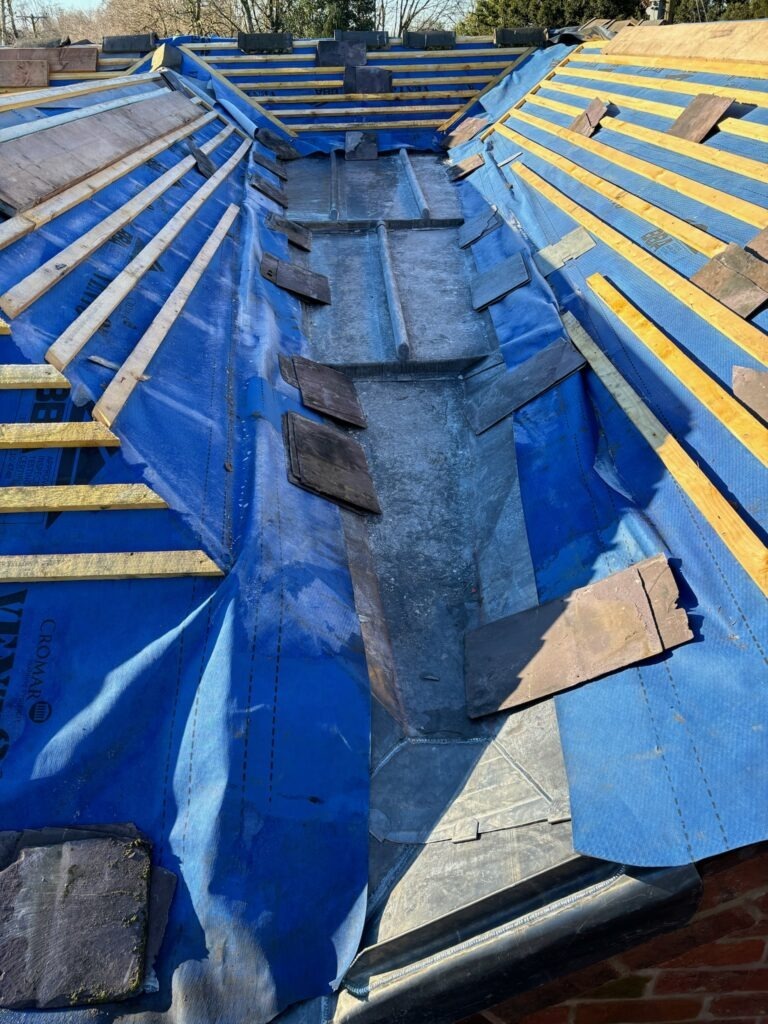
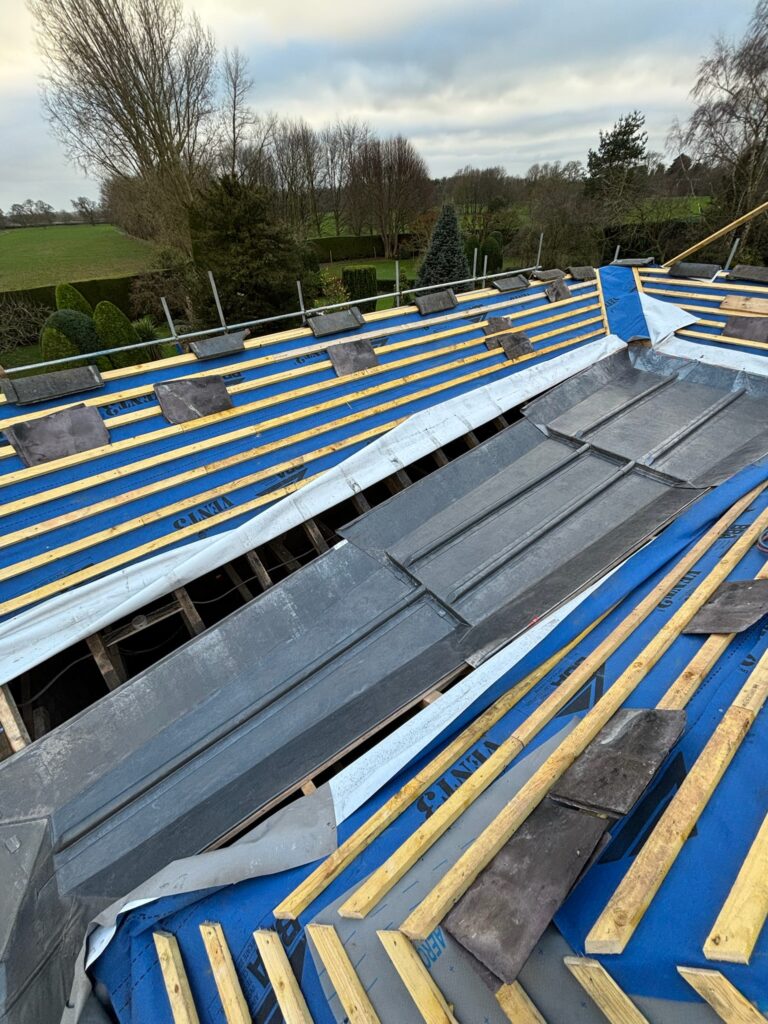
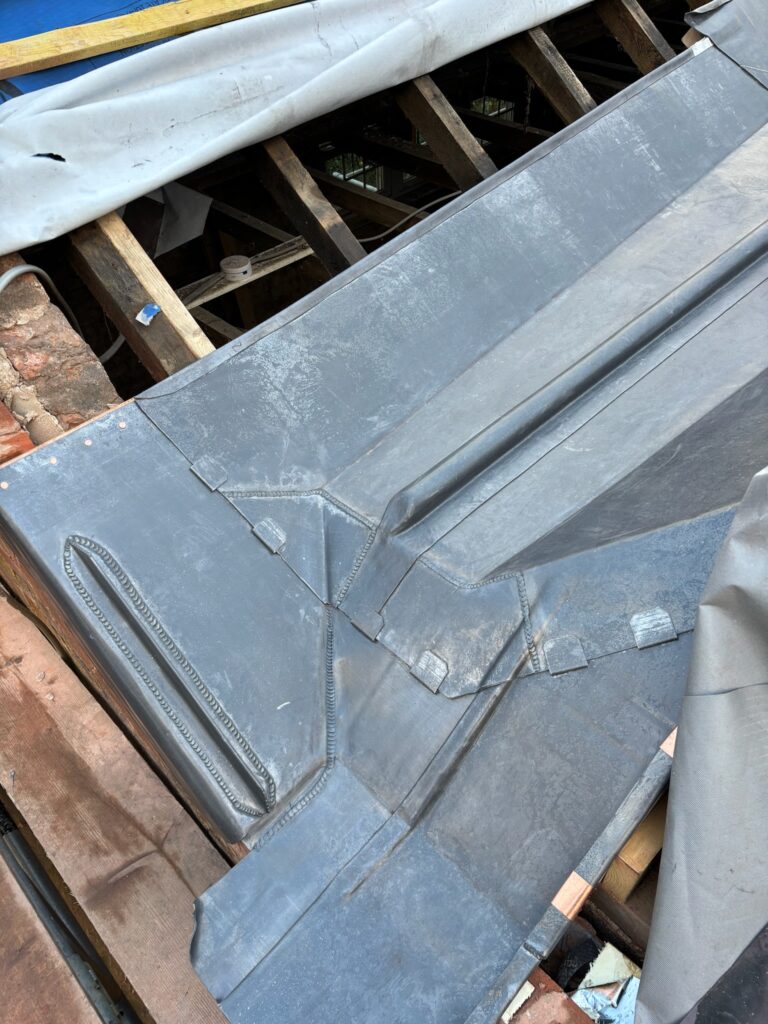
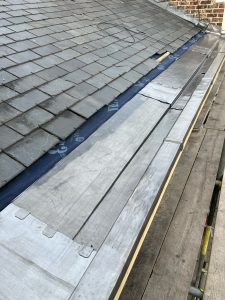
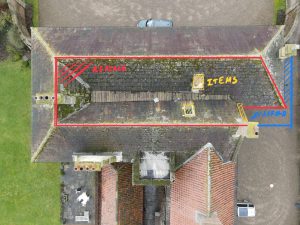
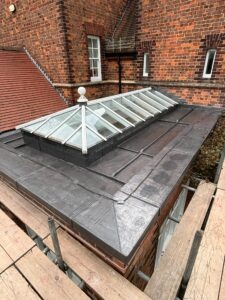
This detail shows a lead-lined box gutter set between two pitched slate roof slopes. It is formed using code 5 lead bays with raised wood roll joints to control water flow and allow natural thermal movement.
Furthermore, the gutter is installed over a fully supported timber substrate. This concealed detail safely drains large roof areas while maintaining the traditional appearance of Keepers Cottage and providing long-term weather protection.
Why the Original Leadwork Needed Replacing
The original lead-lined box gutter may have failed due to splits in the lead, failed joints, over-fixing, or rotten timber support causing movement and sagging.
In addition, corrosion around outlets and poor drainage could also lead to failure. Common signs include leaks, damp patches on ceilings, overflowing rainwater, ponding in the gutter, and visible lifting or cracking in the leadwork.
However, age, movement, and poor support beneath the lead were likely the main causes of failure. If the lead had been over-fixed or installed without proper expansion joints, thermal movement would have caused splits and cracks over time.
Likewise, decayed timber beneath the lead may have caused sagging and standing water. As a result, leaks and internal damp problems would have developed.
Leadwork Standards and Technical Approach
This project followed a standards-led approach focused on correct lead detailing, suitable material selection, and strong support beneath the finished covering.
Firstly, BS 6915 informed the design and installation of the fully supported lead sheet covering.
Secondly, BS EN 12588 governed the rolled lead sheet material specification.
In addition, Lead Sheet Association guidance informed bay sizing, fixing principles, bossing, welting, corner formation, and general best practice.
Therefore, the box gutter replacement followed both BS EN 12588 and BS 6915 to ensure correct installation and long-term performance.
We also followed Lead Sheet Association guidance for bay sizing, fixings, wood roll joints, and expansion allowances.
Finally, new code 5 lead was installed over a ventilated timber substrate with correct drips and outlets. This provides long-term weatherproofing and allows the lead to move naturally with temperature changes.
Contact us about leadwork More leadwork resources and guides The leadwork Link
Specification of Works
Preparation and Removal
First, inspect the existing box gutter, outlets, joints, and surrounding slate roof edges. This helps identify leaks, splits, ponding water, or failed support beneath the lead.
Carefully lift nearby slates or flashings where needed to expose the full gutter lining. This allows access while protecting reusable roofing materials.
Next, remove the old lead gutter lining, fixings, clips, sealants, and any failed underlay or damaged substrate materials.
Clean the gutter base so it is smooth, dry, and free from debris, rust, old coatings, and contamination.
Finally, check the gutter level and confirm a suitable fall towards the outlet. A fall of around 1:100 helps water drain correctly.
Substrate and Support
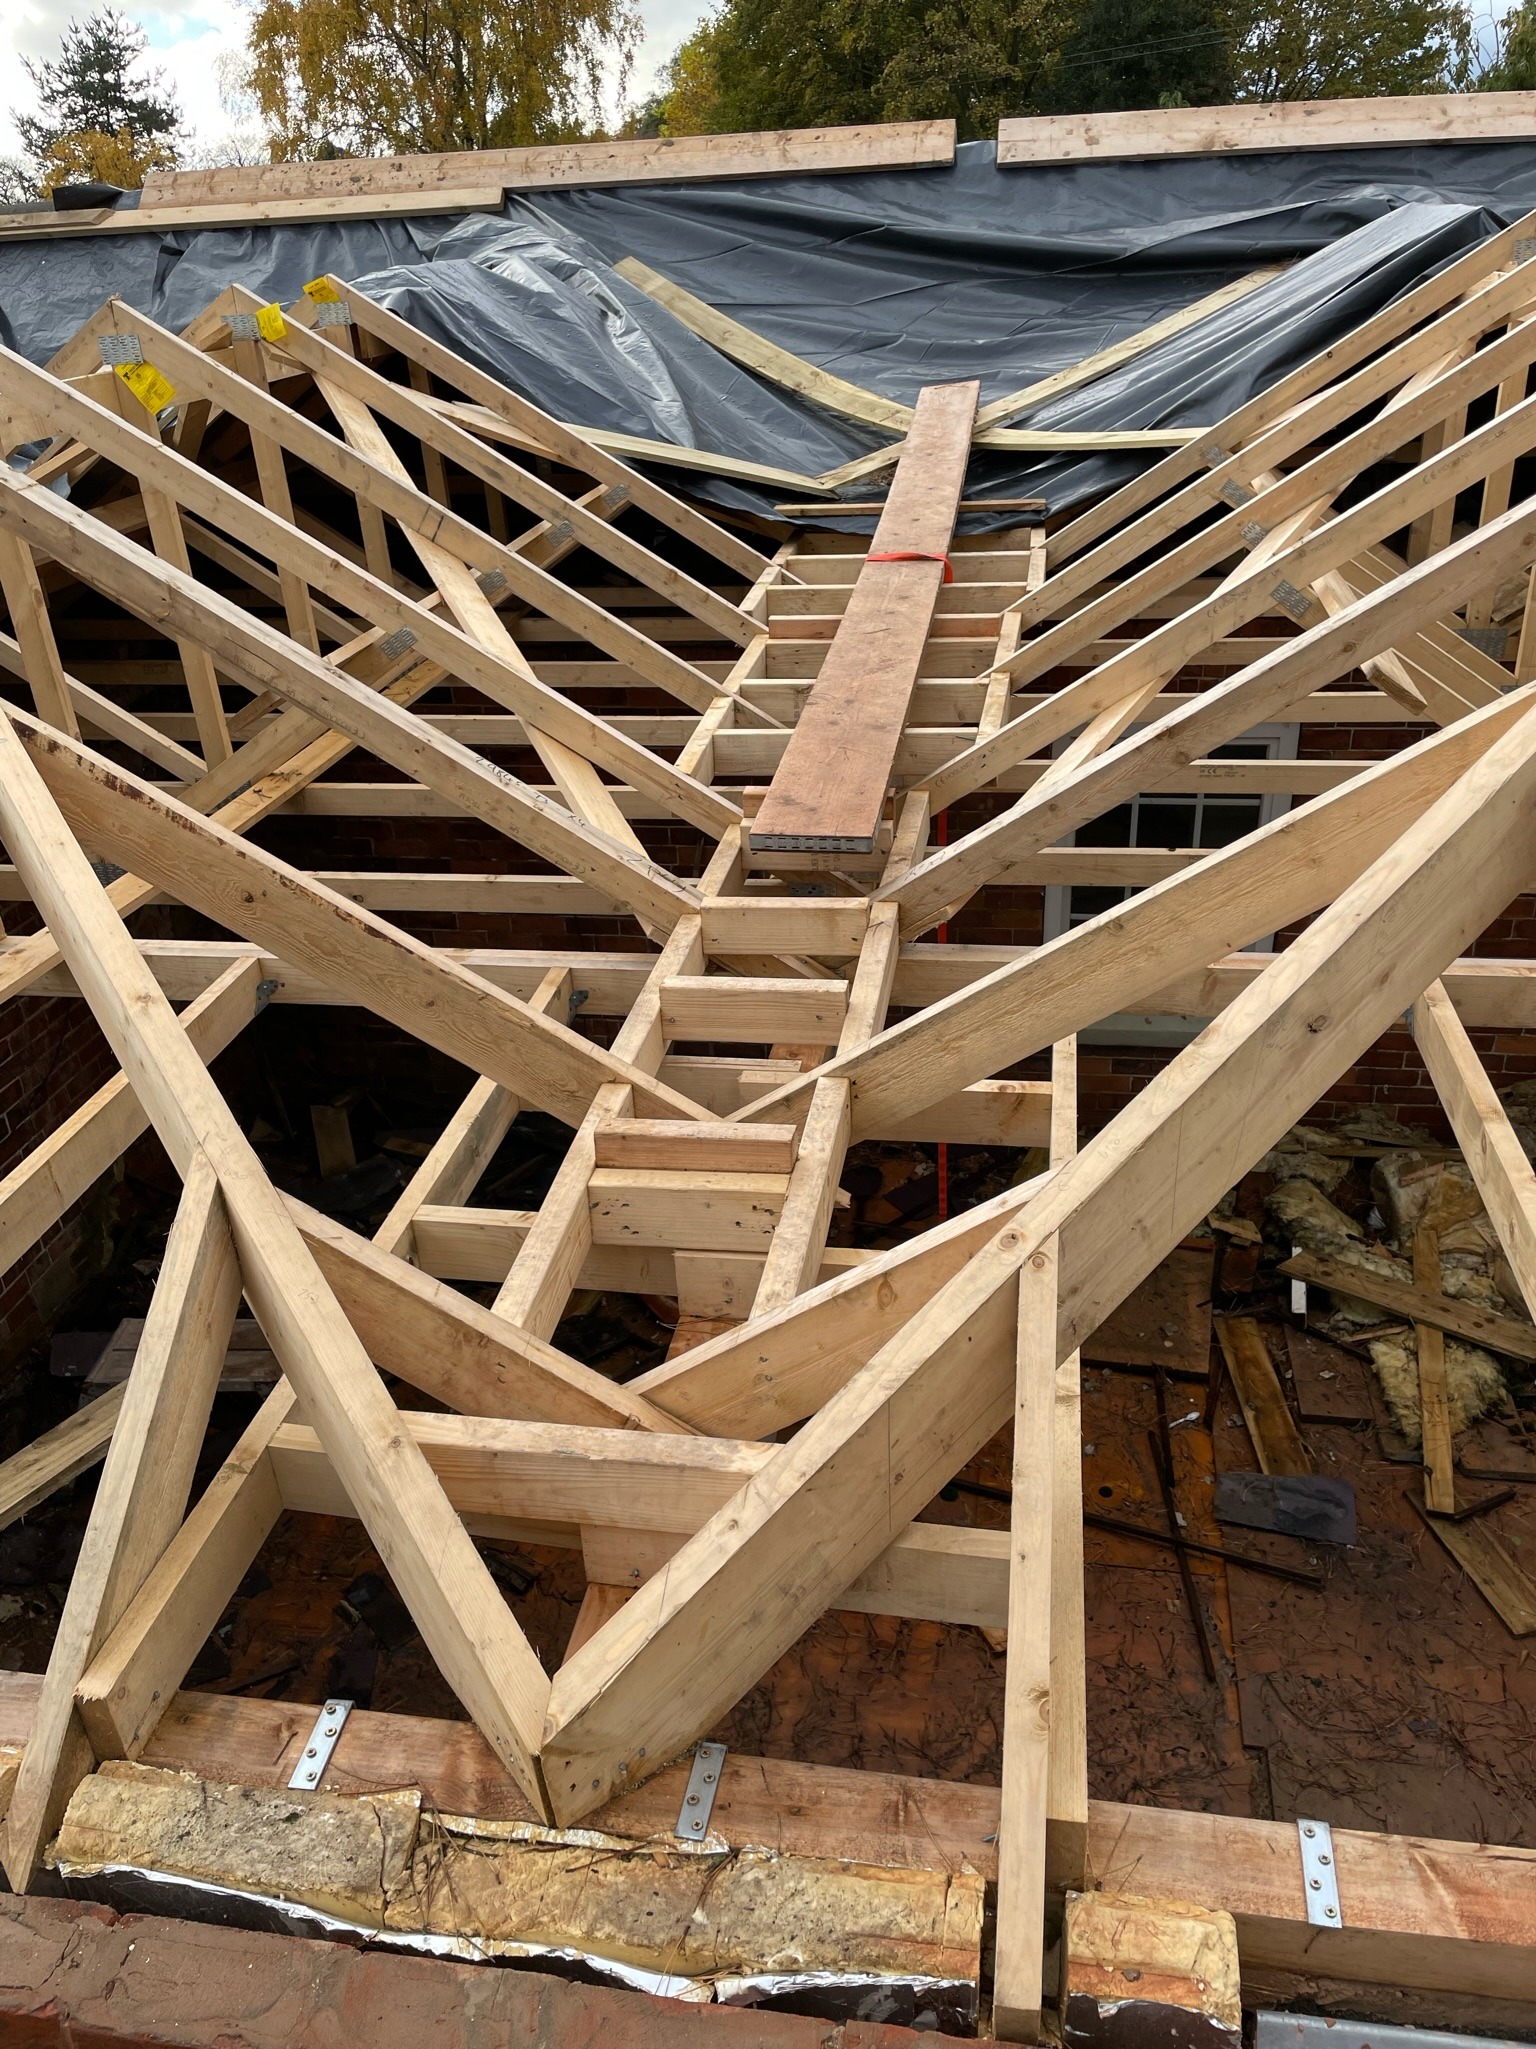
Replace any rotten timber and fit new exterior-grade plywood decking to provide strong and reliable support.
Make sure the substrate is smooth, dry, and formed to the correct fall towards the outlet.
Install Building Paper Underlay between the timber deck and the lead sheet. This allows movement and helps prevent underside corrosion.
Where required, provide ventilation beneath the lead to reduce condensation and improve long-term performance.
Leadwork Installation
Measure the box gutter carefully to confirm the correct code 5 lead bay sizes.
Cut the lead sheets to suit the gutter width, length, turns, and upstand details.
Form each lead section into a tray profile and dress it neatly into the gutter base and sides.
Lay the lead from one end of the gutter, making sure it sits flat, fully supported, and correctly aligned.
Carefully form corners, folds, and welted edges to create a watertight finish.
Secure the lead using clips at suitable intervals. This allows natural expansion and contraction over time.
Fix into timber only where necessary using copper nails or stainless-steel fixings. Avoid over-fixing, as this can cause splitting.
Finally, form and seal all joints using lead welding or suitable sealant to ensure full weather protection.
Finishing and Protection
Trim any excess lead neatly, leaving a slight overhang of around 20–30mm. This helps improve drainage and prevents water pooling.
Form and fit lead flashings where the gutter meets the surrounding roof coverings. This creates a continuous waterproof seal.
Carry out final checks to make sure outlets are clear, joints are watertight, and the gutter falls correctly towards the drainage point.
Apply patination oil to all exposed lead immediately after completion to protect the finished surface.
The Materials
This project used a simple but important group of materials. Each one was chosen for a specific purpose within the lead-lined box gutter system.
If you are trying to decide which code of lead is right for a similar detail, our shoppable lead chart is a useful place to start.
For broader product learning, see The Lead Handbook and our lead roofing guides.
The Lead & Materials Used By Us 🛒 Lead Weight Calculator
Skills Required
- Lead Welding
- Lead Bossing
- Dressing Lead
- Forming drips and Upstands
- Integrating Lead Flashings
What This Project Teaches About Lead-lined Box Gutters
Correct detailing is essential in lead-lined box gutters, especially on period properties where concealed drainage must perform reliably over time.
Many failures happen because of over-fixing, poor expansion allowance, incorrect falls, or decayed timber support beneath the lead.
A successful replacement depends on proper substrate preparation, correct code selection, and installation in line with BS 6915, BS EN 12588, and Lead Sheet Association guidance.
Allowing the lead to move naturally, maintaining clear drainage paths, and forming strong joints and outlets all help prevent leaks, ponding, and costly internal water damage.
Property Owner Takeaways
Properly installed lead-lined box gutters help prevent hidden leaks and expensive internal water damage.
Regular inspection of outlets, joints, and drainage paths helps avoid future failures and costly repairs.
Strong timber support beneath the lead is just as important as the lead covering itself for long-term performance.
Correct installation to British Standards improves lifespan, weather protection, and the long-term condition of the property.
Related Lead Lads Resources
- Lead roofing projects
- Leadwork standards hub
- Leadwork services
- Shoppable lead chart
- Lead roll
- Leadwork fixings
Frequently Asked Questions
What causes a lead-lined box gutter to fail?
Common causes include splits from thermal movement, failed joints, blocked outlets, poor falls, and rotten timber support beneath the lead.
How long should a lead-lined box gutter last?
When installed correctly and maintained well, a lead-lined box gutter can last for more than 50 years.
Why is code 5 lead commonly used for box gutters?
Code 5 lead provides the right balance of strength, flexibility, and durability for most domestic box gutter applications.
Do box gutters need regular maintenance?
Yes, regular clearing of leaves, moss, and debris helps prevent blockages, ponding water, and early failure.
Why is the timber substrate important?
The lead needs a strong, smooth, and fully supported base. This helps prevent sagging, movement, and cracking over time.
Where can I buy lead bay roof materials?
You can explore lead roll, lead flashing, fixings, underlay, and guides through the Lead Lads Shop.