


THE LEAD LADS® / PROJECT ARCHIVE
Complete replacement of the leadwork surrounding a glazed orangery lantern at Grade II listed Vicarage House near Tadcaster, incorporating Code 5 lead bays, perimeter gutters, wood rolls, movement joints, lantern flashings and a new sump outlet.
KIRKBY WHARFE · TADCASTER · GRADE II LISTED · ORANGERY LEADWORK
Explore the Project01 — THE PROJECT
The Lead Lads® renewed the orangery roof leadwork at Vicarage House in Kirkby Wharfe, near Tadcaster, North Yorkshire.
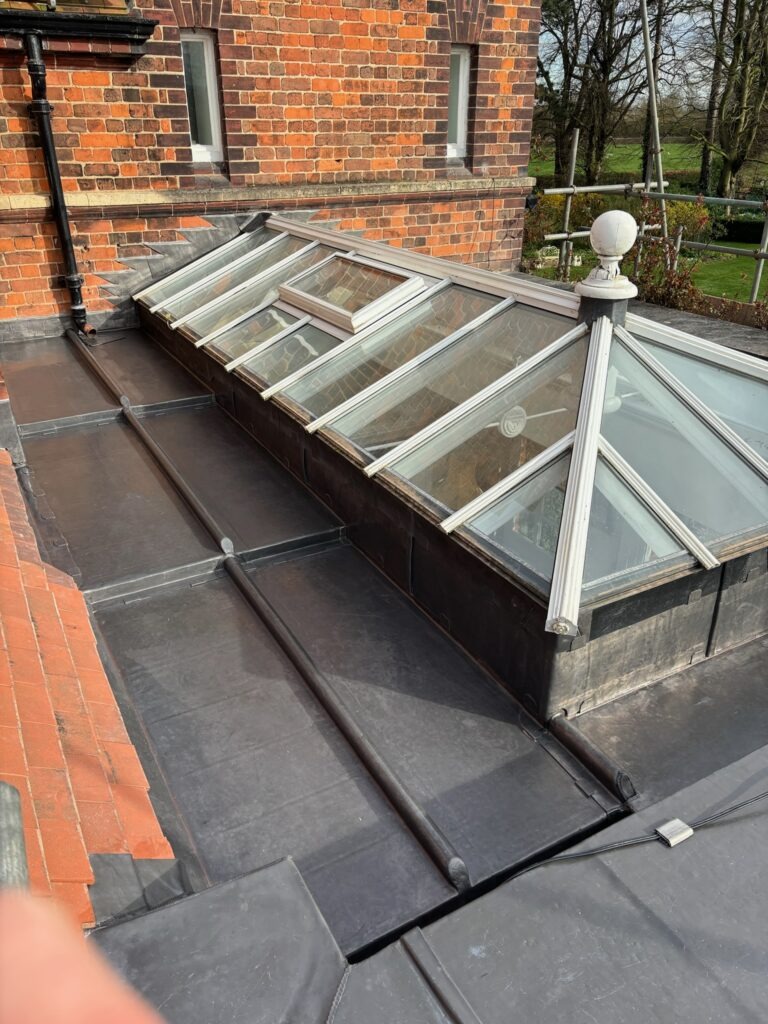
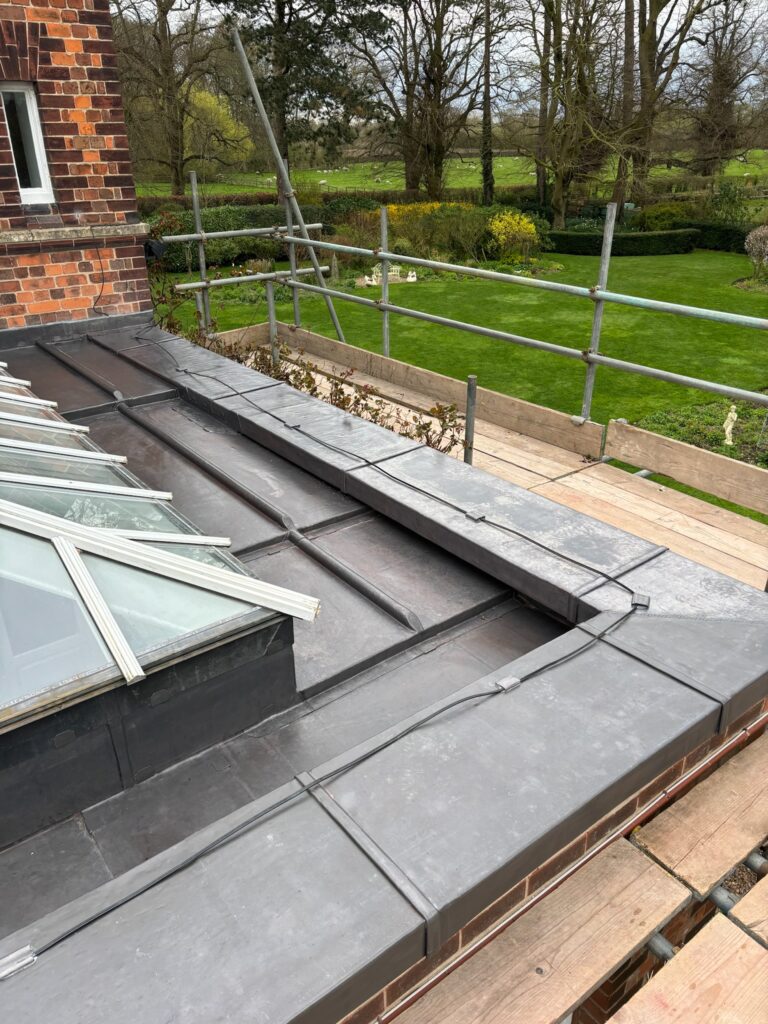
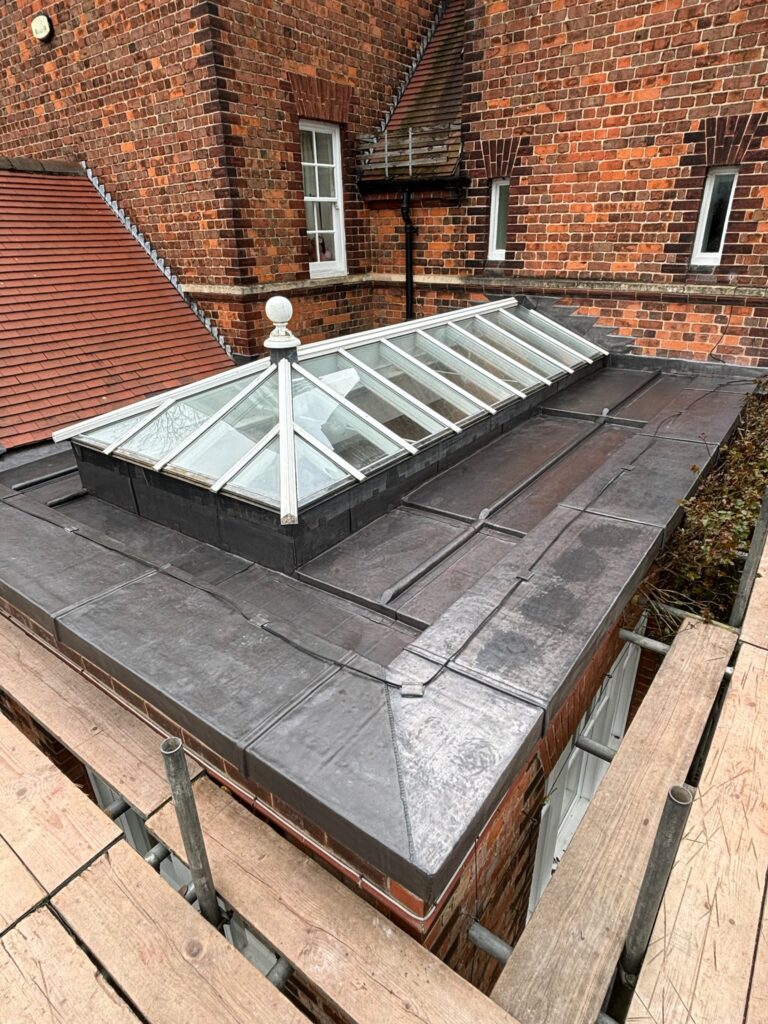
The roof is organised around a central glazed lantern, with fully supported lead bays and perimeter gutters forming the weathering system between the lantern structure and the surrounding masonry.
The replacement package included the supporting timber deck, Code 5 lead roof bays, gutter linings, wood rolls, expansion details, lantern upstand cladding, apron and cover flashings, and a new sump outlet to improve drainage from the roof.
LOCATION
PROGRAMME
LEAD CODE
ROOF TYPE
02 — THE ROOF
The orangery roof combines several different weathering conditions within a relatively compact area.
The principal lead bays surround the glazed lantern, while separate perimeter gutters collect runoff and direct it towards defined outlets. The lantern upstands, coping walls and roof transitions all introduce junctions that require individual lead details.
This makes the roof a connected system of bays, gutters, flashings and drainage components rather than one continuous sheet covering.
03 — THE DESIGN PRINCIPLE
The two fundamental considerations were the route taken by rainwater and the movement of the lead sheet itself.
Falls were established so water could travel from the roof bays into the gutter system and then towards a dedicated sump outlet, reducing the potential for persistent ponding.
At the same time, bay sizes, wood roll joints and movement details were incorporated so the lead could expand and contract without concentrating stress into vulnerable junctions.
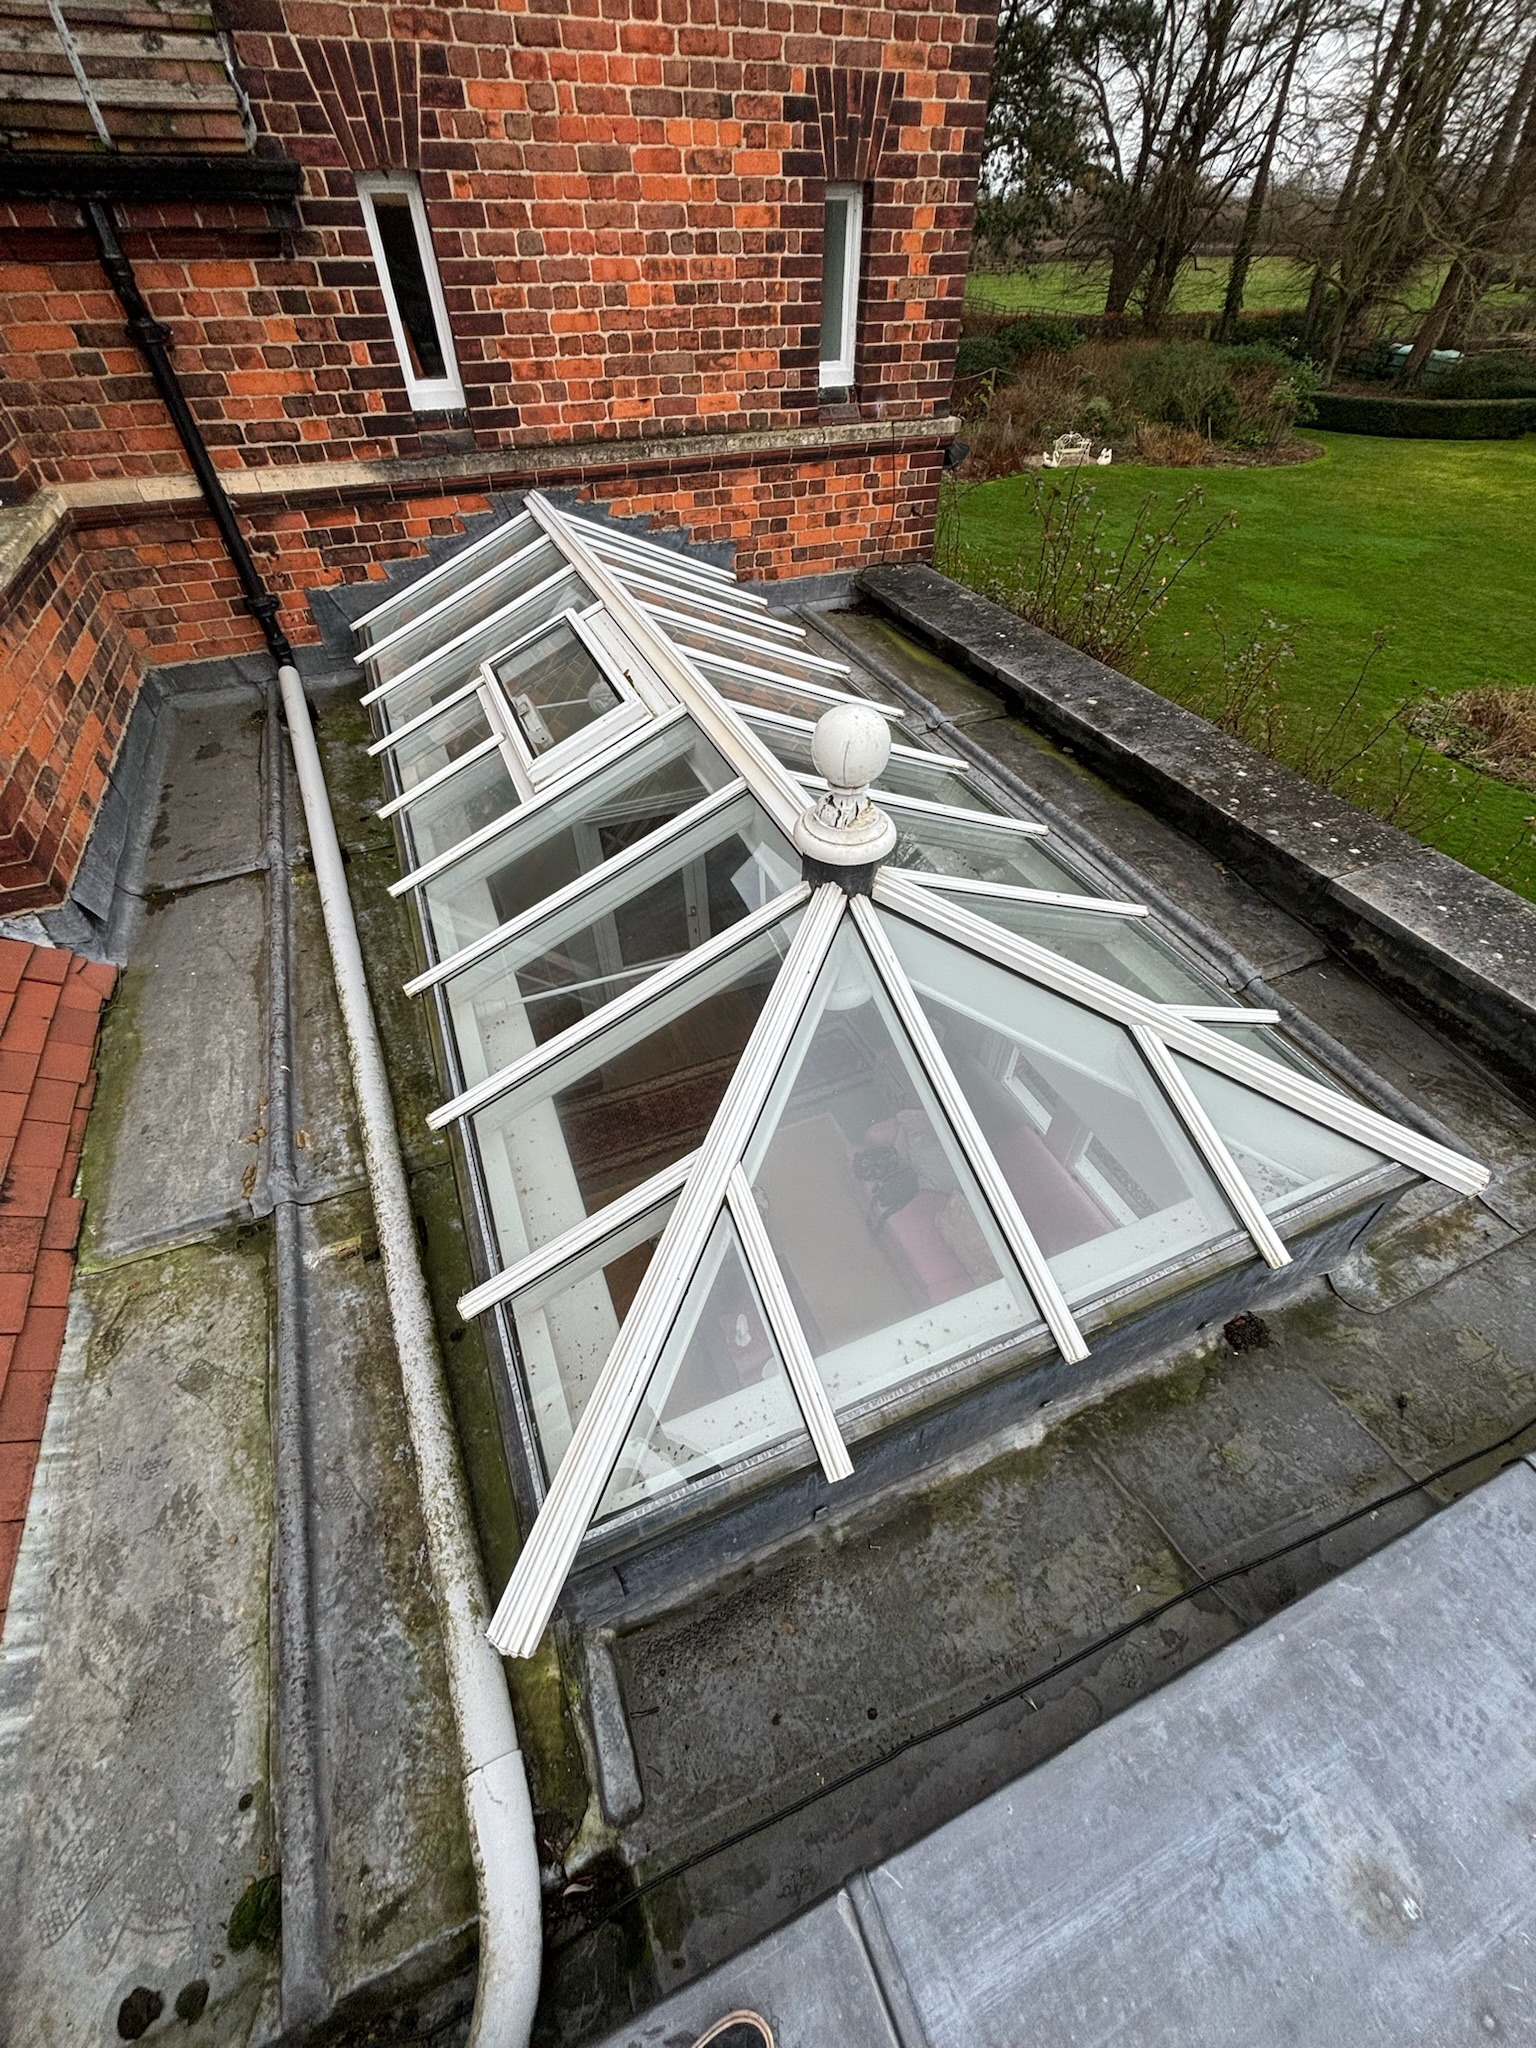
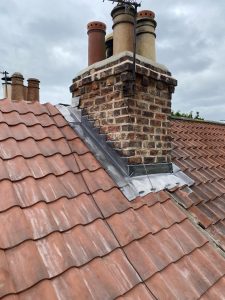
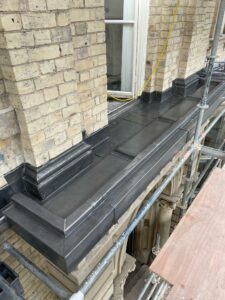
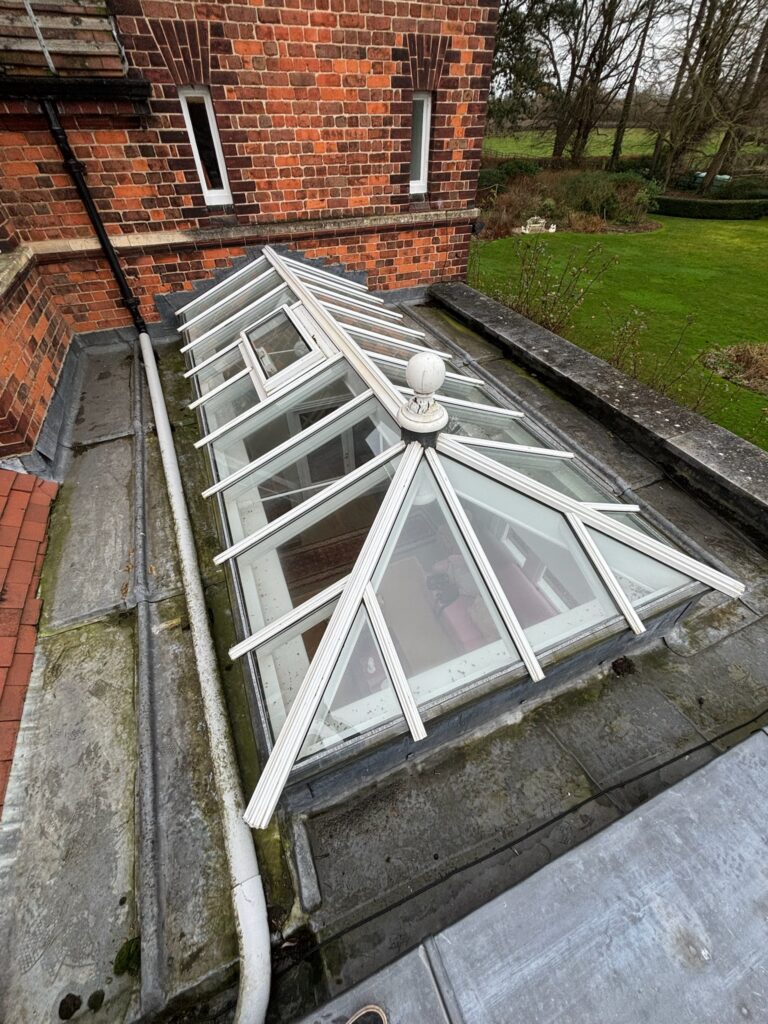
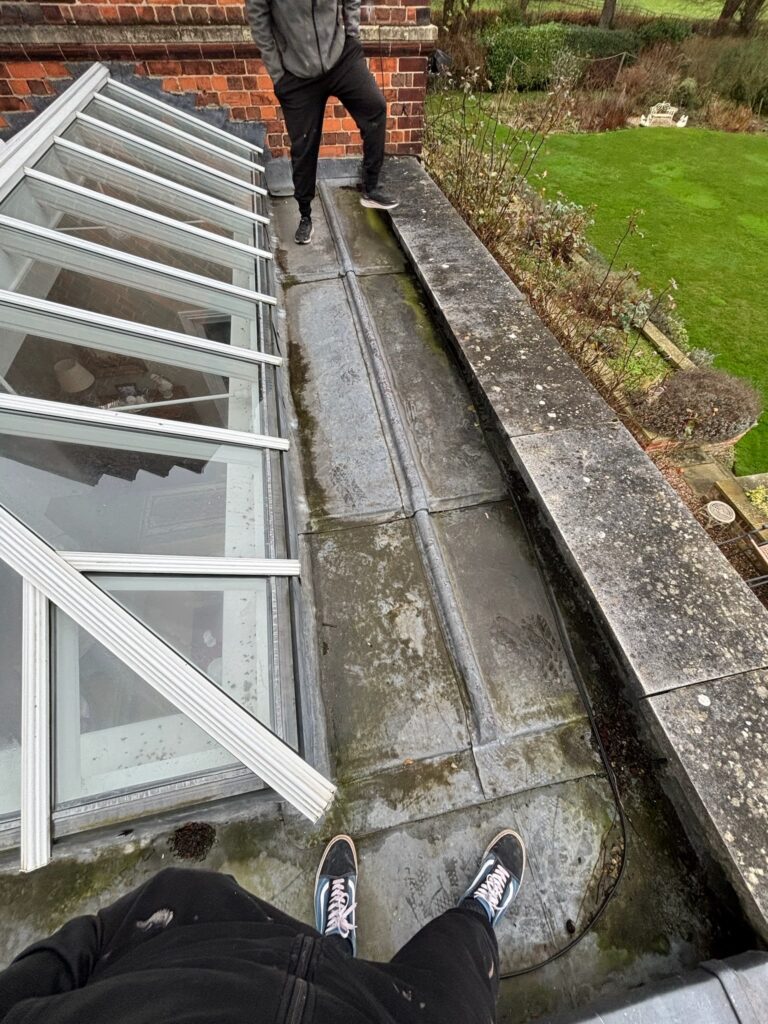
The original roof before removal and reconstruction of the leadwork system.
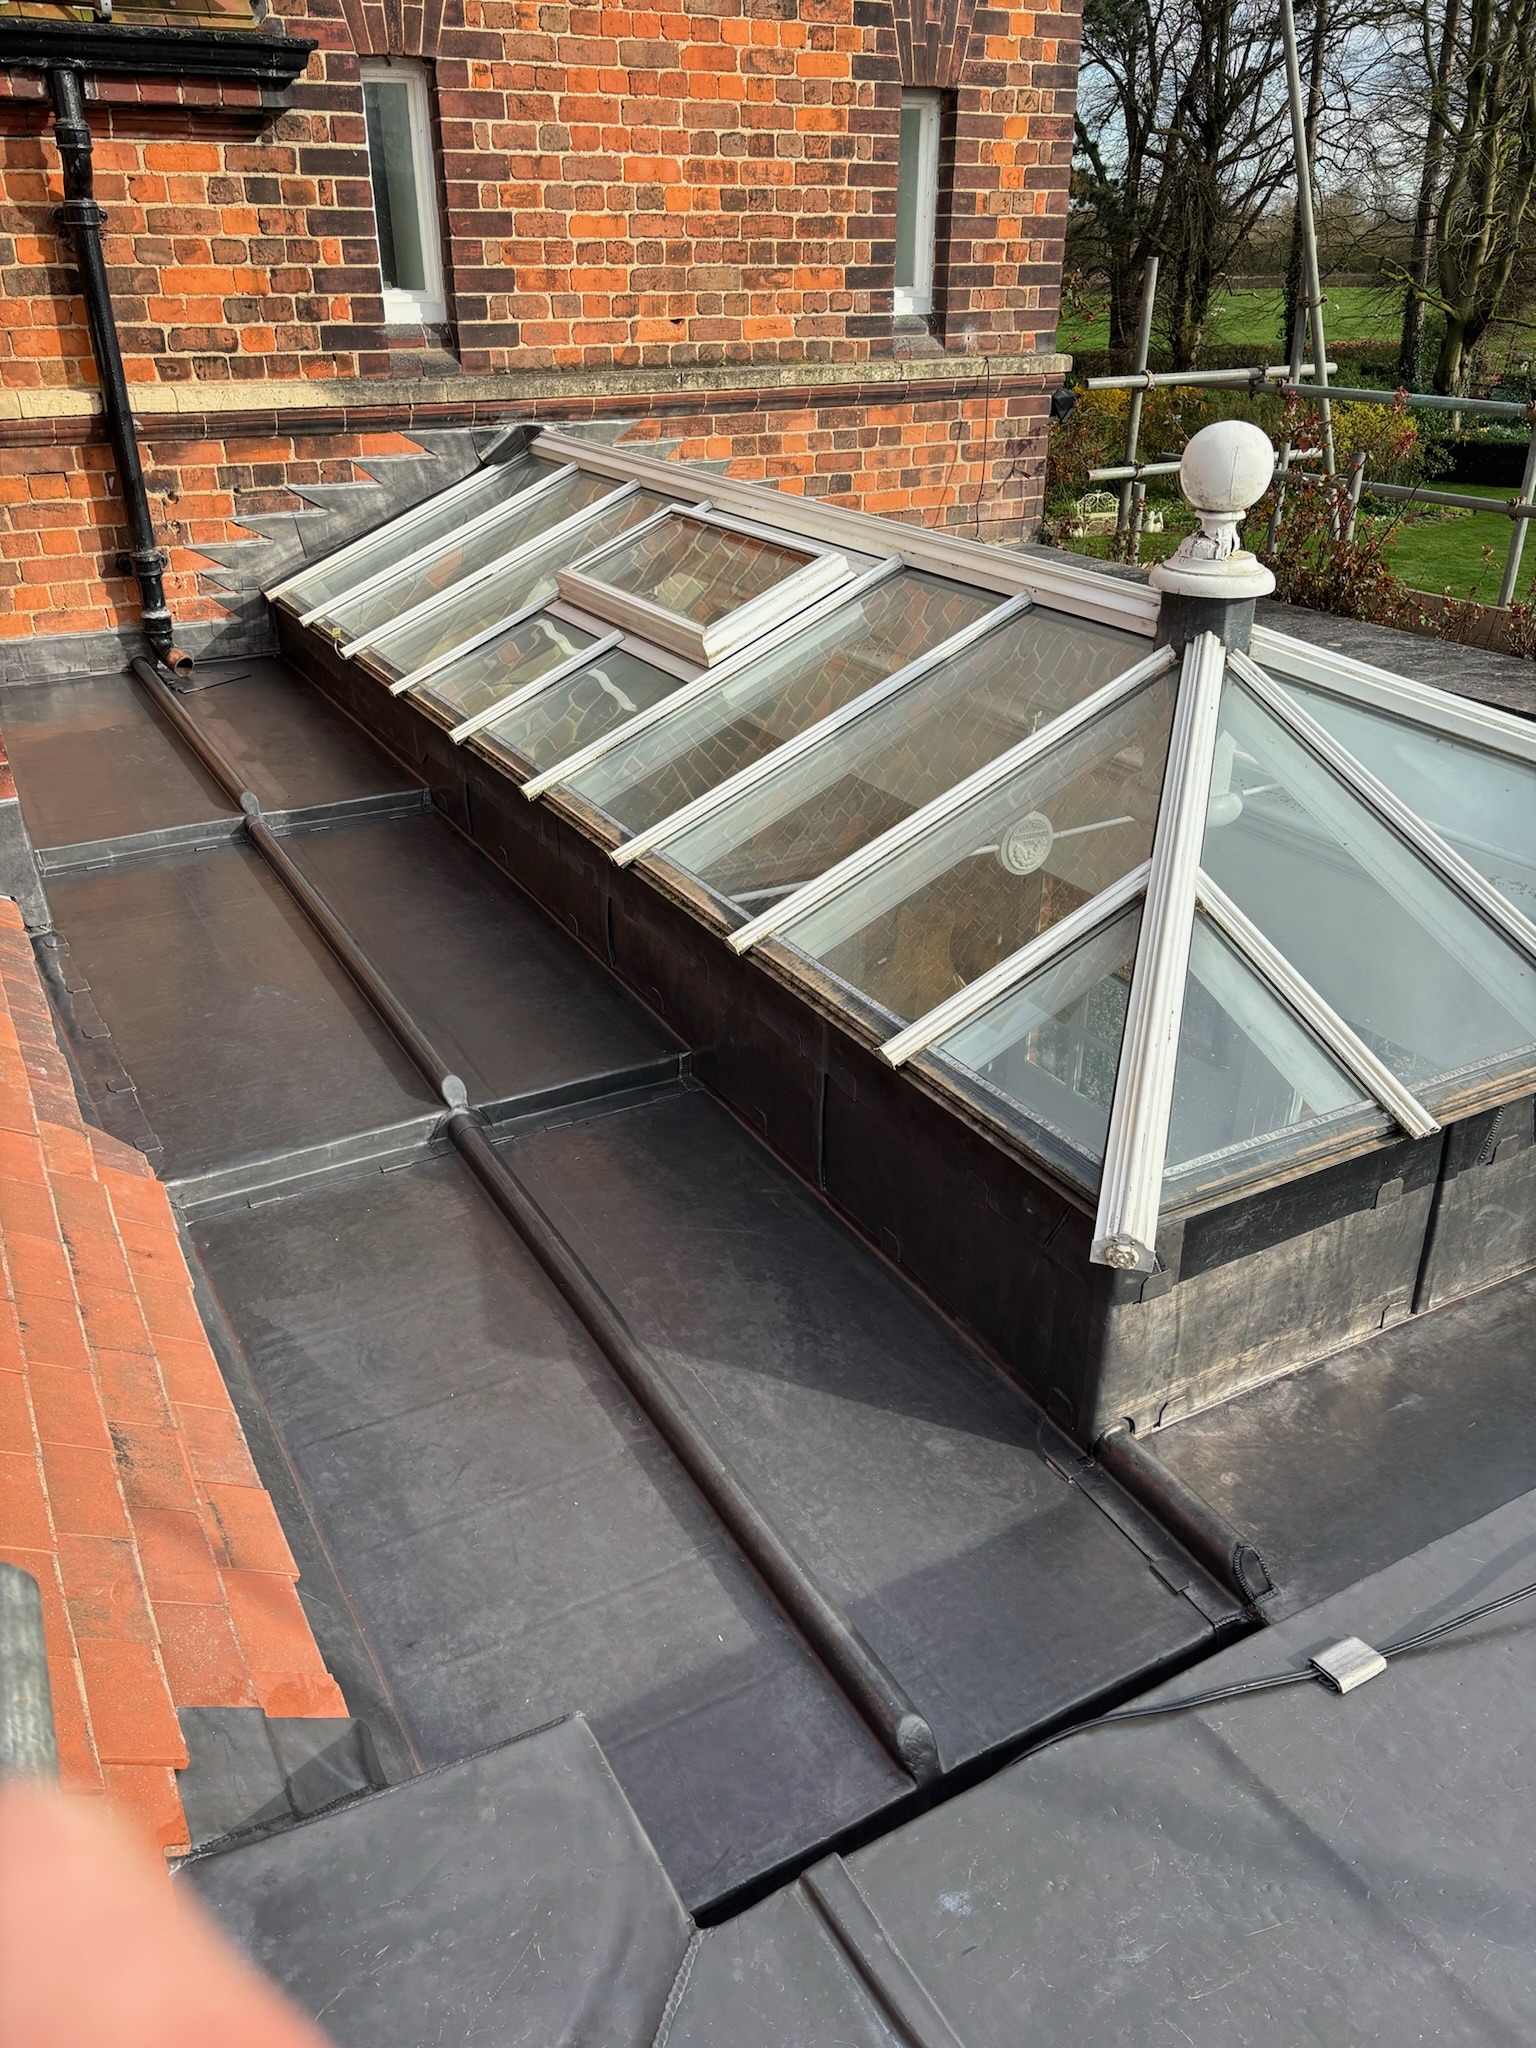
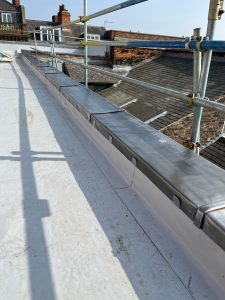
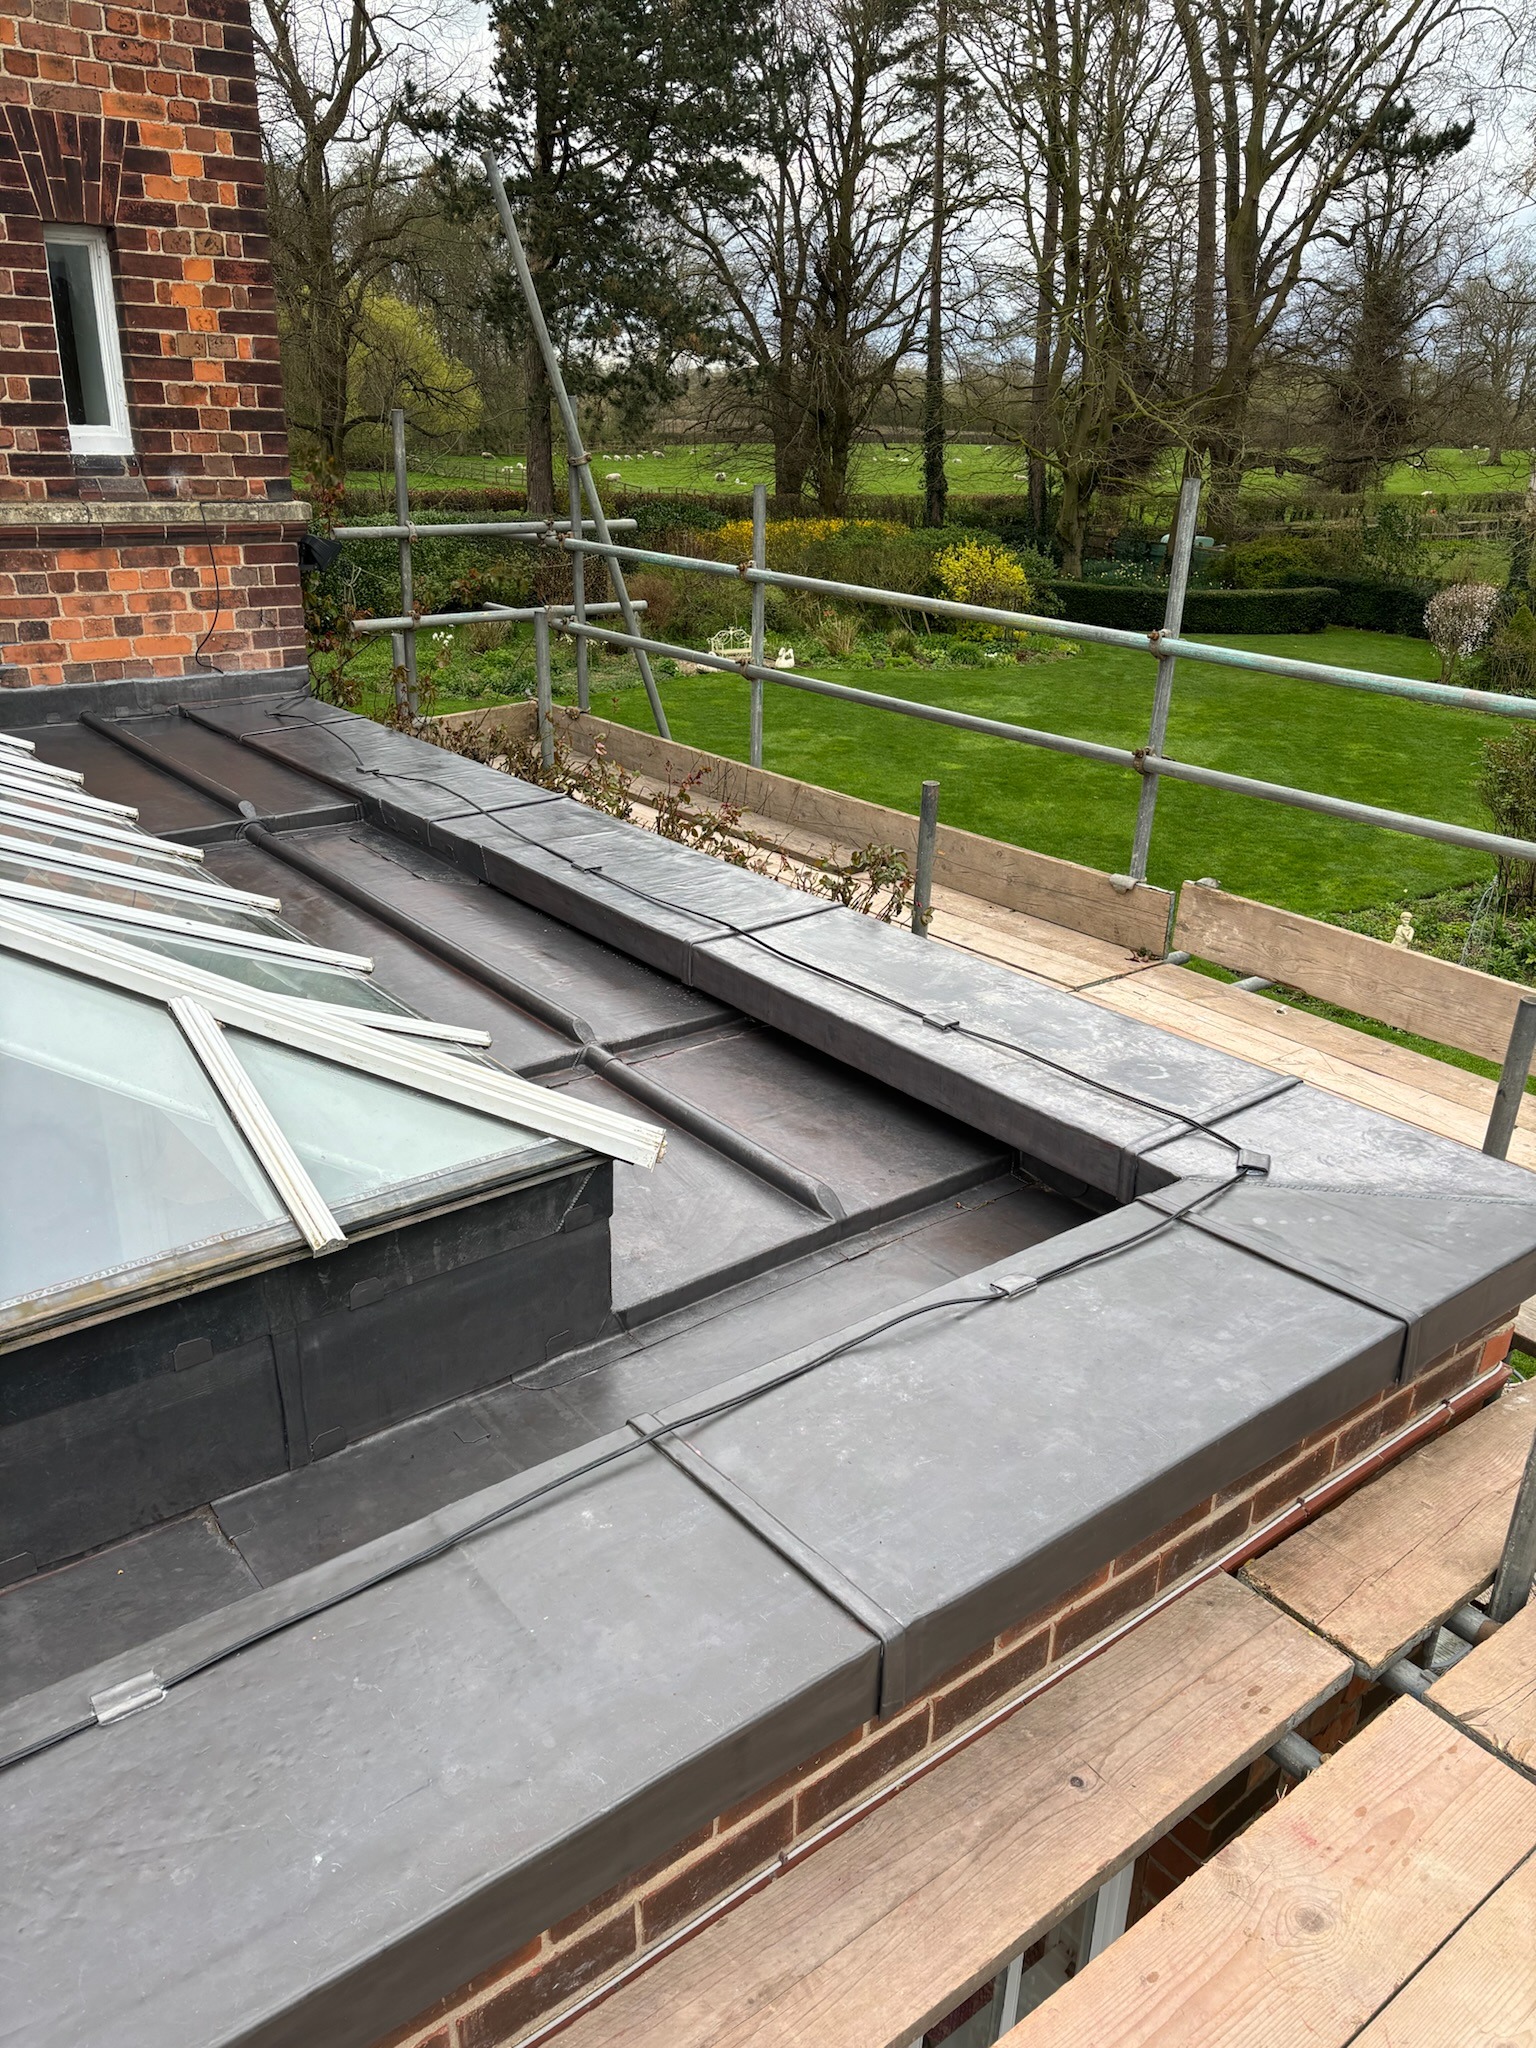
Code 5 bays, wood rolls and gutter details arranged around the lantern.
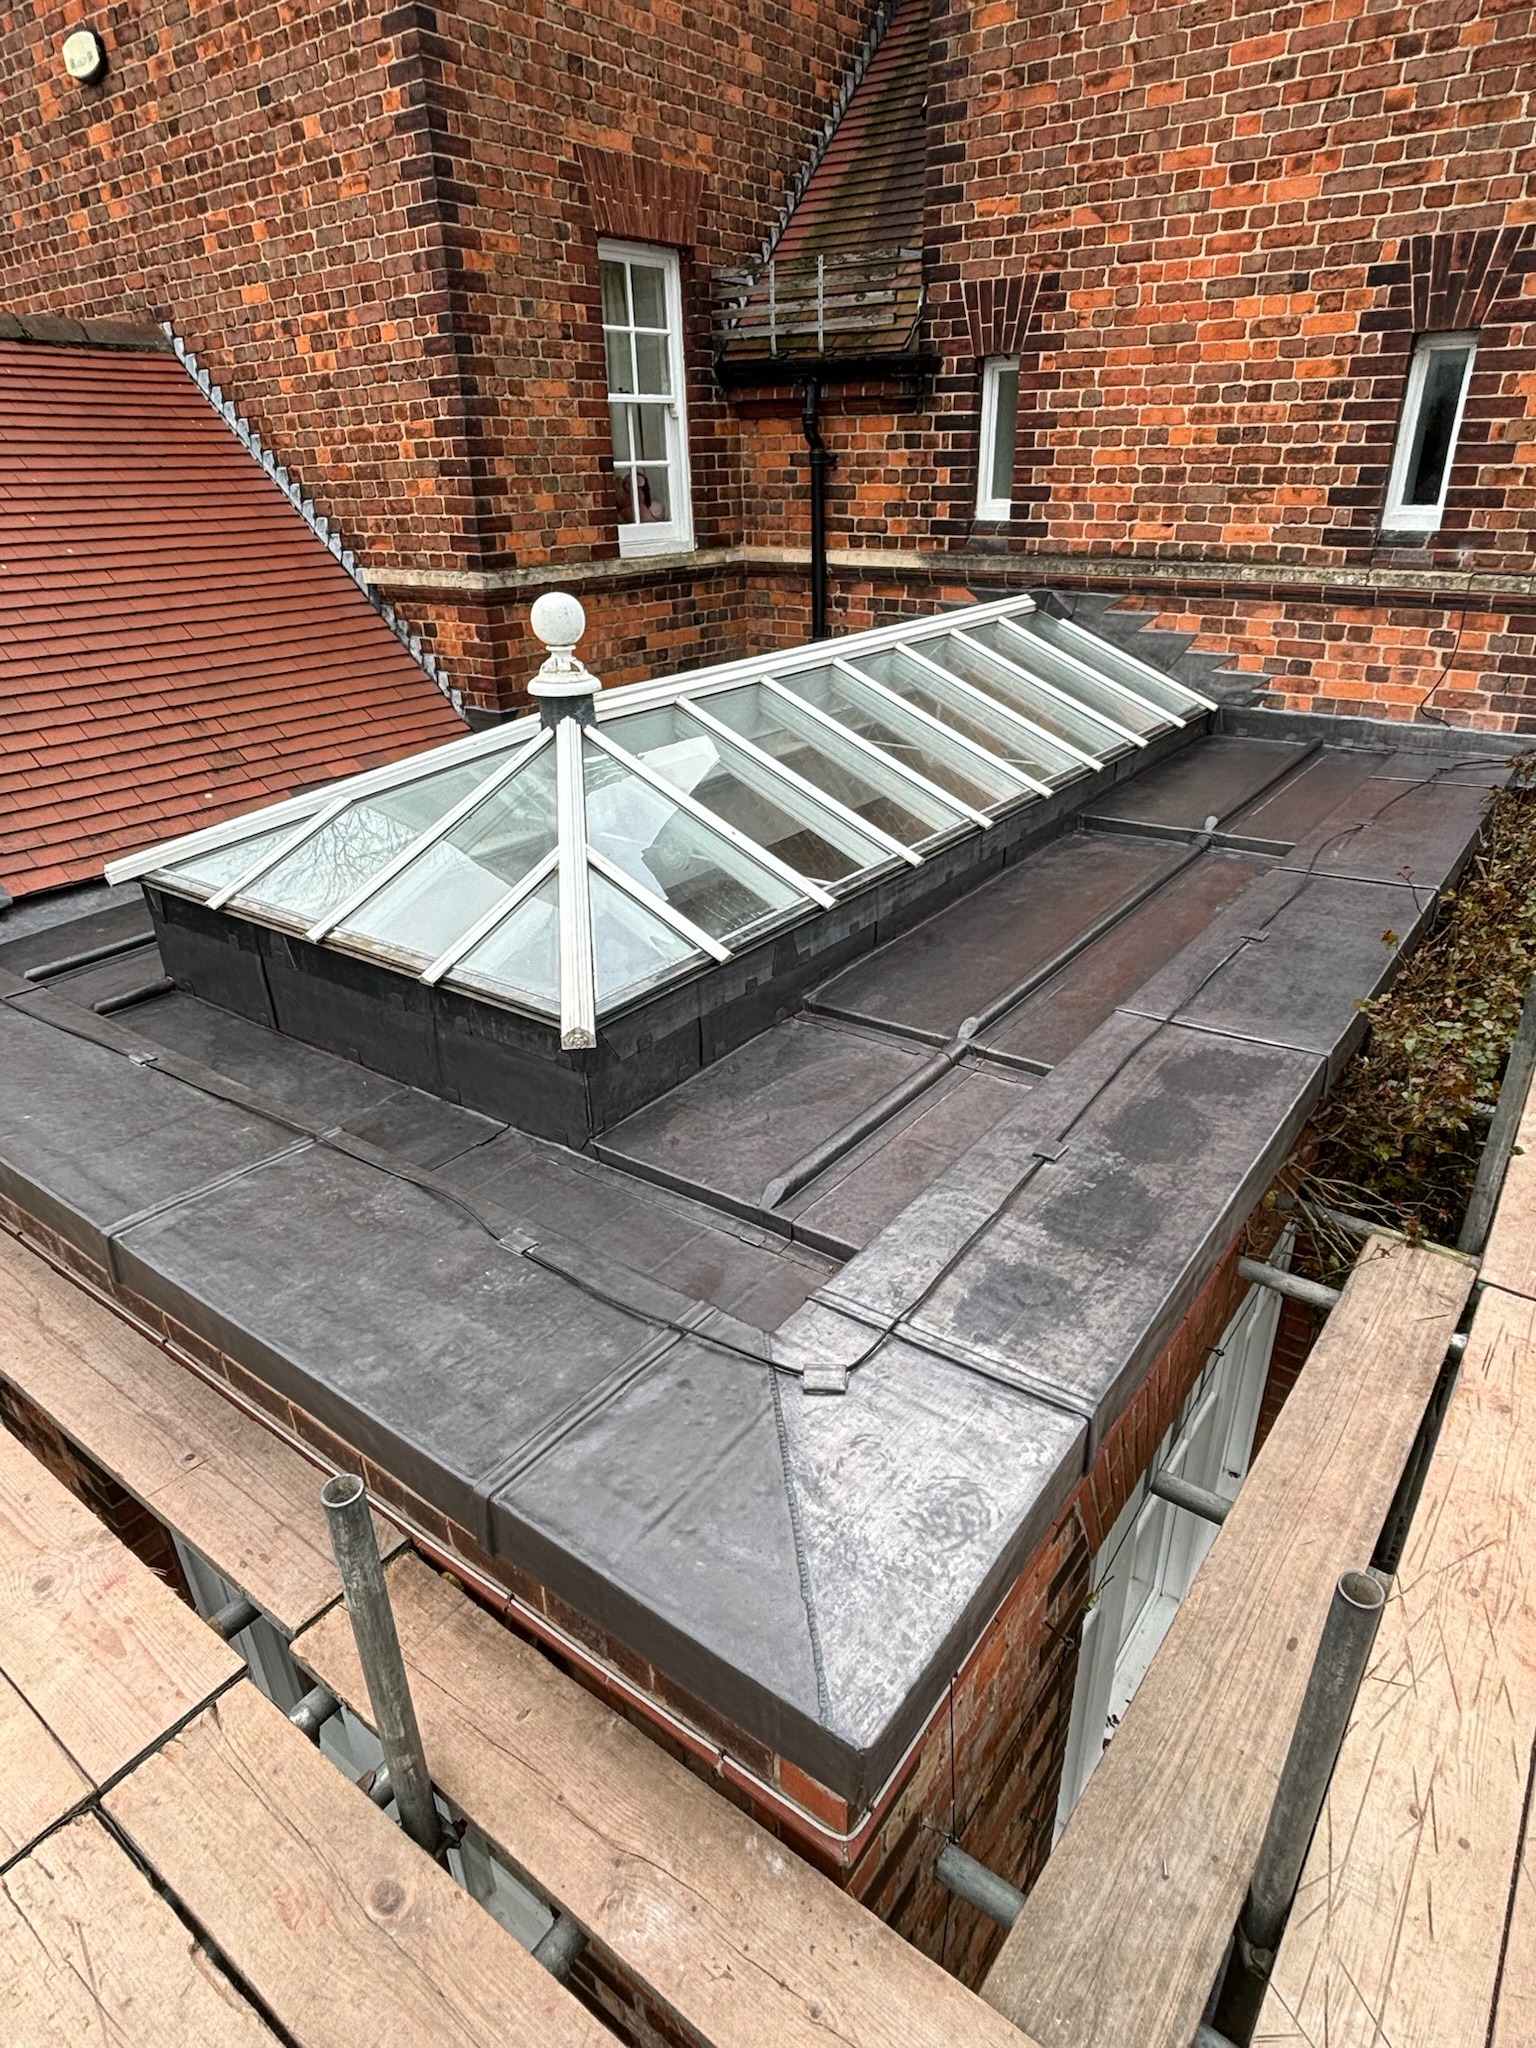
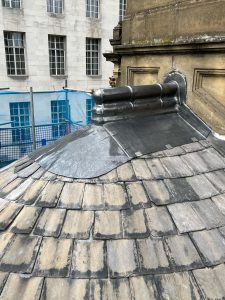
A coordinated lead weathering and drainage system around the glazed lantern.
04 — DRAINAGE
Flat and low-pitched lead roofs depend heavily on the geometry beneath the sheet.
The substrate was configured to provide deliberate falls through the lead bays and gutter system towards the drainage point rather than relying on the covering alone to correct irregular levels.
A new sump outlet was incorporated so water entering the gutter had a clearly defined discharge point.
05 — THERMAL MOVEMENT
Lead expands and contracts continuously in response to changing temperature.
Rather than allowing one large sheet to absorb that movement, the roof was divided into appropriately sized bays using wood rolls, laps and separate gutter details.
Movement provisions were incorporated within the gutter system where required so longer runs could respond without transferring excessive stress to corners, welds or abutments.
06 — SIGNATURE DETAIL
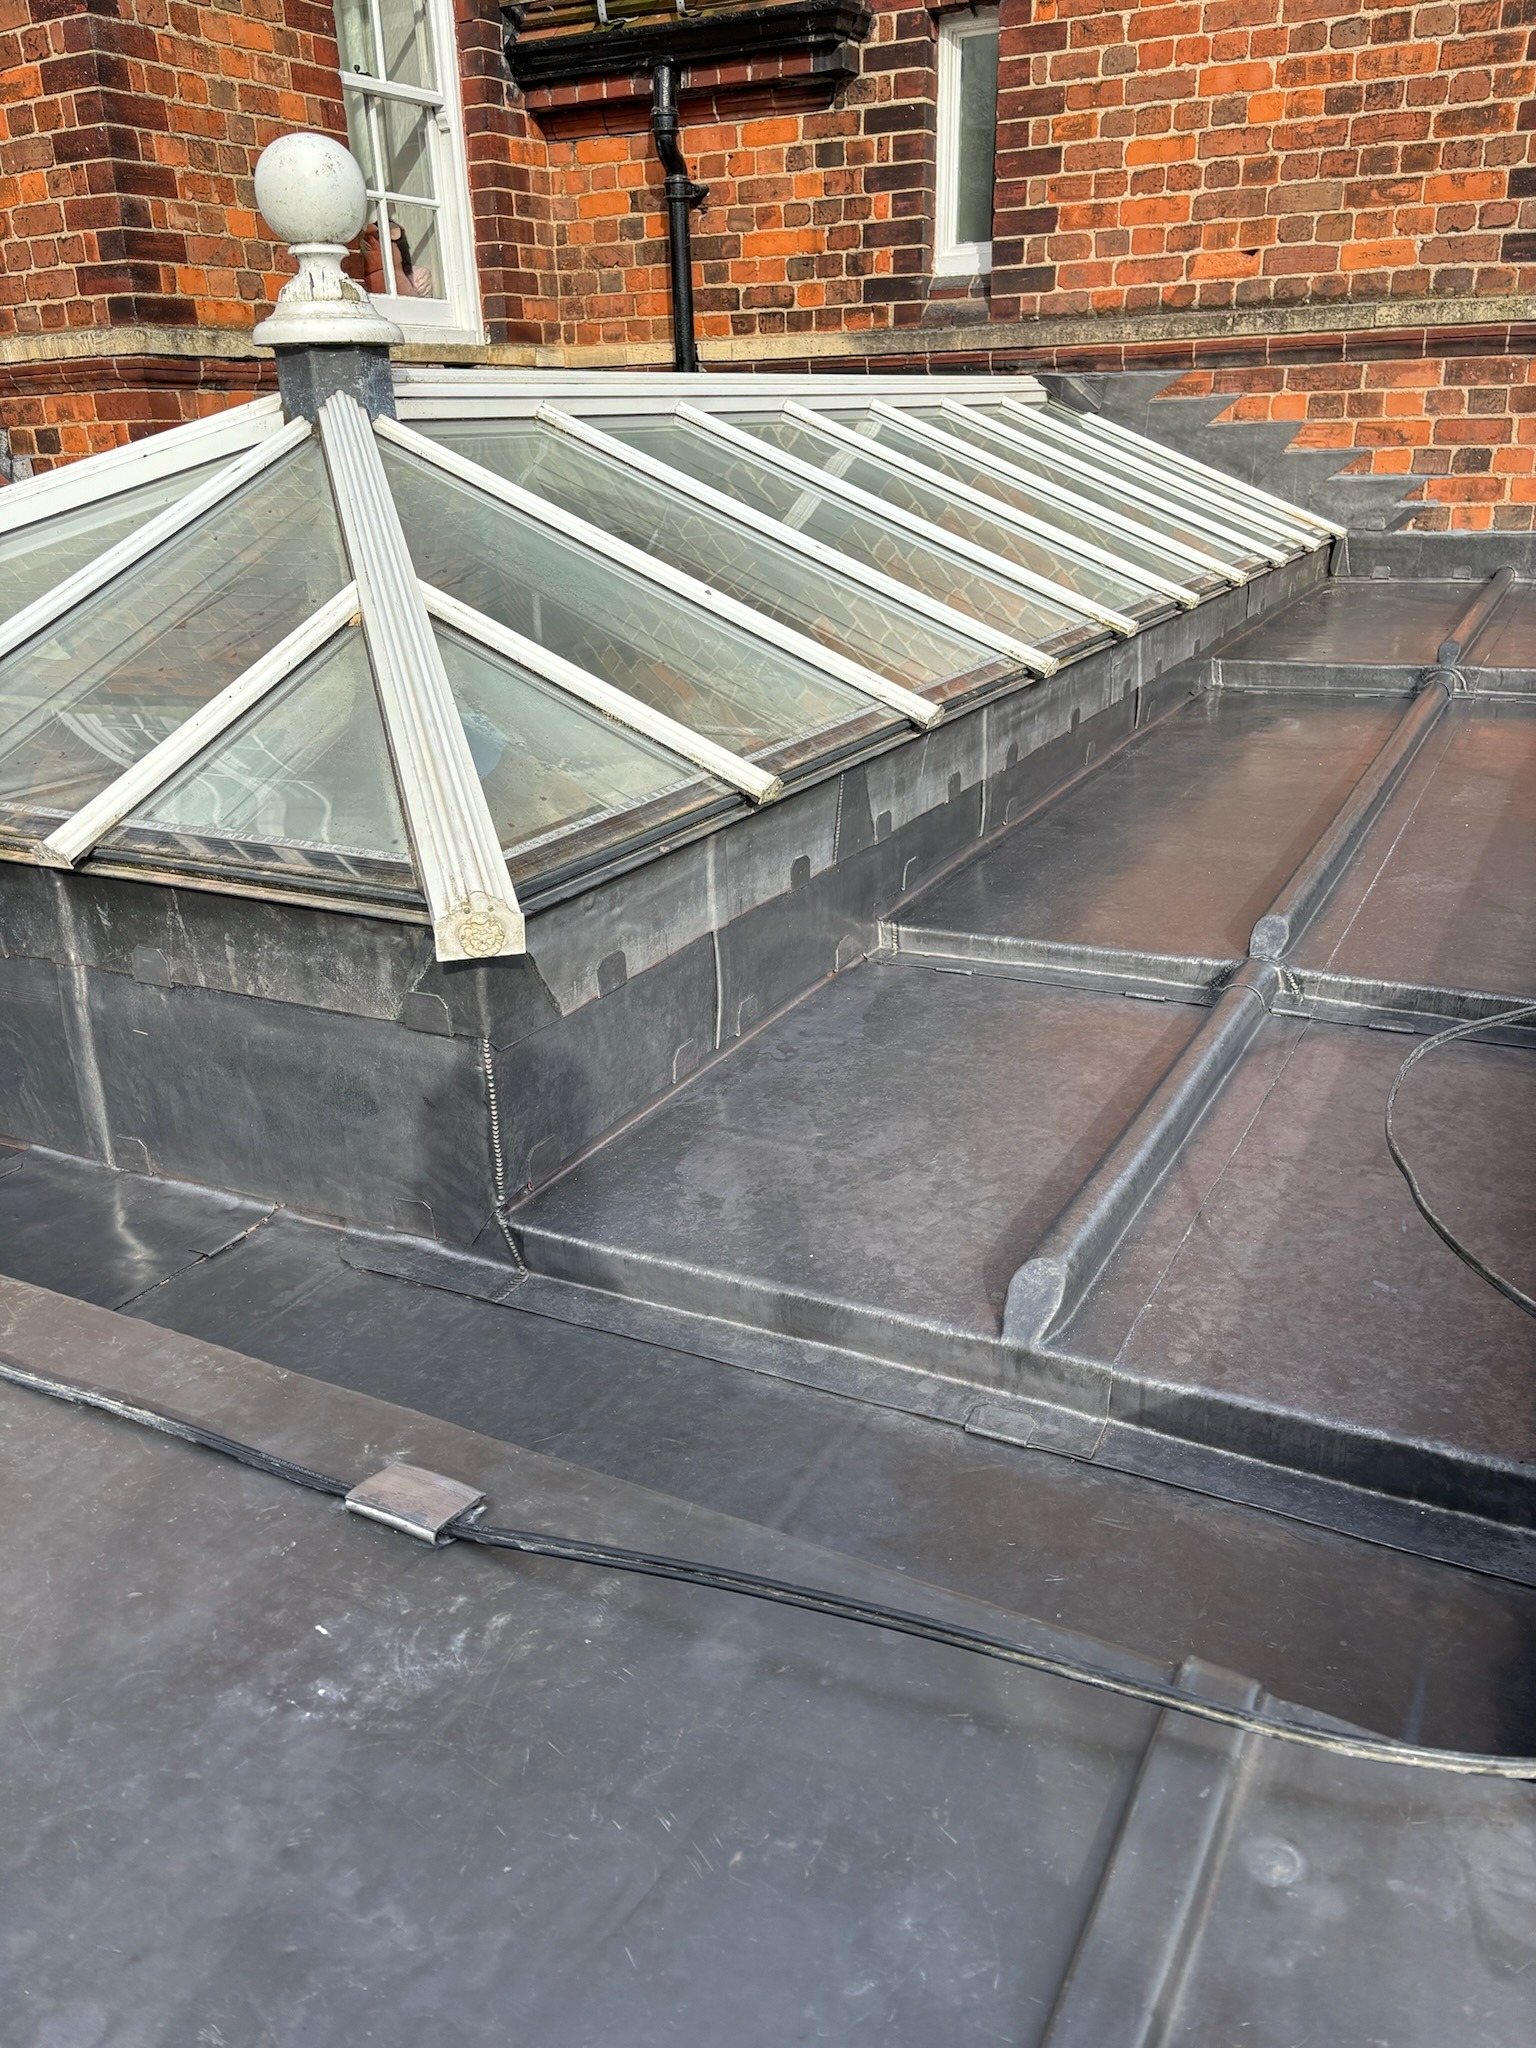
The glazed lantern creates the principal architectural feature of the orangery — and one of the most important weathering junctions.
The lantern interrupts the surrounding lead roof and introduces vertical upstands, corners and changes in material that all need to remain watertight while accommodating normal movement.
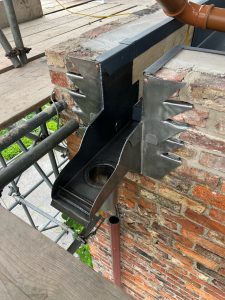
New lead was formed around the upstands and transitions, using flashings and welted cladding to create a continuous weathered interface between glazing, supporting construction and roof covering.
The detail has to work technically without visually overwhelming the lantern itself.
07 — PREPARATION + SUBSTRATE
08 — LEADWORK INSTALLATION
09 — MATERIALS
CODE 5 LEAD →
18MM PLYWOOD →
BUILDING PAPER →
LEADWORK FIXINGS →
10 — SKILLS
The project demonstrates how specialist leadwork and supporting carpentry have to be considered together on fully supported lead roofs.
11 — PROJECT RECORD
The project imagery records the transition from the original lead roof to a renewed Code 5 system built around the existing glazed lantern.
The completed roof is visually simple, but beneath that simplicity is a carefully organised network of bays, rolls, gutters, flashings and drainage details.
12 — THE BUILDING
Vicarage House is a Grade II listed property in Kirkby Wharfe near Tadcaster, constructed using traditional materials including local stone and clay roof coverings.
The orangery sits within that historic context, and its glazed lantern and traditional lead roof create a transition between older architectural materials and a highly detailed weathering system.
The replacement leadwork therefore needed to improve performance without losing the restrained appearance appropriate to the property.
13 — TECHNICAL KNOWLEDGE
Leadwork Standards →
The Lead Handbook →
Lead Roofing Guides →
Lead Sizing + Ordering Chart →
Lead Weight Calculator →
Bay size, support, fixing, drainage and movement must all be considered together if a lead roof is to perform as intended.
14 — WHAT THIS PROJECT SHOWS
The completed sheet is the visible part of the roof, but it cannot correct poor support, inadequate falls or inappropriate bay dimensions beneath it.
At Vicarage House, the replacement process allowed the whole roof geometry to be reconsidered before the new lead was installed.
That sequence — substrate first, drainage second, sheet layout third — is fundamental to the performance of fully supported lead roofing.
PROPERTY OWNER TAKEAWAYS
15 — FREQUENTLY ASKED
Persistent ponding can indicate inadequate falls or drainage and places unnecessary demand on joints, corners and outlets. The supporting construction should be designed to encourage reliable discharge.
The specification depends on the dimensions and design of the individual details. Code 5 was used throughout this project, but lead code should be selected for the particular bay, gutter or flashing rather than by roof type alone.
Wood rolls form raised joints between separate lead bays, allowing the covering to be divided into manageable sheet sizes while providing a traditional detail.
Long lead-lined gutters experience thermal movement. Suitable movement detailing allows sections of the gutter to expand and contract without concentrating stress at fixed junctions.
A sump creates a defined low point at the drainage position, helping collect water from the gutter and direct it into the rainwater system.
16 — MATERIALS + RESOURCES
Lead Roofing Project Archive →
Leadwork Services →
Code 5 Rolled Lead →
18mm Plywood →
Lead Underlay →
Lead Expansion Joint →
Leadwork Fixings →
Lead Lads Shop →
THE LEAD LADS® / PROJECT ARCHIVE
The Vicarage House orangery forms part of The Lead Lads® project archive documenting fully supported lead roofs, gutters, bays, flashings, canopies and complex architectural leadwork.
The project demonstrates why successful flat lead roofing depends on far more than the sheet itself — the substrate, falls, bay sizes, movement joints, lantern interfaces and drainage system all contribute to the finished roof.