THE LEAD LADS® / PROJECT ARCHIVE

Lead Door
Canopy

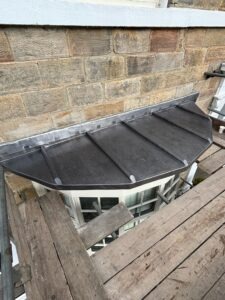
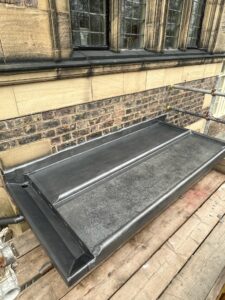
Complete reconstruction of a traditional flat entrance canopy near Tadcaster, incorporating a new timber substrate, integral lead gutter, timber core-roll details, Code 5 rolled lead sheet, perimeter drips and masonry flashings.

TADCASTER · NORTH YORKSHIRE · CODE 5 LEAD · ENTRANCE CANOPY

Explore the Project
01 — THE PROJECT

Rebuilding a traditional entrance canopy from the structure upwards

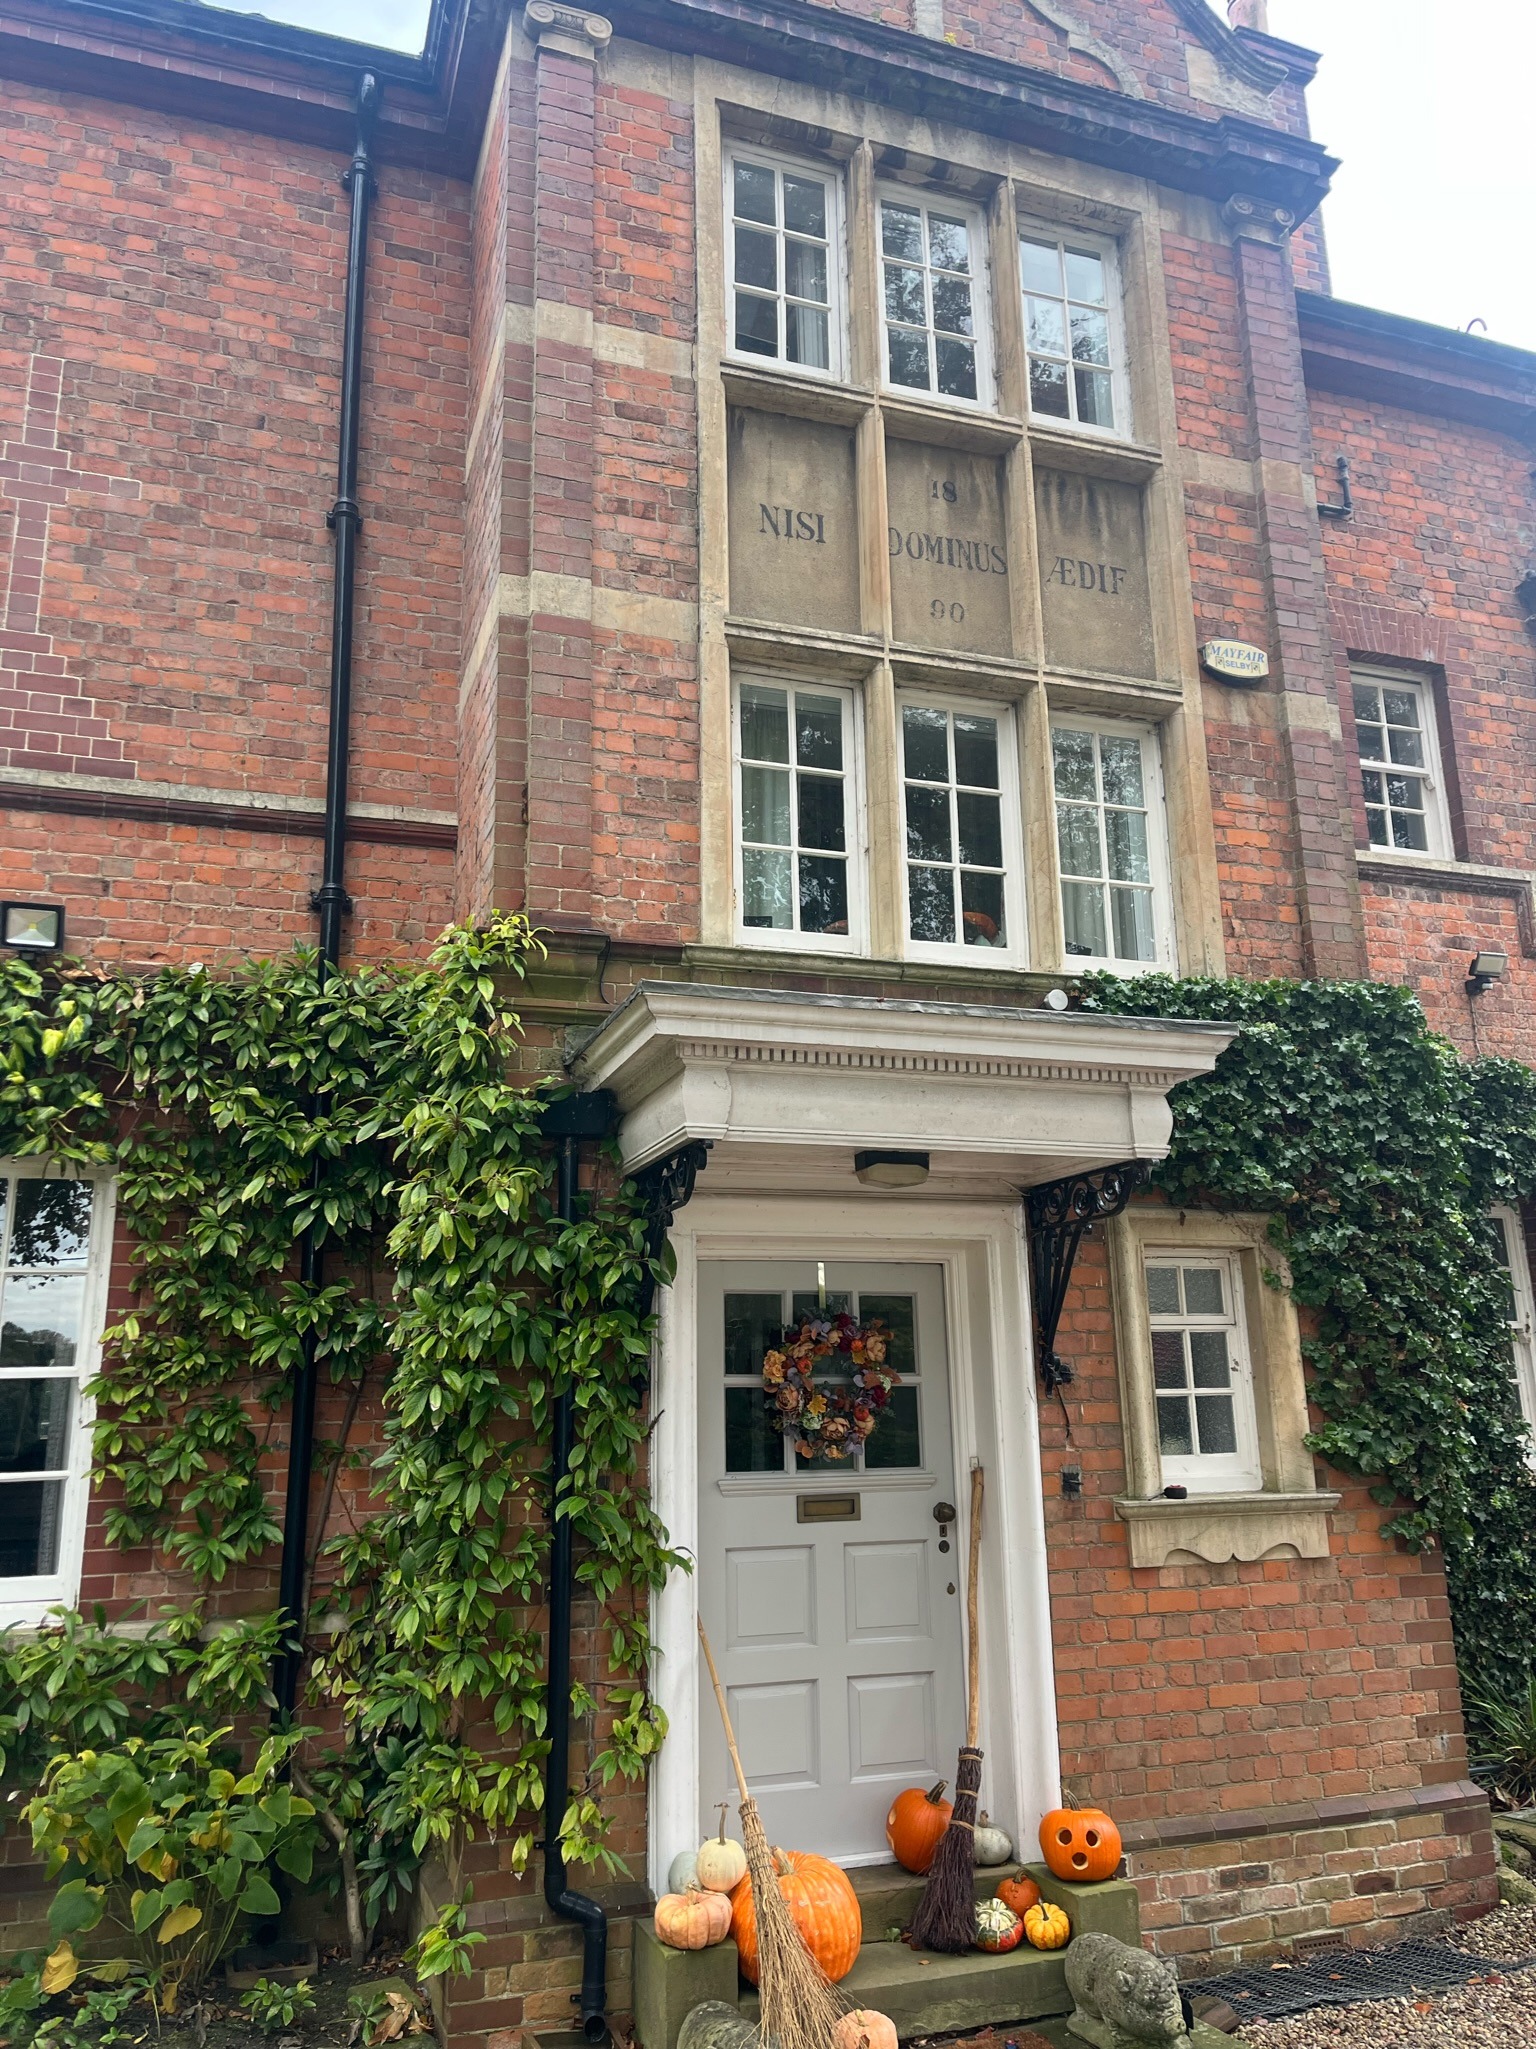
This project near Tadcaster involved the complete renewal of a lead-covered canopy positioned above the principal entrance to the property.

The canopy is compact, but combines several separate weathering functions within one architectural feature: a fully supported lead roof, raised roll details, perimeter drips, an integral gutter and flashings where the canopy meets the masonry elevation.

Rather than replacing only the visible sheet, the detail was reconstructed from the supporting timber upwards so that the finished Code 5 leadwork could be formed over a controlled substrate and drainage arrangement.

LEADWORK TADCASTER + YORK →
LEAD BAYS + CANOPIES →
LEADWORK STANDARDS →

LOCATION

Tadcaster

PROGRAMME

Approx. 2 Days

LEAD CODE

Code 5

DETAIL

Canopy + Gutter

02 — THE CANOPY

A small roof with its own drainage system

This canopy performs more than a decorative role above the entrance.

Its upper surface collects rainwater, the lead bays direct that water across the roof and the gutter detail then has to receive and discharge it without allowing water to reach the timber construction or doorway below.

The perimeter edges also need to terminate cleanly and throw water clear, while the rear of the canopy has to connect back into the masonry elevation through separate flashing details.

Key elements

  • Fully supported flat canopy roof
  • Code 5 rolled lead sheet
  • Integral lead-lined gutter
  • Timber core rolls
  • Perimeter drip edges
  • Masonry abutment flashings
  • Compatible clips and fixings
  • Lead-compatible chase finishing

03 — TECHNICAL APPROACH

Build the drainage route before laying the lead

The timber construction beneath the sheet determines both the geometry and the path taken by rainwater.

The canopy was therefore reconstructed to provide suitable support, defined edges and a formed gutter before the new lead covering was installed.

The Code 5 lead was then divided into manageable sections using traditional roll details, allowing the roof to be weathered without creating one oversized and unnecessarily restrained sheet.

The lead code and sheet arrangement are specific to this project. Other canopies should be specified according to their dimensions, geometry, exposure and supporting construction.

BS 6915 →
BS EN 12588 →
LSTA Guidelines →

Before

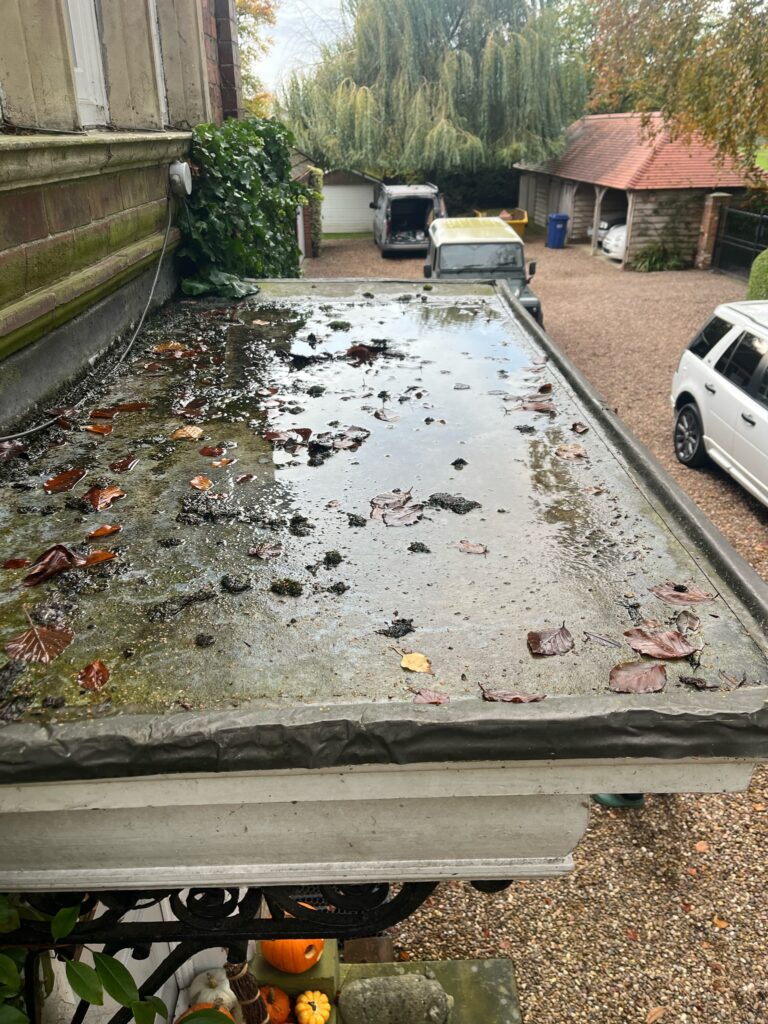
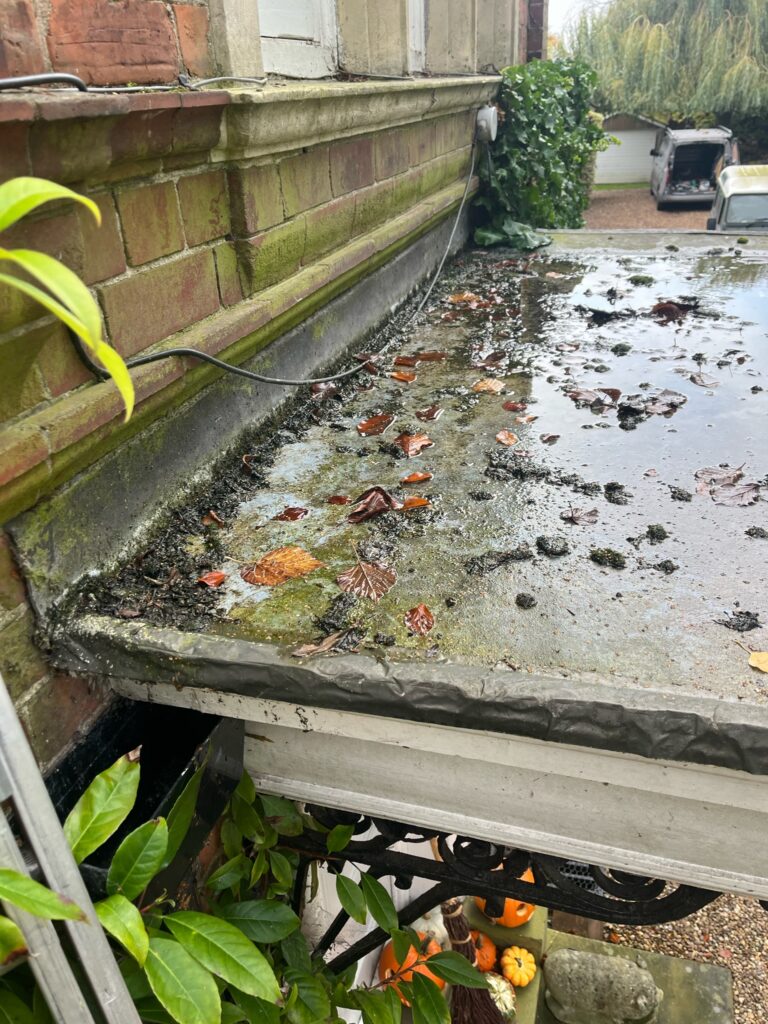
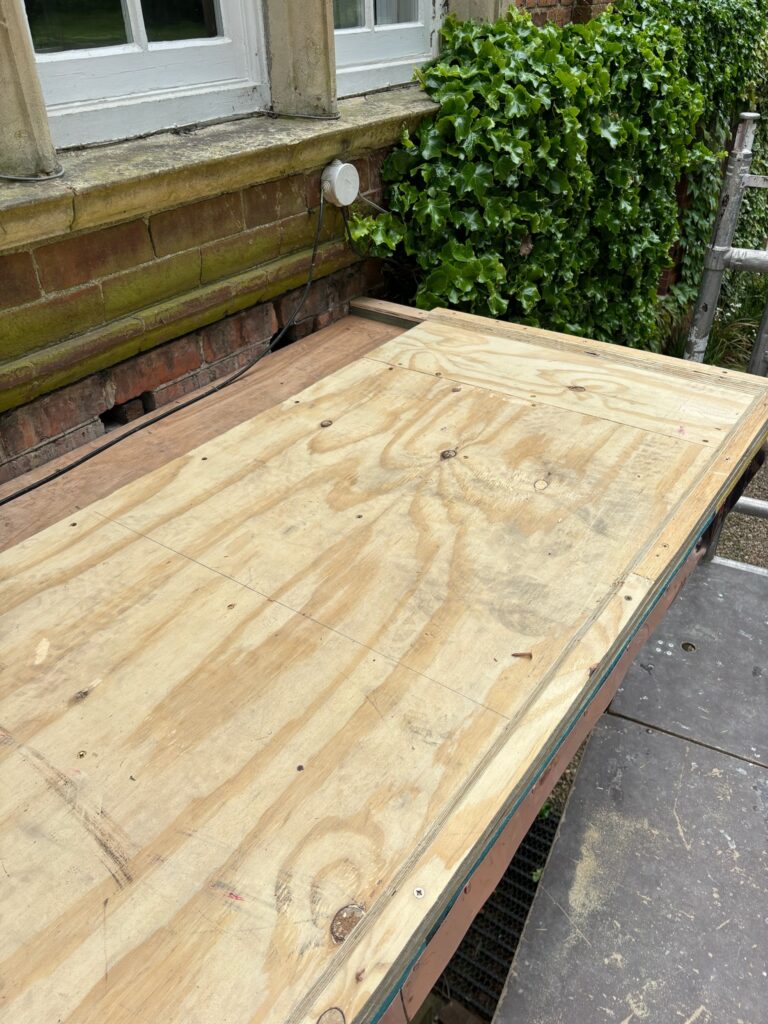
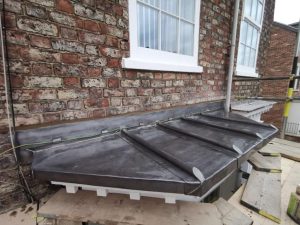
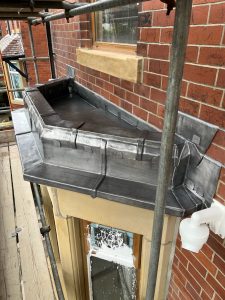
The existing entrance canopy before the previous covering and supporting details were removed.

Formation

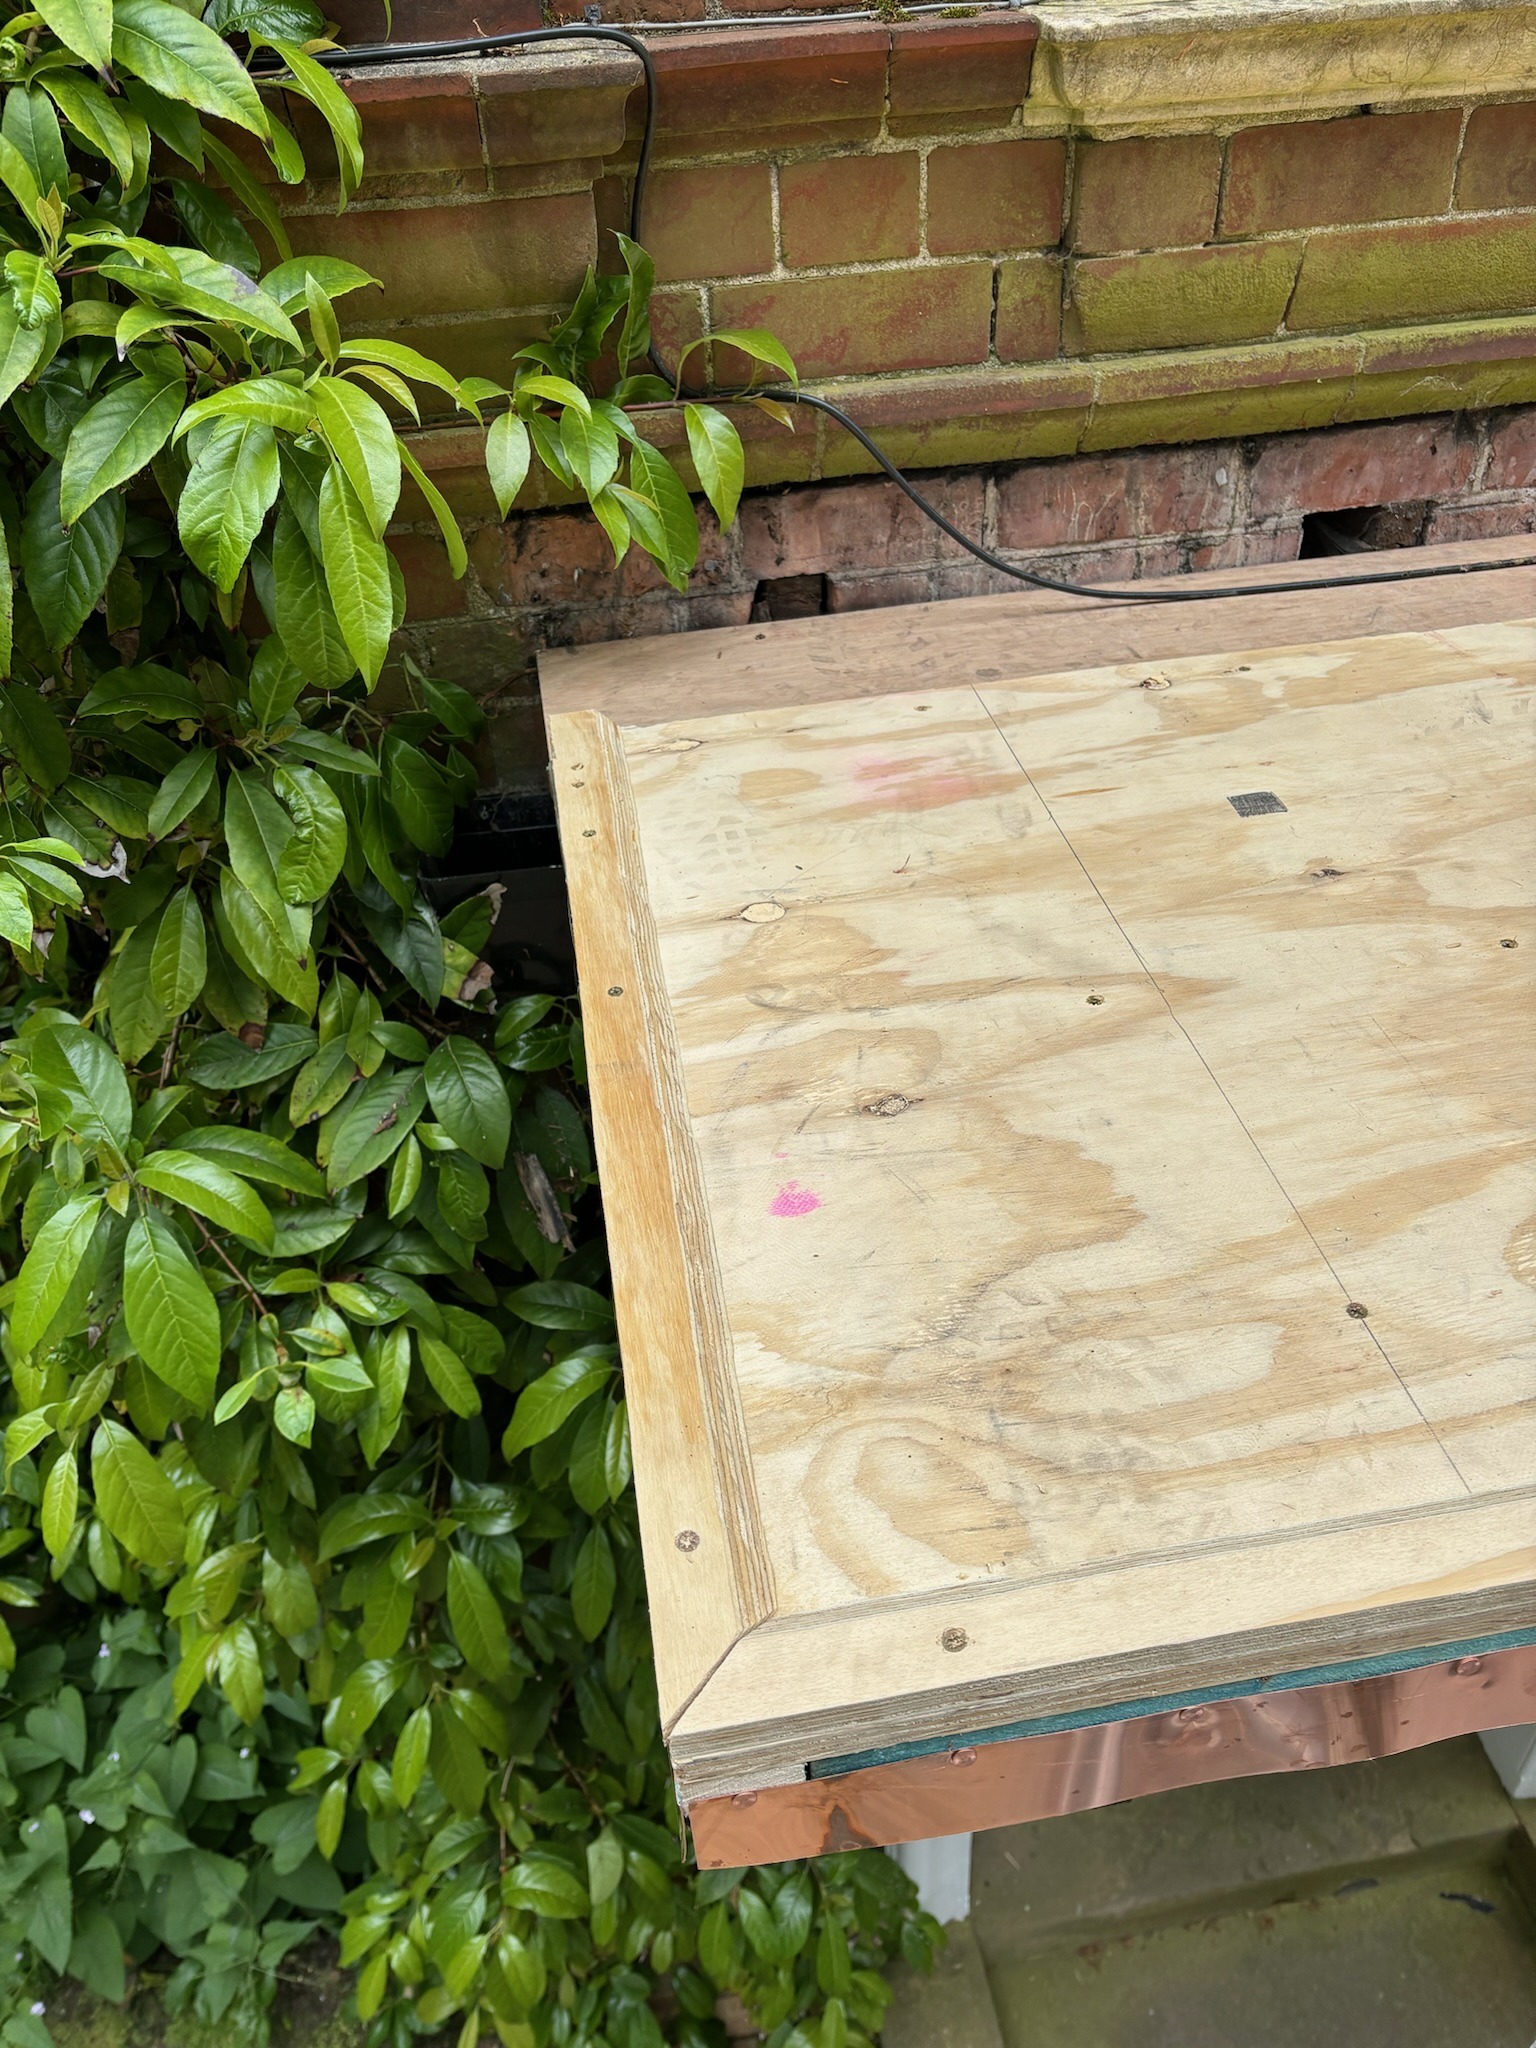
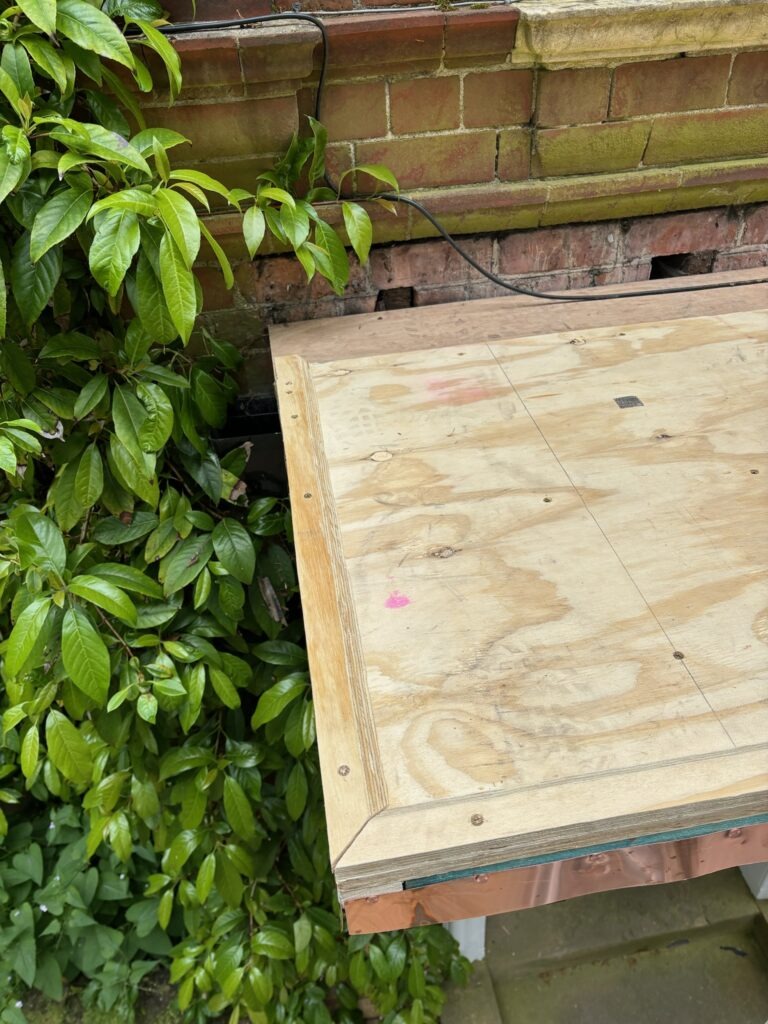
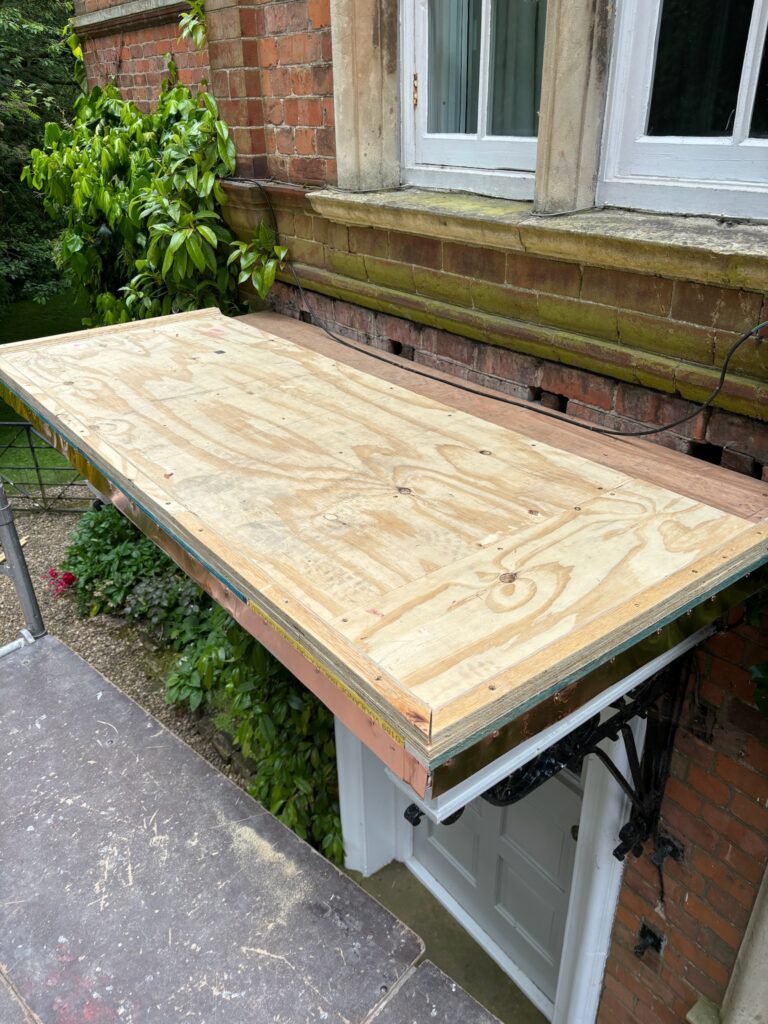
New timber construction established the canopy geometry, gutter and supporting background.

Completed

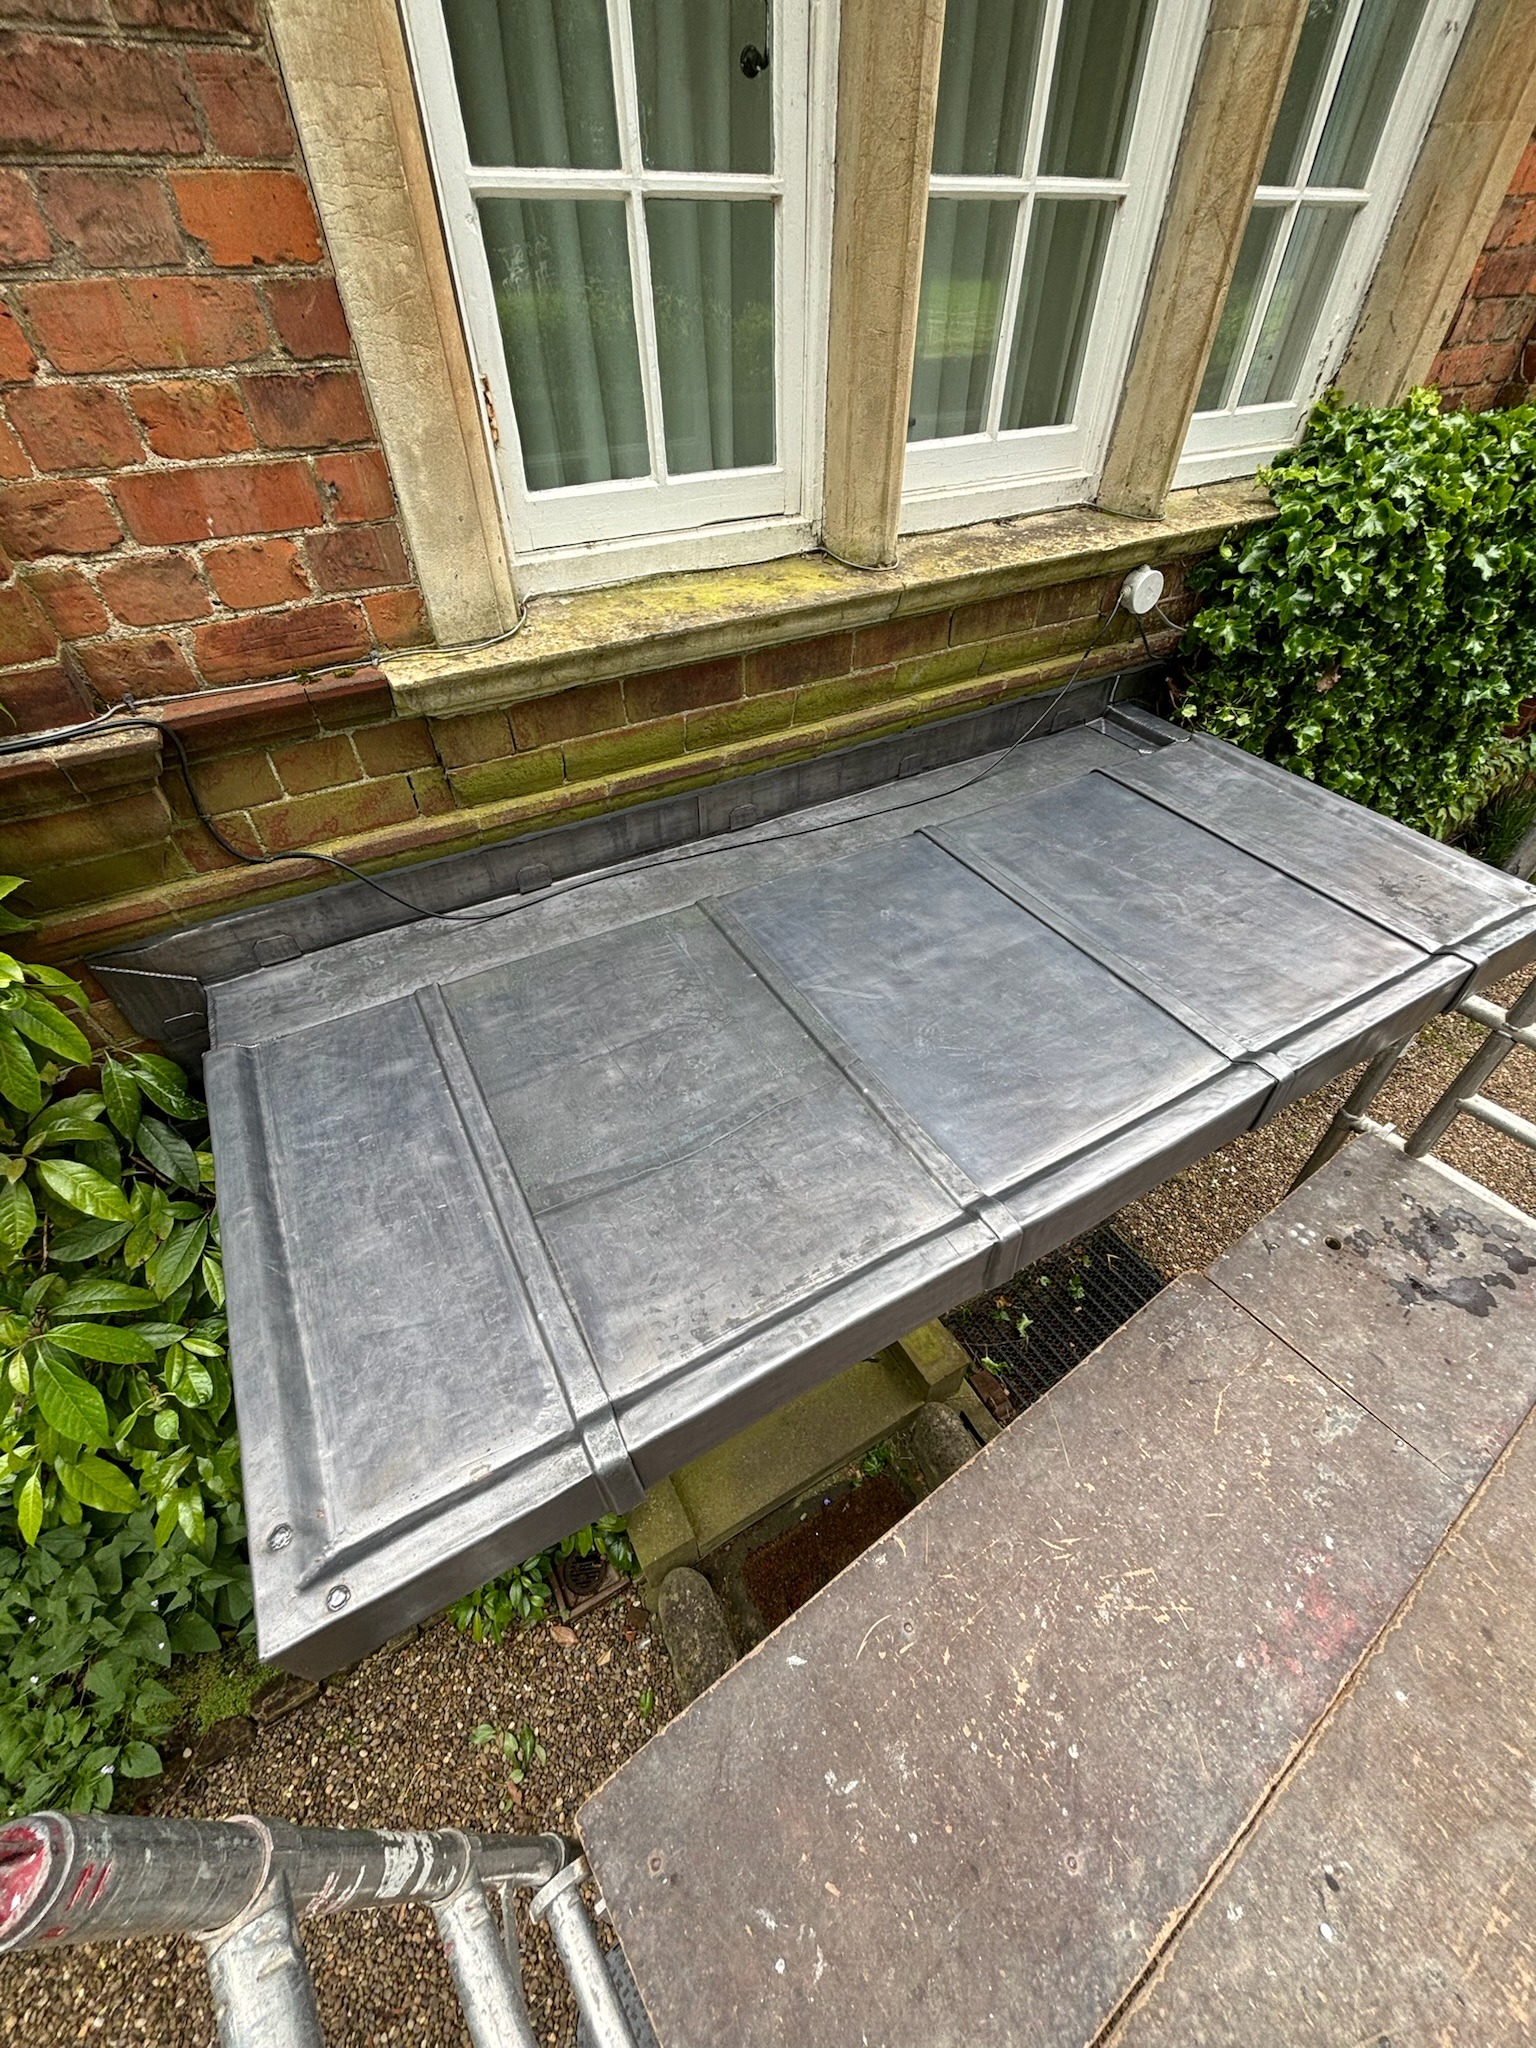
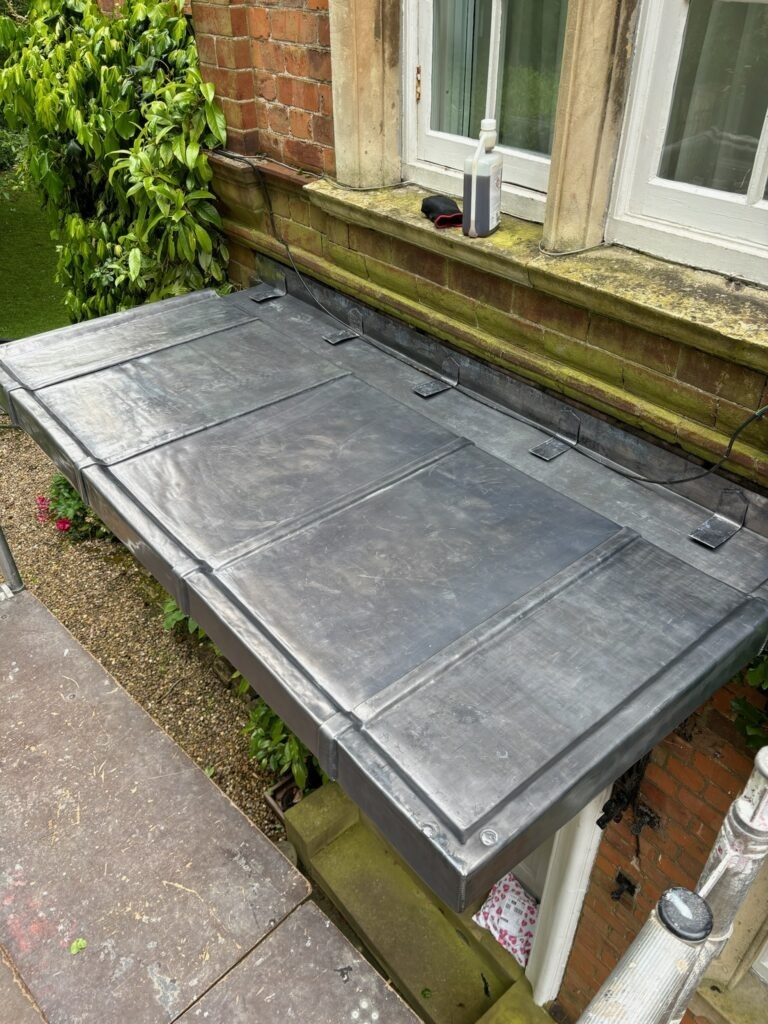
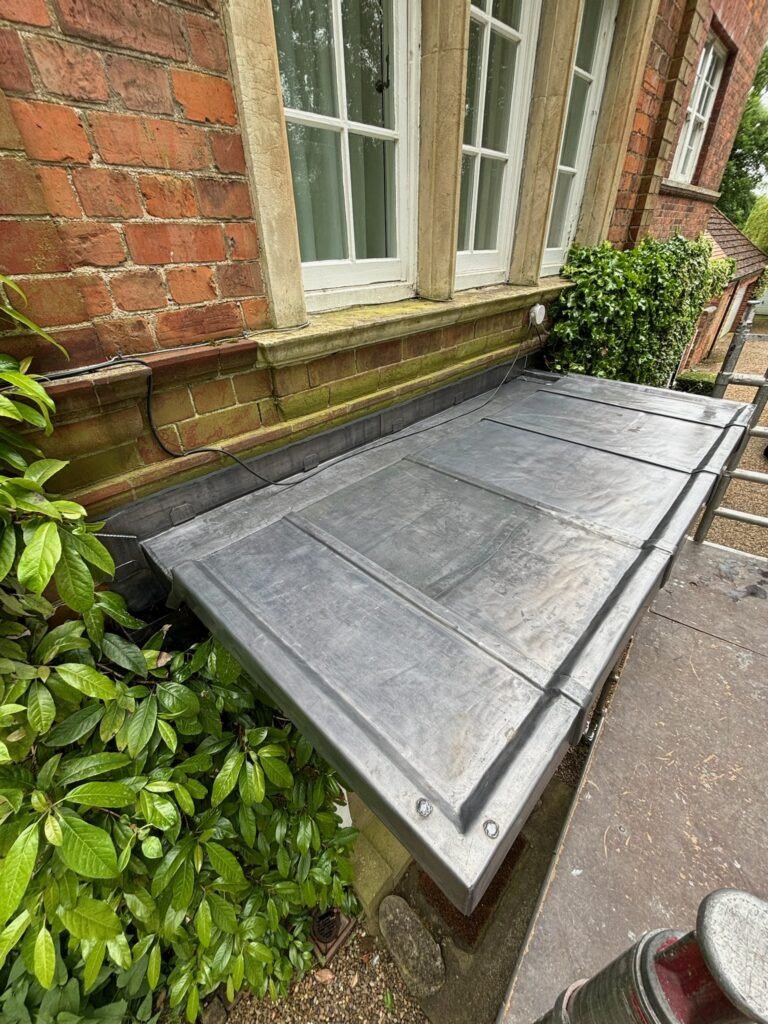
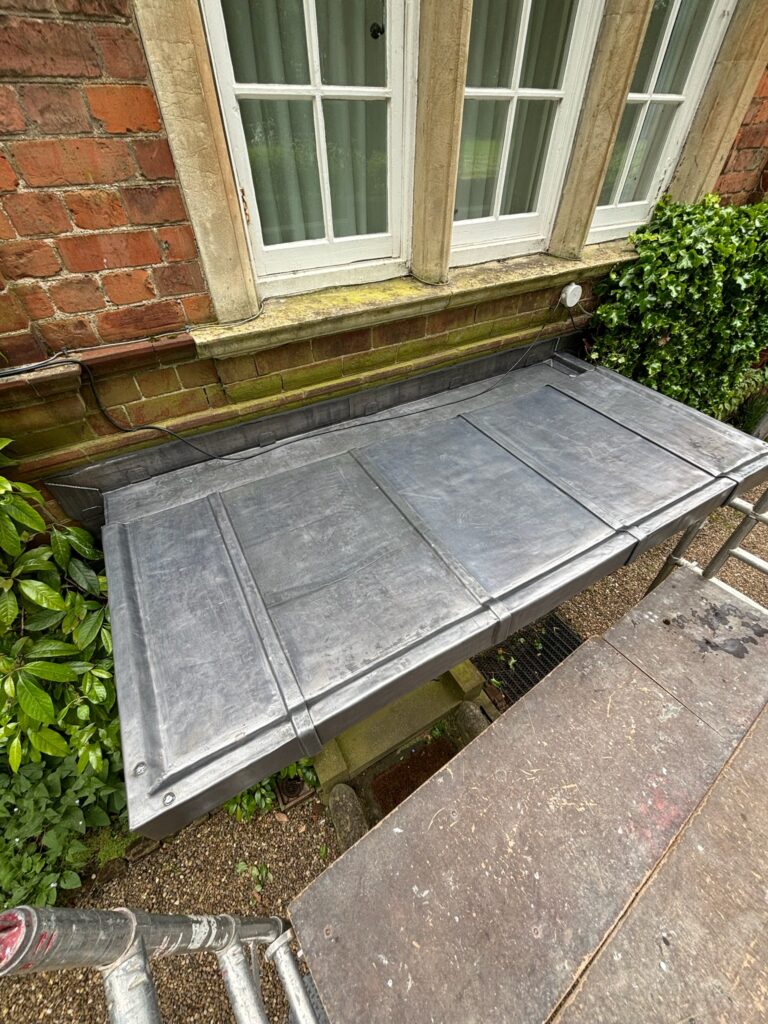
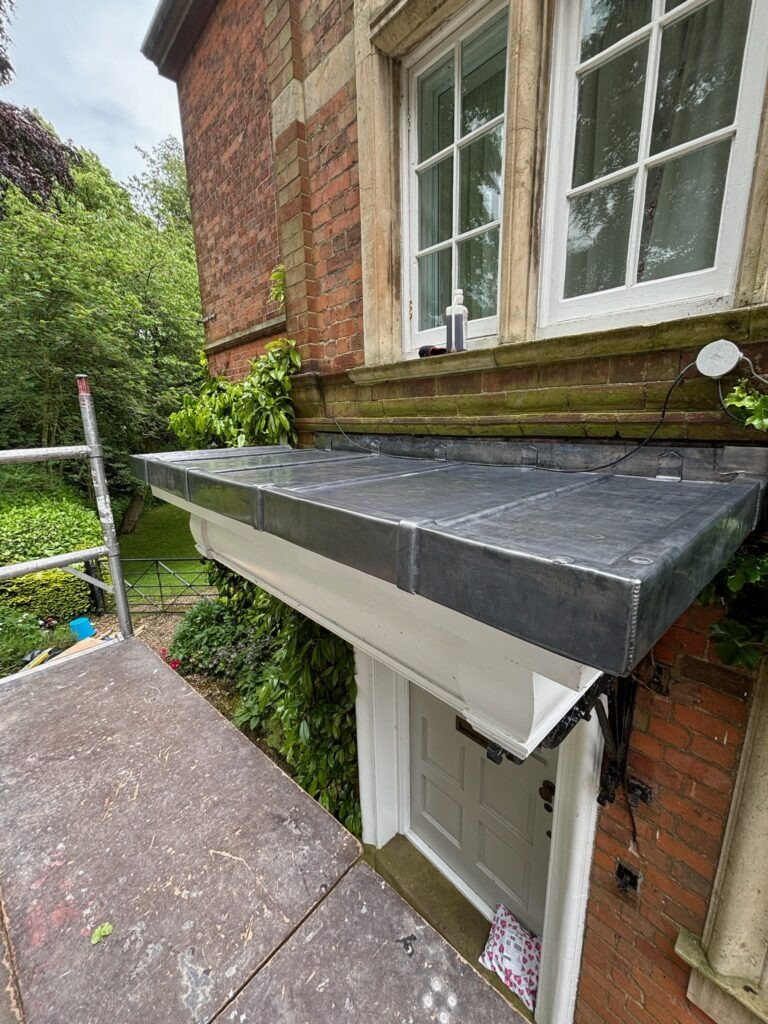
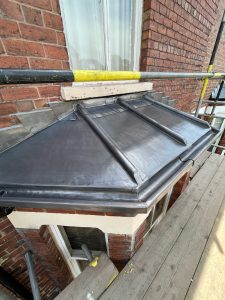
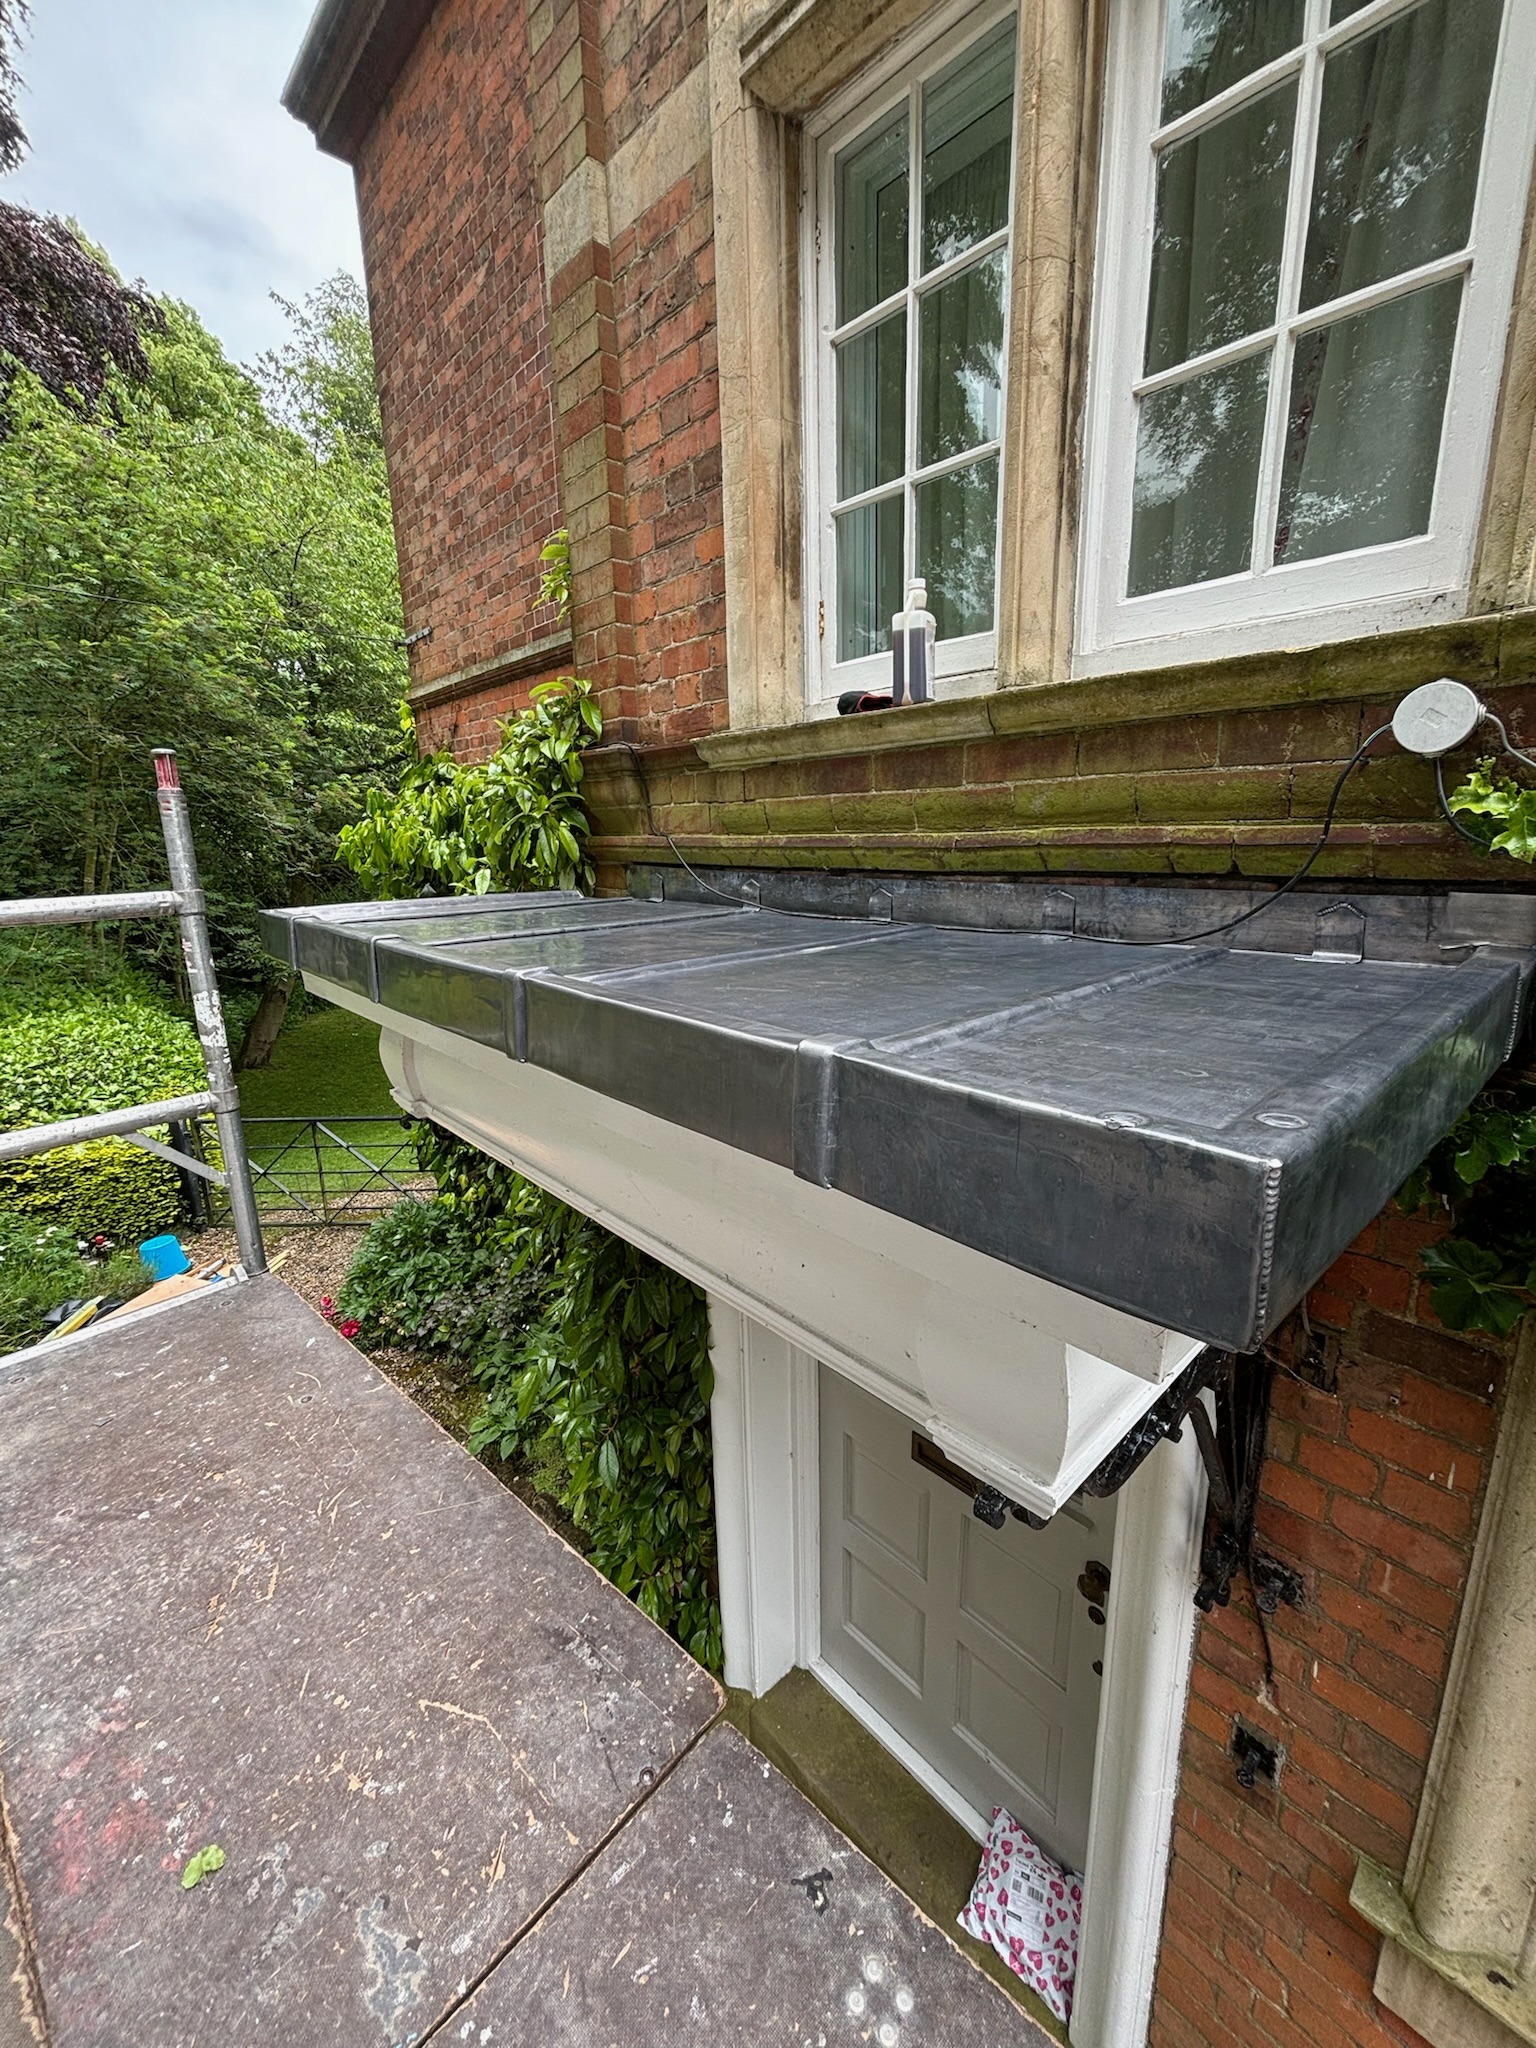
The completed Code 5 covering integrates roof bays, gutter, rolls, flashings and drip edges.

04 — INTEGRAL GUTTER

The canopy is also a drainage detail

The gutter is one of the features that distinguishes this project from a simple sheet-covered hood.

Its supporting timber was formed as part of the canopy reconstruction before being lined with Code 5 lead.

The roof covering, roll arrangement and gutter then operate together, moving water from the upper surface towards a defined collection point rather than relying on uncontrolled runoff around the entrance.

That relationship between roof and gutter is central to the finished detail.

05 — DRIPS + EDGES

Control where water leaves the lead

The external edges of the canopy need to do more than simply finish the sheet neatly.

Properly formed drips encourage water to separate from the underside of the lead and discharge clear of the timber and decorative surfaces below.

The edges also remain visually prominent from ground level, making accuracy of dressing and restraint important to both weathering performance and architectural appearance.

Compatible clips and fixings were used where appropriate to secure the edge details while respecting normal sheet movement.

06 — SIGNATURE DETAIL

Roof, roll and gutter in one compact detail

The strength of this canopy lies in the way several traditional lead details are compressed into one small architectural feature.

The timber rolls divide the roof covering. The bays shed water across the canopy. The gutter receives that water, while perimeter drips and masonry flashings deal with the remaining boundaries.

Each element has a different function, but none works particularly well in isolation.

The finished canopy is therefore best understood as a complete weathering system rather than simply a decorative sheet of lead above a doorway.

07 — PREPARATION + SUPPORT

Reconstructing the canopy beneath the sheet

  • Safe access established around the entrance
  • Adjacent masonry and finishes protected
  • Existing roof covering removed
  • Defective substrate materials stripped back
  • Supporting construction inspected
  • New timber support formed where required
  • 18mm exterior-grade plywood installed as specified
  • Integral timber gutter reconstructed
  • Timber core-roll positions established
  • Perimeter edges and drainage geometry formed
  • Suitable lead separation layer / underlay installed

Establishing the gutter, edges and roll positions before the sheet is installed gives the finished leadwork a controlled geometry to follow.

08 — LEADWORK INSTALLATION

Forming the Code 5 canopy

  • Code 5 rolled lead sheet set out to the canopy geometry
  • Lead-lined gutter formed over the reconstructed support
  • Roof covering divided into manageable bays
  • Timber core-roll details weathered in lead
  • Lead dressed and bossed around changes in profile
  • Perimeter drip details formed
  • Compatible copper and stainless-steel fixings used where appropriate
  • Flashings installed at the masonry abutment
  • Chases finished with compatible mortar or lead sealant where specified
  • Welded junctions formed where appropriate
  • Completed sheet arrangement checked for movement allowance
  • Patination oil applied following installation

09 — MATERIALS

The canopy weathering system

  • Code 5 rolled lead sheet
  • 18mm exterior-grade plywood
  • Timber core rolls
  • Suitable lead underlay / separation layer
  • Copper ringshank nails
  • Copper clips
  • Stainless-steel clips where appropriate
  • Lead-compatible chase sealant
  • Patination oil

CODE 5 LEAD →
18MM PLYWOOD →
WOOD CORE ROLL →
LEAD UNDERLAY →
LEADWORK FIXINGS →
LEAD MATE →
PATINATION OIL →

10 — THE CRAFT

Several leadworking skills in one small roof

  • Lead setting out
  • Lead bossing
  • Lead welding
  • Core-roll detailing
  • Gutter lining
  • Drip formation
  • Perimeter dressing
  • Masonry flashing
  • Compatible clipping and fixing
  • Joinery and substrate preparation

The canopy demonstrates how compact architectural details can require a surprisingly broad range of leadworking skills.

11 — PROJECT RECORD

Strip.
Rebuild.
Re-cover.

The Tadcaster project record documents the canopy before renewal, the timber reconstruction beneath the sheet and the finished Code 5 weathering system.

The sequence shows why successful leadwork is determined long before the final sheet is dressed into place.

12 — LEAD CANOPIES

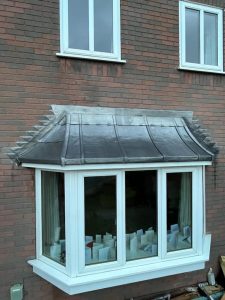
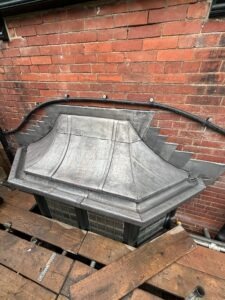
A canopy is a roof in miniature

Traditional lead canopies contain many of the same principles as substantially larger lead roofs.

They require sound support, appropriate sheet dimensions, controlled movement, reliable abutment details and an obvious route for water.

The smaller scale simply concentrates those decisions into a more compact area.

This Tadcaster canopy is particularly useful because the integral gutter adds another layer to that weathering system.

Lead Bays + Canopies →
BS 6915 →
LSTA Guidelines →
The Lead Handbook →

13 — TADCASTER LEADWORK

A real project supporting the wider York service area

Tadcaster falls naturally within The Lead Lads® wider York and North Yorkshire operating area.

This project gives that location coverage a real technical example: a completed canopy combining structural renewal, lead roofing, gutter lining, roll details and masonry flashings.

Leadwork York + Tadcaster →
Leadwork Services →
Request a Leadwork Quote →

14 — WHAT THIS PROJECT SHOWS

Drainage begins beneath the visible lead

The defining lesson from the Tadcaster canopy is that the outer sheet cannot correct poor geometry beneath it.

The timber substrate establishes the roof surface. The formed gutter determines where collected water goes. The roll layout controls the sheet arrangement, while the drips and flashings manage the exposed boundaries.

Only once those components are resolved does the Code 5 covering become the final weathering layer.

That makes the project a particularly good example of why traditional leadwork is as much about construction and setting out as it is about dressing sheet metal.

PROJECT TAKEAWAYS

  • Small canopies still require a complete drainage strategy.
  • The substrate determines the finished lead geometry.
  • Integral gutters need to be considered with the roof covering.
  • Timber rolls can divide the covering into manageable sections.
  • Drips control how water leaves exposed edges.
  • Masonry flashings weather the canopy-to-wall junction separately.
  • Lead code should be chosen from the actual detail, not the component name alone.

15 — FREQUENTLY ASKED

Lead door canopy questions

What lead code was used on this canopy?

Code 5 rolled lead sheet was used on the Tadcaster project. The correct code for another canopy depends on its dimensions, sheet arrangement, exposure and geometry.

Why was a timber core roll used?

The roll creates a raised weathering joint between adjacent sections of lead and allows the canopy covering to be divided into manageable bays.

Why does the canopy need a separate gutter?

The gutter gives collected rainwater a defined route away from the roof surface rather than allowing runoff to discharge unpredictably around the entrance.

Does leadwork always need building paper?

Fully supported leadwork generally requires a suitable separation layer appropriate to the substrate and specification. The exact product should be chosen for the particular build-up rather than assumed from the detail name alone.

Can a lead canopy be repaired instead of replaced?

Local defects may sometimes be repairable. Where the covering, gutter, substrate or several junctions are defective, more comprehensive renewal can allow the whole weathering system to be reconstructed properly.

Why are copper or stainless-steel fixings used?

Compatible non-ferrous fixings help avoid inappropriate material combinations and can restrain leadwork at suitable points without unnecessarily restricting movement.

THE LEAD LADS® / PROJECT ARCHIVE

Canopy. Gutter. Drips. One complete weathering detail.

The Tadcaster entrance canopy forms part of The Lead Lads® archive documenting real applications of sheet lead across bays, roofs, gutters, dormers, flashings, canopies and specialist architectural details.

Its defining feature is the integration of several traditional details within one compact roof: fully supported Code 5 lead bays, timber rolls, a lead-lined gutter, perimeter drips and masonry flashings.