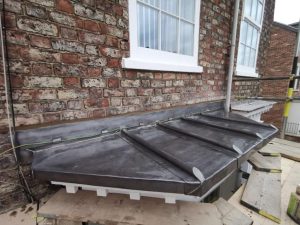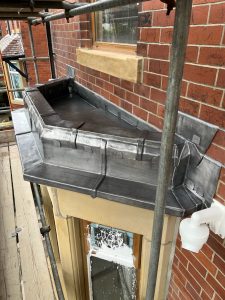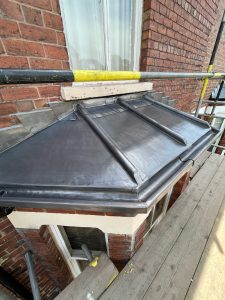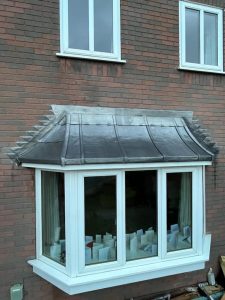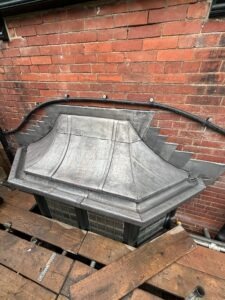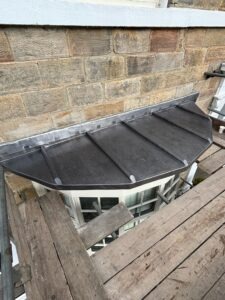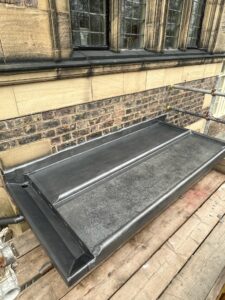
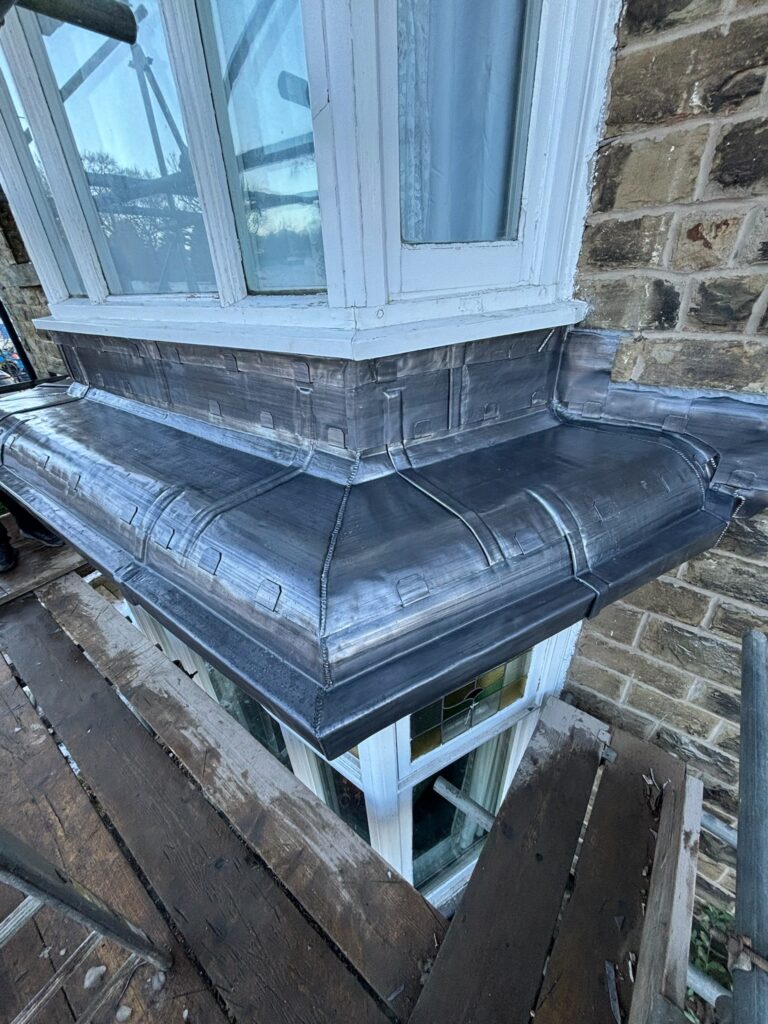
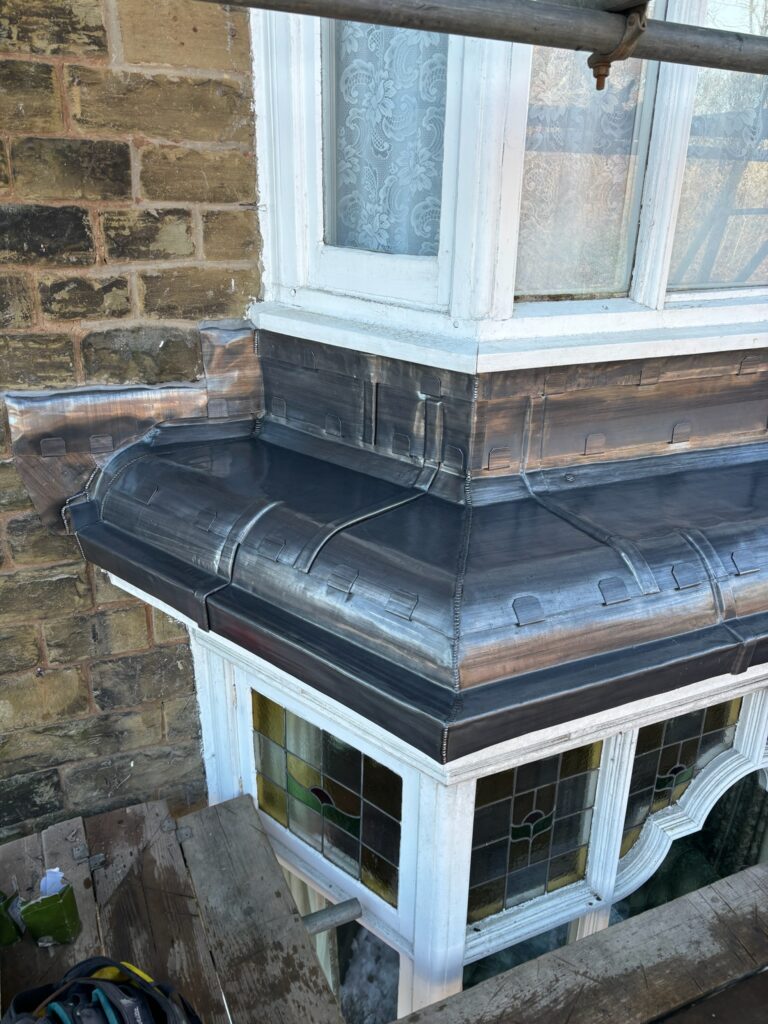
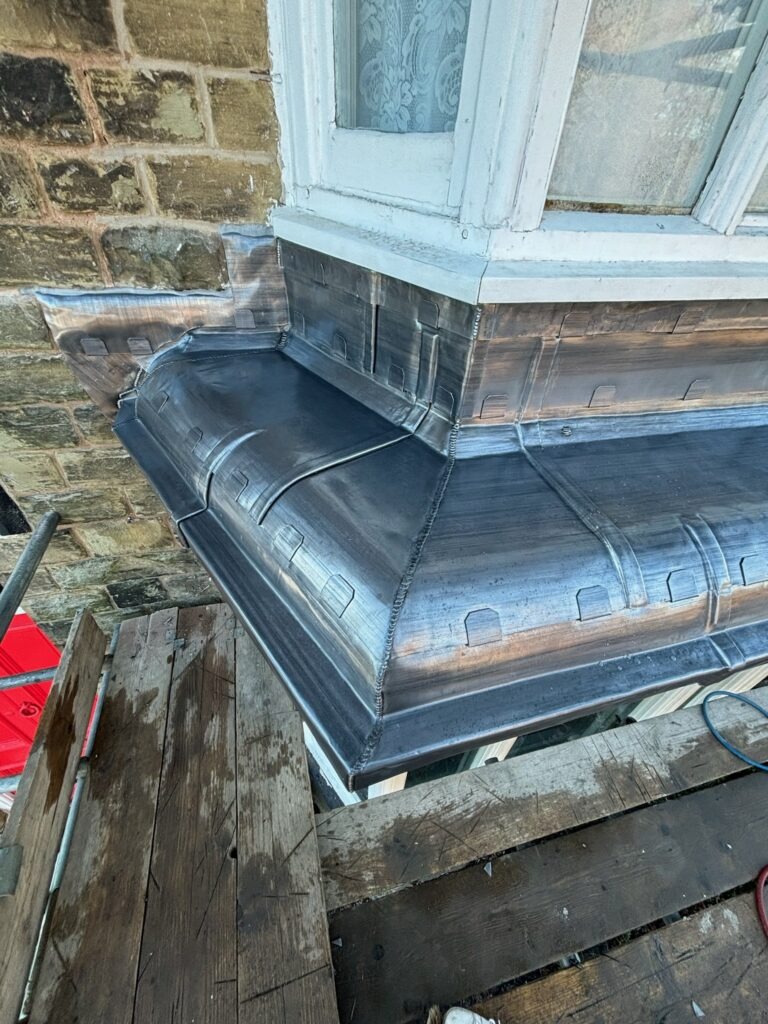
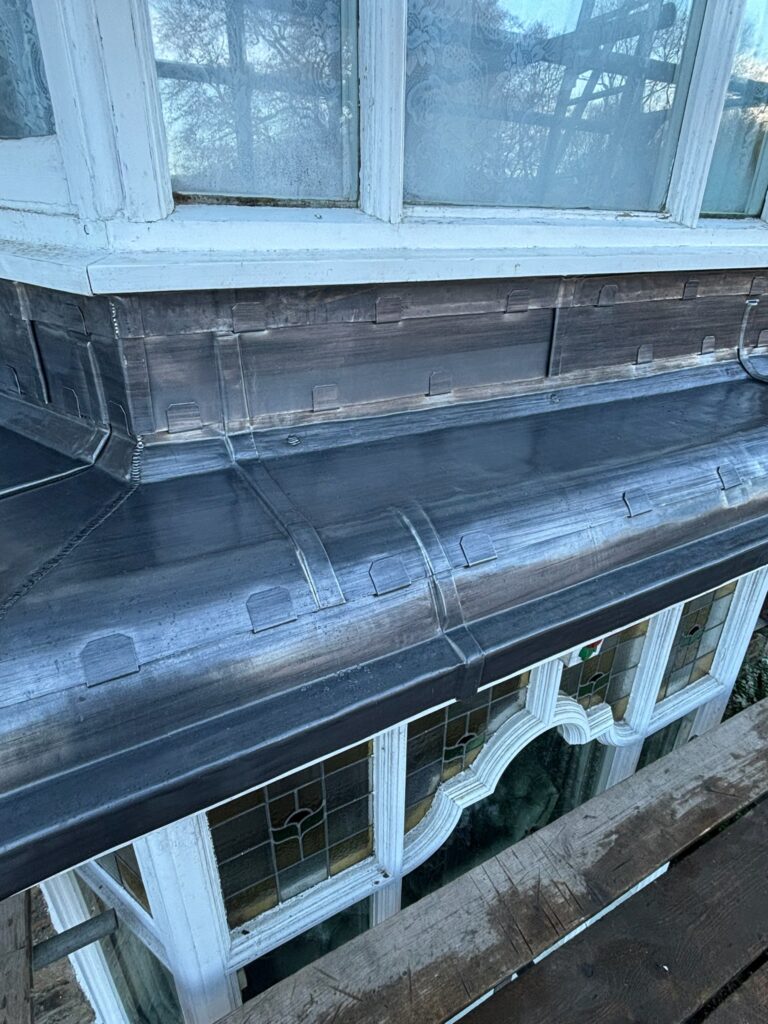



This lead bay roof restoration was completed in around 5 days, excluding access setup.


The Lead Lads provide specialist leadwork services for bays, flashings, valleys, gutters and traditional roof details.
166 Meadowhead in Sheffield is a traditional late Victorian or early Edwardian semi-detached house. It is built in solid masonry with natural stone elevations typical of the region. The property features a pitched slate roof, along with some modern additions such as rooflights. However, it still retains key period details, including a prominent two-storey bay window with decorative features. Overall, the building reflects a durable family home with strong traditional character, set slightly elevated behind a boundary hedge.
The property includes a lead-covered bay roof. Although this is a small area, it is both highly visible and technically important. It sits directly below the window frame and is exposed to concentrated rainwater. As a result, these details often fail when the lead has been over-fixed, poorly detailed, or installed over a failing substrate. In addition, the bay roof plays a key role in the appearance of the front elevation.
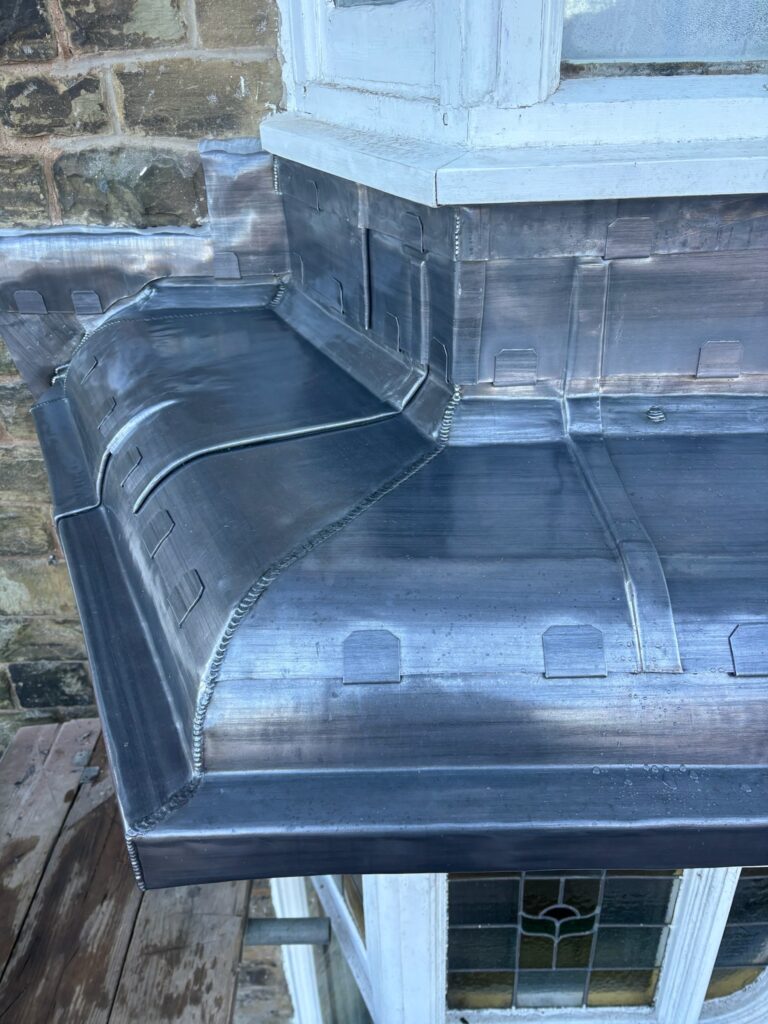
For this reason, the work was not treated as a simple repair. Instead, the bay was fully stripped back, re-decked, and re-covered using Code 5 rolled lead sheet. The installation included correct underlay, copper clips, formed drips, and traditional detailing in line with recognised leadwork guidance.
In many cases, lead bay roofs fail because thermal movement has been restricted. This is often caused by over-fixing or incorrectly sized bays, which leads to splits and fatigue cracking over time. In addition, welded joints and corners are common weak points. Failure can also occur when the timber substrate beneath has deteriorated or become uneven.
Typical signs include visible cracking, lifted joints, and water ingress around the bay window. You may also notice staining or discolouration on the lead surface. In more advanced cases, the bay top can appear uneven or start to sag, indicating structural issues below.
This project was completed using a standards-led approach focused on proper lead detailing, correct material selection and durable support beneath the finished covering.
The bay roof should be replaced in line with BS 6915, BS EN 12588, and LSA guidance, starting with a new fully supported timber deck and underlay. New Code 5 lead is then installed in correctly sized bays, fixed with clips to allow for thermal movement, and formed with bossed corners, welded joints, and proper upstands and drip details to ensure a durable, watertight finish.
Contact us about leadwork More leadwork resources and guides The leadwork LinkThis project used a straightforward but important group of materials, each chosen for a clear purpose within the bay roof build-up.
If you are trying to understand which code of lead is right for a similar detail, our shoppable lead chart is a useful starting point. For broader product learning, see The Lead Handbook and our lead roofing guides.
The Lead & Materials Used By Us 🛒 Lead Weight Calculator
This project highlights that lead bay roofs, while small, are technically demanding. They rely on correct design, accurate bay sizing, and careful installation. Most importantly, the lead must be free to move. Without this, splits and leaks will quickly develop. In addition, a solid and fully supported substrate is essential, as any movement below will stress the lead above. Ultimately, good leadwork comes down to precision, while poor detailing leads to early failure.
A correctly installed lead bay roof can last 50–100 years depending on exposure and maintenance.
Common causes include over-fixing, incorrect bay sizes, poor detailing, and failure of the timber substrate beneath.
Code 5 lead is typically specified for bay roofs, in line with BS EN 12588 and LSA guidance.
Not always, but if there are splits, widespread fatigue, or substrate issues, full replacement is usually the best long-term solution.
Most bay roof replacements can be completed within 1–3 days depending on size and complexity.
Yes, periodic checks and clearing of debris will help prevent water build-up and extend its lifespan.
You can explore lead roll, lead flashing, fixings, underlay and guides through the Lead Lads Shop.