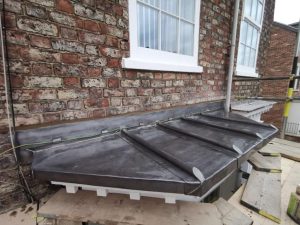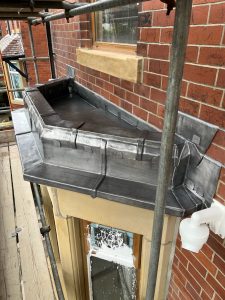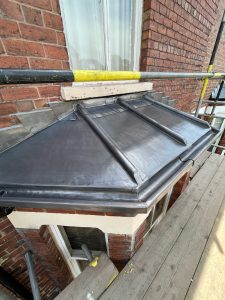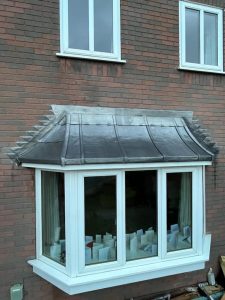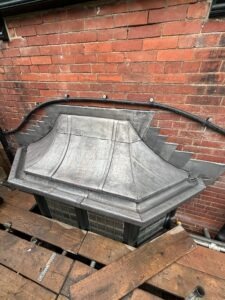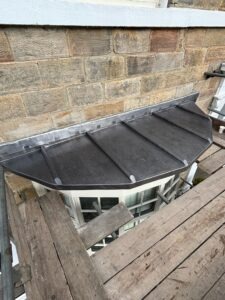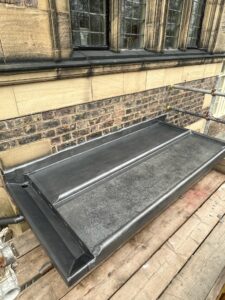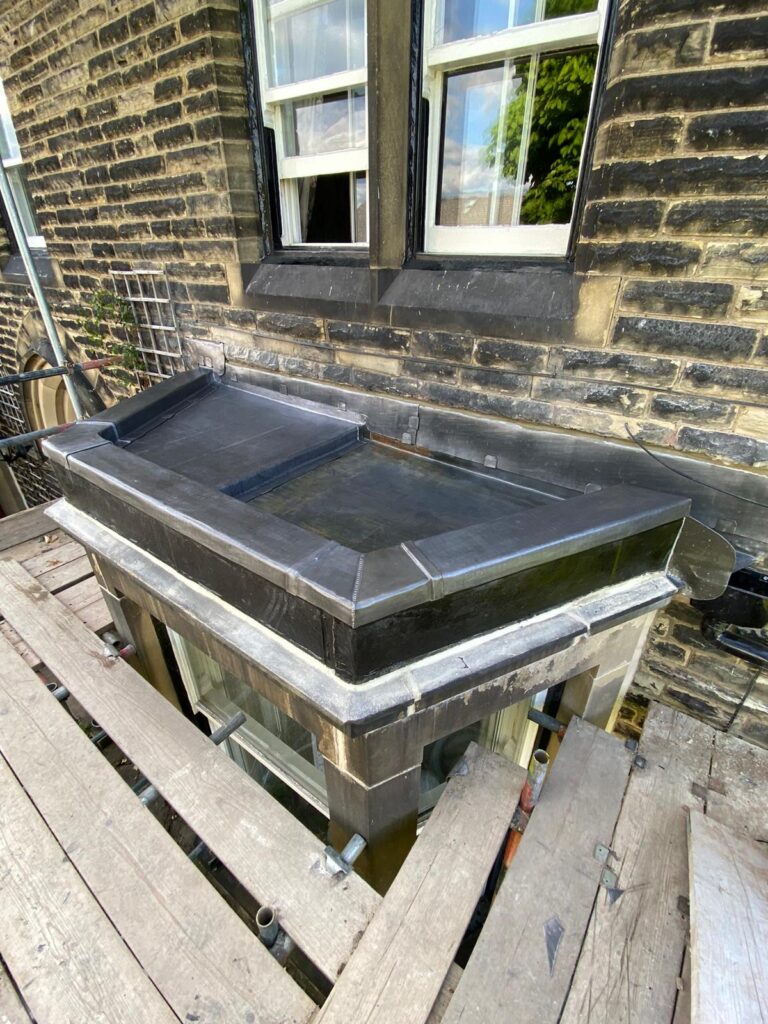


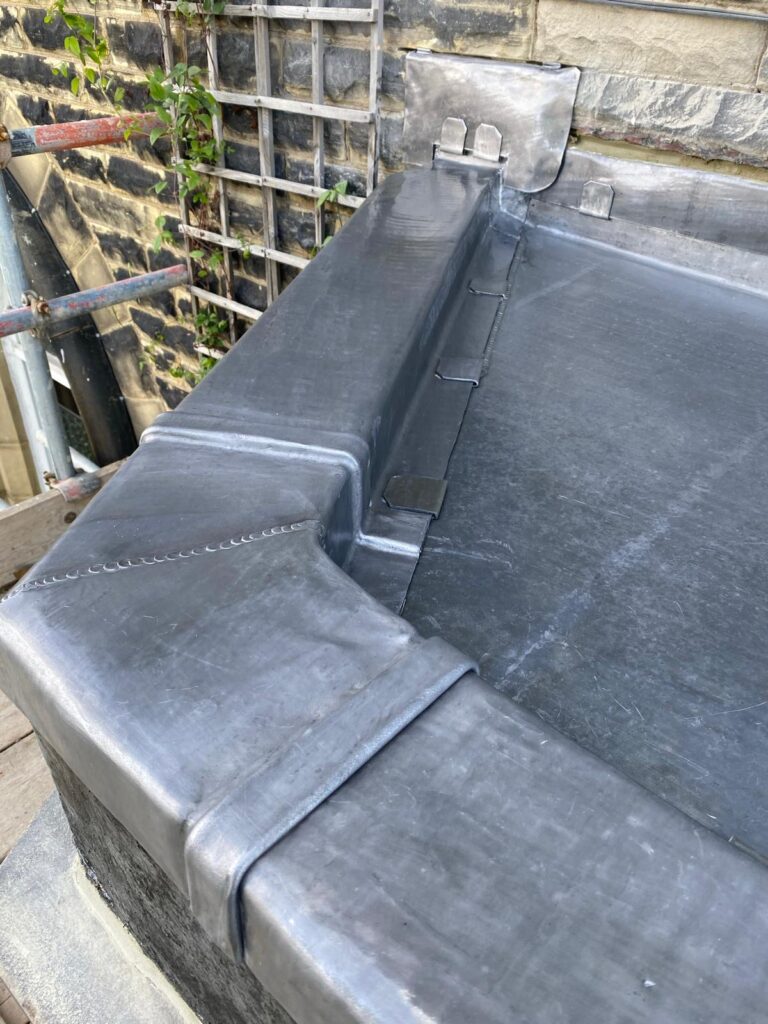

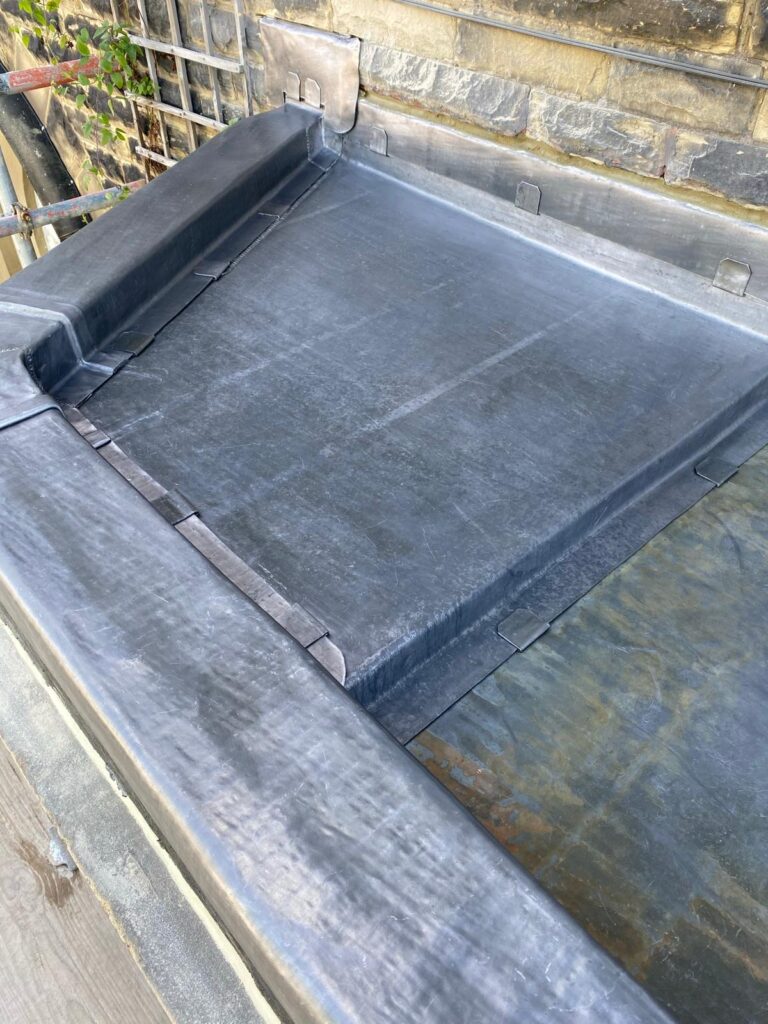


This lead bay installation included new Code 5 lead coverings, perimeter upstands, flashings and a formed outlet detail.

Traditional lead bay roof installation to a stone property with detailed abutment and drainage work.

The Lead Lads provide specialist leadwork services for bays, flashings, gutters, outlets and traditional roof details.
This project involved the installation of a new lead bay roof to a traditional stone property. The bay sits below upper-level windows and forms an important weathering detail where the main elevation meets the projecting bay structure below.
Lead bays are highly exposed and technically important. They must protect the structure beneath, direct rainwater away from the wall, and integrate neatly with masonry, window details, flashings and rainwater goods.
The completed detail included a new lead bay covering, raised perimeter upstands, clipped flashings, welded details and a formed outlet arrangement discharging into the adjoining rainwater goods.
Lead bay roofs are exposed to concentrated rainfall, thermal movement and several vulnerable junctions. If the installation is poorly detailed, water can track behind the lead, collect at the wall junction, stain masonry or enter the building fabric below.
This project required accurate setting out and careful workmanship because the bay included perimeter upstands, abutment flashings, clipped edges, welded corners and a bespoke drainage outlet. Each element needed to work together as a complete weathering system.
From the outset, the focus was on movement, durability, neatness and long-term weathering performance.
In practice, that meant selecting the correct lead code, allowing for expansion and contraction, forming clean joints, and building reliable flashing and outlet details into the bay. Good leadwork must look right and work properly.
Contact us about leadwork More leadwork resources and guides The leadwork LinkFor this project, we selected traditional leadwork materials suited to bay roof detailing, drainage control and long-term weathering performance.
If you are comparing materials for a similar lead bay detail, our shoppable lead chart is a helpful place to start. In addition, you can explore broader product guidance through The Lead Handbook and our lead roofing guides.
Shop Lead Materials
Lead bay installation is about more than fitting a flat sheet of lead. The roof covering, upstands, flashings, outlet, clips and welded corners all need to work together to control water and protect the building below.
This project shows why bay roofs should be treated as complete weathering systems. The surrounding junctions are just as important as the main lead covering, especially where the bay meets stonework, window openings and rainwater goods.
A lead bay installation involves forming a weatherproof lead covering to a projecting bay roof, including flashings, upstands, drips and drainage details.
Many lead bay roofs use Code 5 lead, but the correct code depends on the bay size, exposure and detailing.
Flashings protect the junction where the bay meets the wall and help prevent water entering behind the lead covering.
The outlet allows water to discharge safely from the bay. Poor outlet detailing can lead to ponding, leaks and staining.
Yes. Clips help restrain exposed edges while still allowing the lead to move naturally.
You can explore lead roll, flashings, fixings, underlay and guides through the Lead Lads Shop.