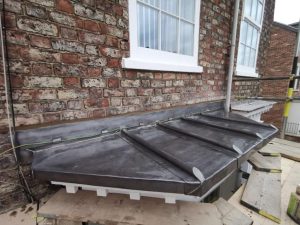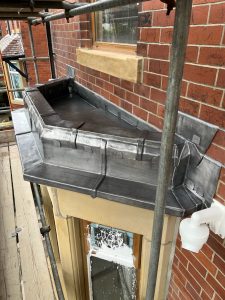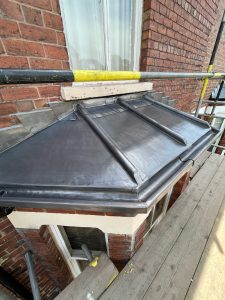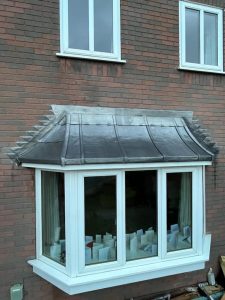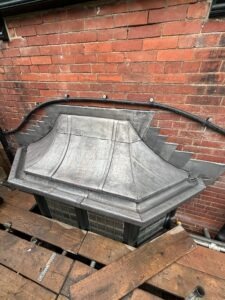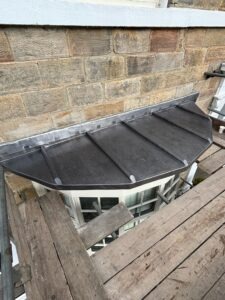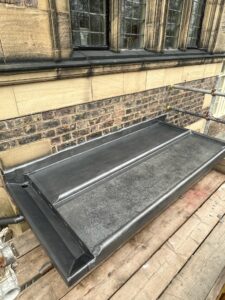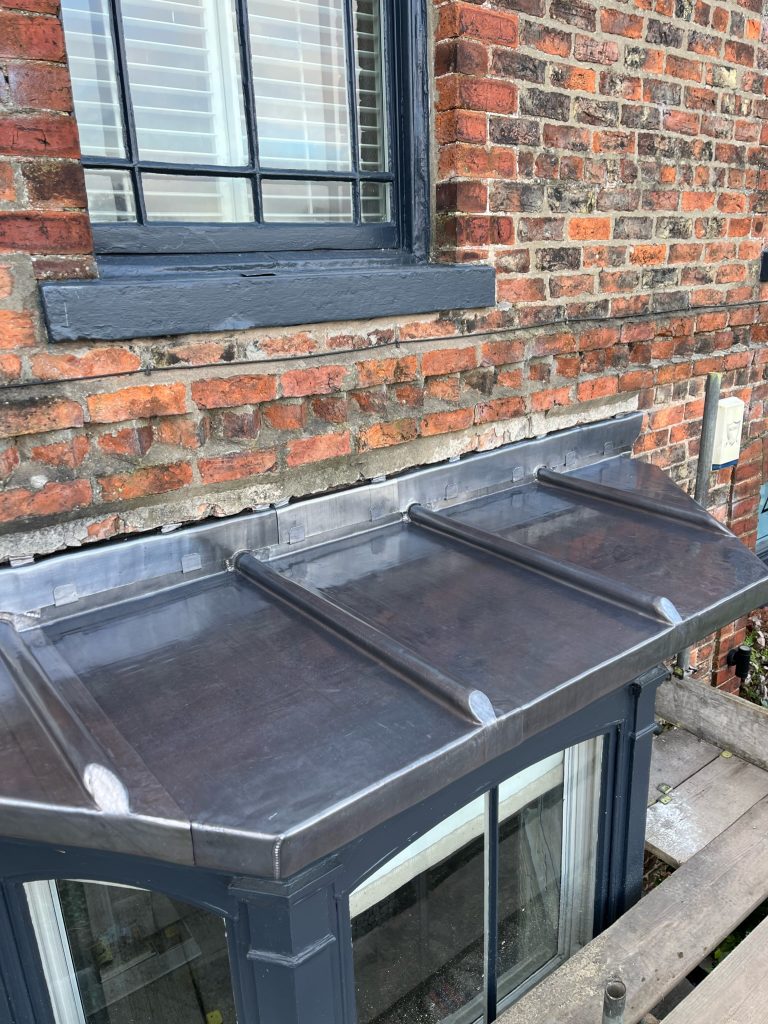

Project imagery




Project Duration
This flat lead bay window roof was completed in around 2 days.

Project Location

Leadwork Services
The Lead Lads provide specialist leadwork services for bay roofs, flashings, gutters, valleys and traditional roof details.
Leadwork Project Details | The Lead Lads ®
The Property
Flat Lead Bay Window Roof – Ripon, North Yorkshire
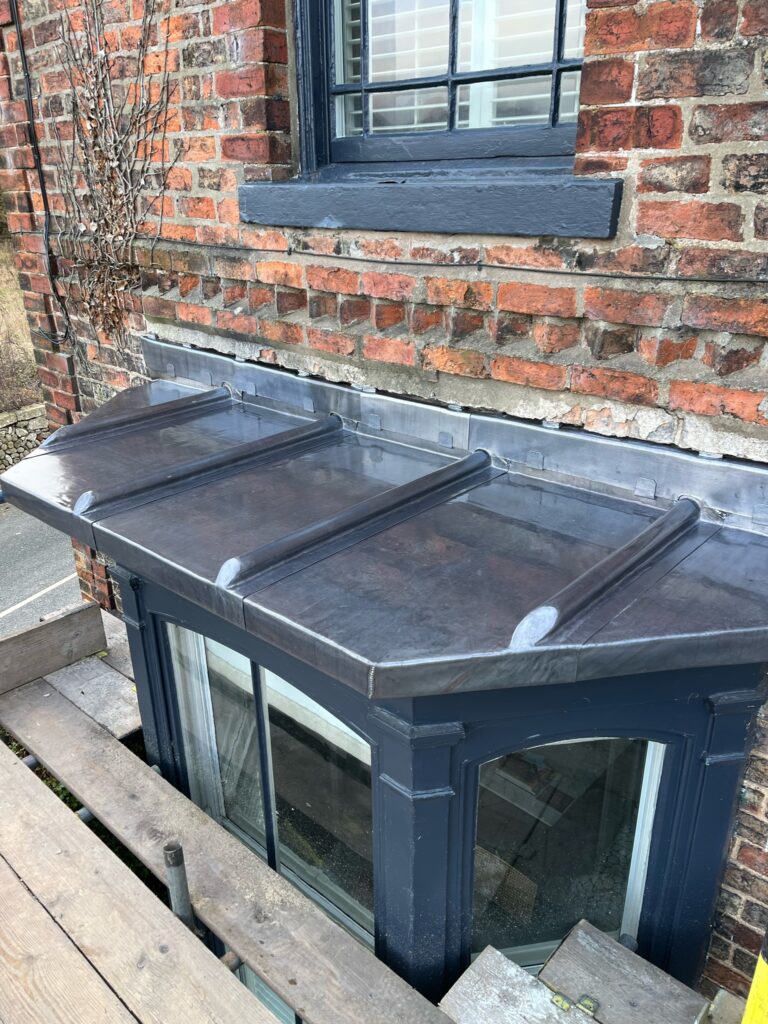
This project involved the replacement of a flat lead bay window roof to a historic brick-built property in Ripon, North Yorkshire. The bay window sat below a Dutch gable elevation, making the leadwork a visible and important part of the front façade.
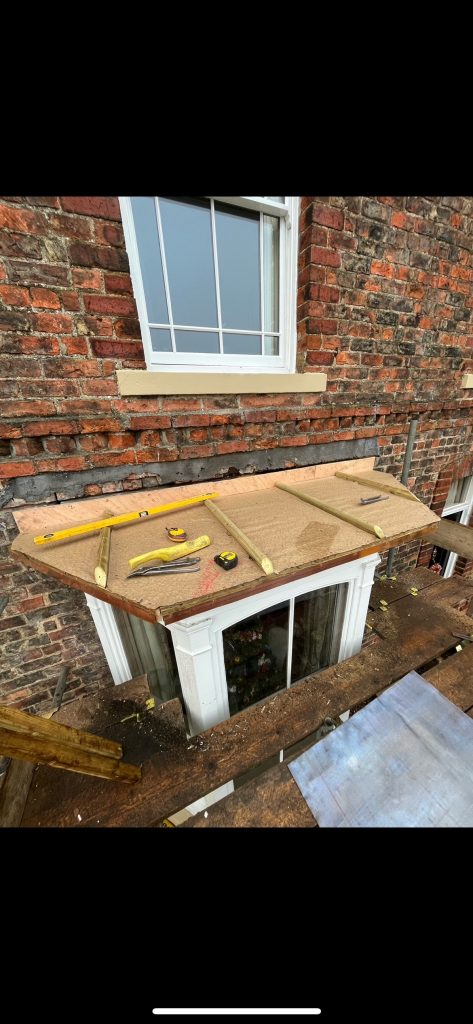
The original lead covering and substrate were removed before a new 18mm plywood deck was installed. Insulation was also added within the bay void to improve the thermal performance of the detail.
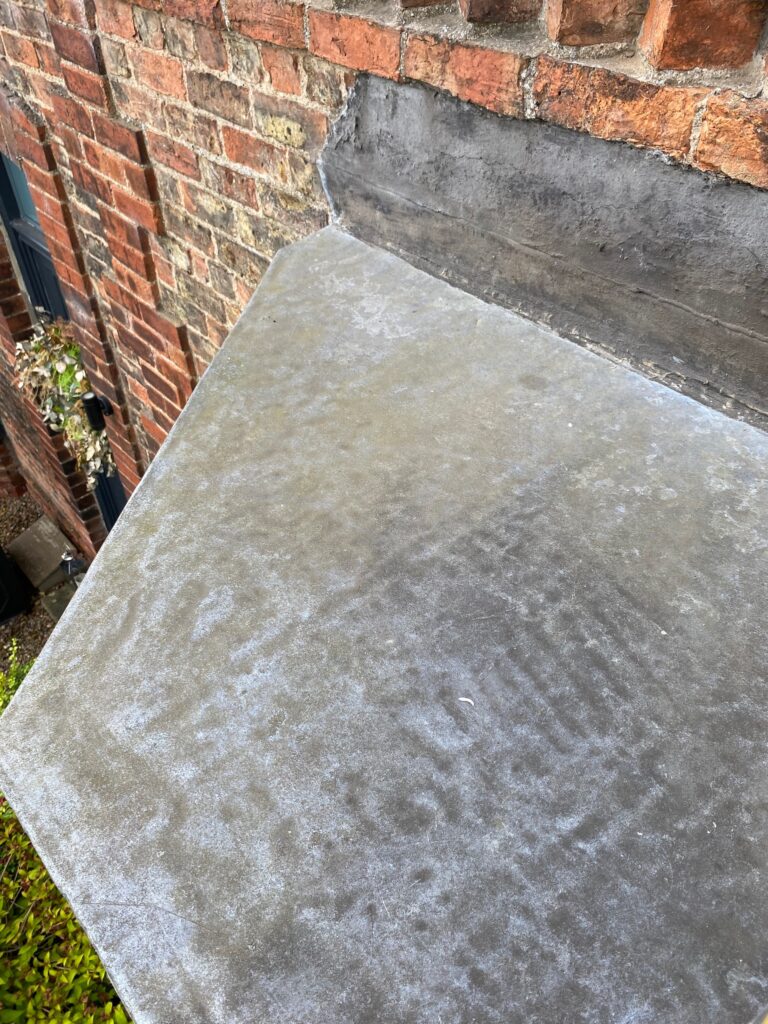
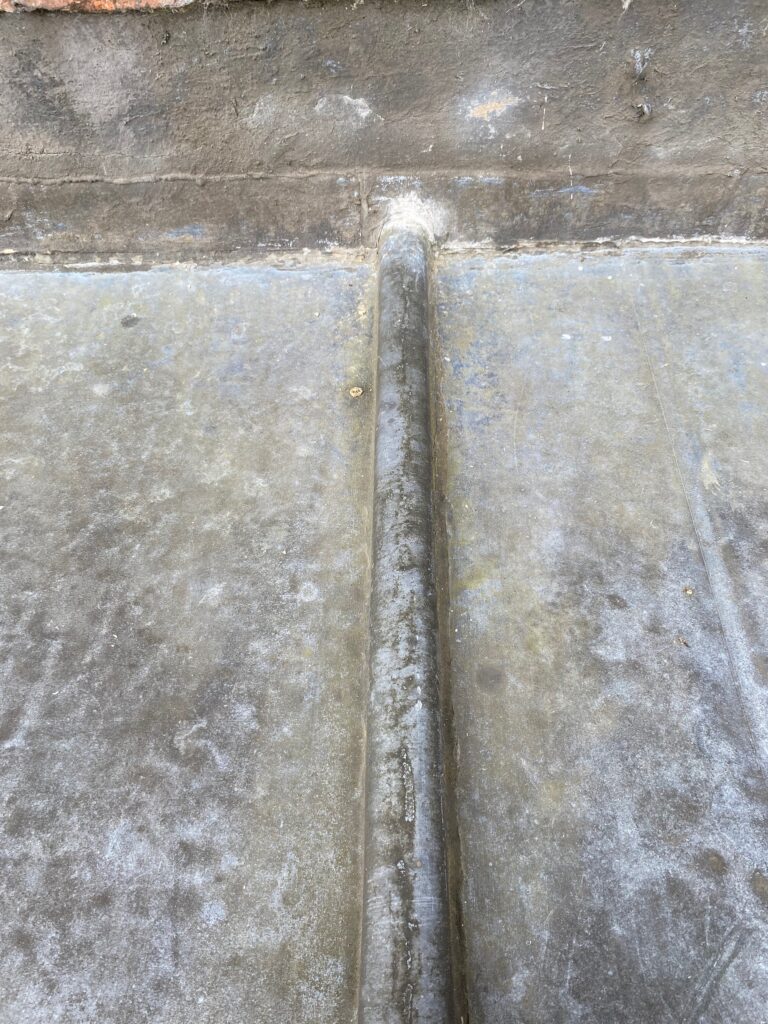
The new covering was formed in Code 5 rolled lead sheet, divided into five bays using timber roll details and secured at the perimeter with a 50mm copper edge clip.
Why the Original Leadwork Needed Replacing
The existing lead sheet had reached the point where full replacement was the most practical option. Flat bay roofs often fail where old lead has become fatigued, where substrates have weakened, or where movement has not been properly allowed for.
By removing the covering and rebuilding the substrate, the new leadwork could be installed onto a stable base with suitable insulation, clean roll details and improved weathering at the Dutch gable interface.
Leadwork Standards and Technical Approach
This project followed a standards-led approach focused on correct support, lead bay sizing, clipping and movement allowance.
- BS 6915 informed the design and installation of the fully supported lead sheet covering.
- BS EN 12588 governed the rolled lead sheet material specification.
- Lead Sheet Association guidance informed bay sizing, timber roll detailing, clipping, bossing and flashings.
The key principle was to create a durable flat bay roof that could move naturally while remaining securely fixed. The copper edge clip and timber roll bays helped control the leadwork while improving the finished appearance.
Contact us about leadwork More leadwork resources and guides The leadwork LinkSpecification of Works
Preparation and Removal
- Existing lead sheet covering carefully removed.
- Old substrate stripped out where required.
- Bay roof area inspected and prepared for reconstruction.
- Dutch gable interface reviewed before new flashing works.
- Roof area set out for five new lead bays.
Substrate and Support
- New 18mm plywood substrate installed.
- Insulation inserted within the bay void to improve thermal efficiency.
- Wood rolls installed to form five separate lead bays.
- New render stop bead and render section prepared to seal the wall interface.
Leadwork Installation
- New flat bay roof covering formed in Code 5 lead.
- Lead divided into five bays using timber roll details.
- 50mm copper edge clip installed to secure the perimeter.
- Lead bossed carefully around roll ends.
- 25mm copper ringshank nails used where appropriate.
- New Code 5 lead flashing installed to the Dutch gable interface.
- Flashing tabbed twice to each bay for secure fixing.
- Render stop bead and new render used to seal the chase.
Finishing and Protection
- Finished leadwork checked for clips, laps and roll details.
- Render interface inspected for weather protection.
- Completed bay cleaned down and checked before handover.
The Materials
- 18mm plywood
- Wood rolls to form lead bays
- 50mm copper clip
- 850mm Code 5 lead
- 25mm copper ringshank nails
- 150mm Code 5 lead flashing
What This Project Teaches About Flat Lead Bay Roofs
This project shows why the substrate below a lead bay roof is just as important as the lead itself. A new plywood deck, insulation and correct bay setting-out helped create a better-performing roof detail.
It also highlights the value of perimeter clipping. The copper edge clip secured the lead from the front edge while still allowing the material to move naturally as temperatures change.
Property Owner Takeaways
- Flat lead bays need a sound substrate below the lead.
- Timber rolls help divide the lead into controlled bays.
- Copper clips secure the edge without over-fixing the sheet.
- Wall interfaces need careful flashing and render details.
Related Lead Lads Resources
Contact us Get a free lead quote Shop Lead MaterialsFrequently Asked Questions
What code of lead was used?
Code 5 lead was used for the bay roof covering and flashing details.
Why use timber rolls?
Timber rolls divide the roof into bays and allow the lead to move correctly.
Why was plywood replaced?
A sound 18mm plywood deck provides continuous support beneath the lead.
Why use copper clips?
Copper clips secure the lead without restricting thermal movement.
Can insulation be added to a bay roof?
Yes. Insulation can be inserted within the void where the build-up allows.
Why was render used at the wall interface?
The render stop bead and new render helped seal the chase at the Dutch gable wall.