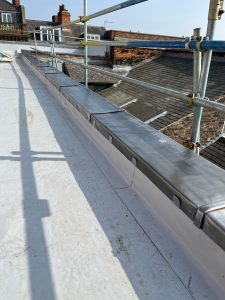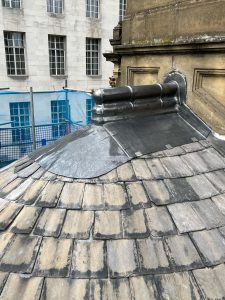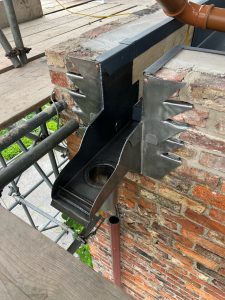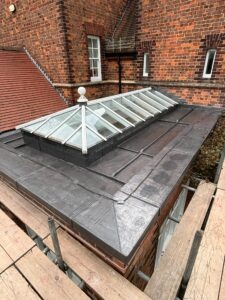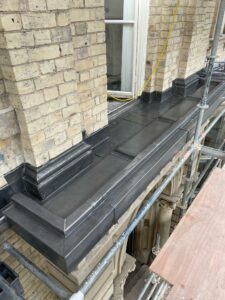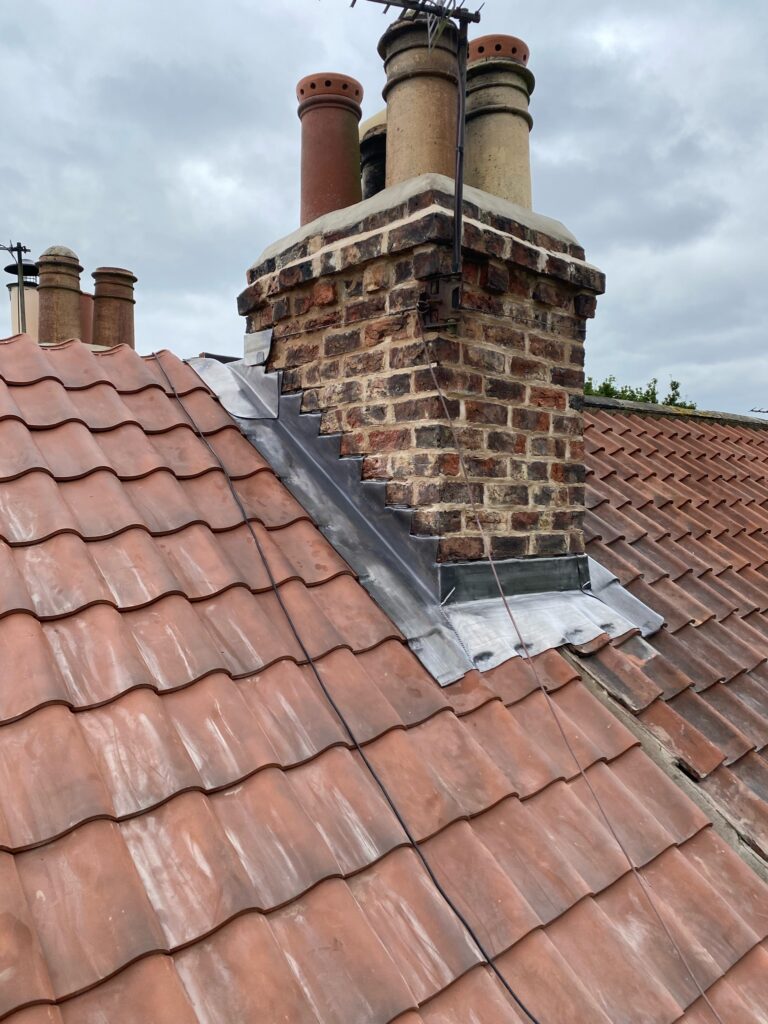
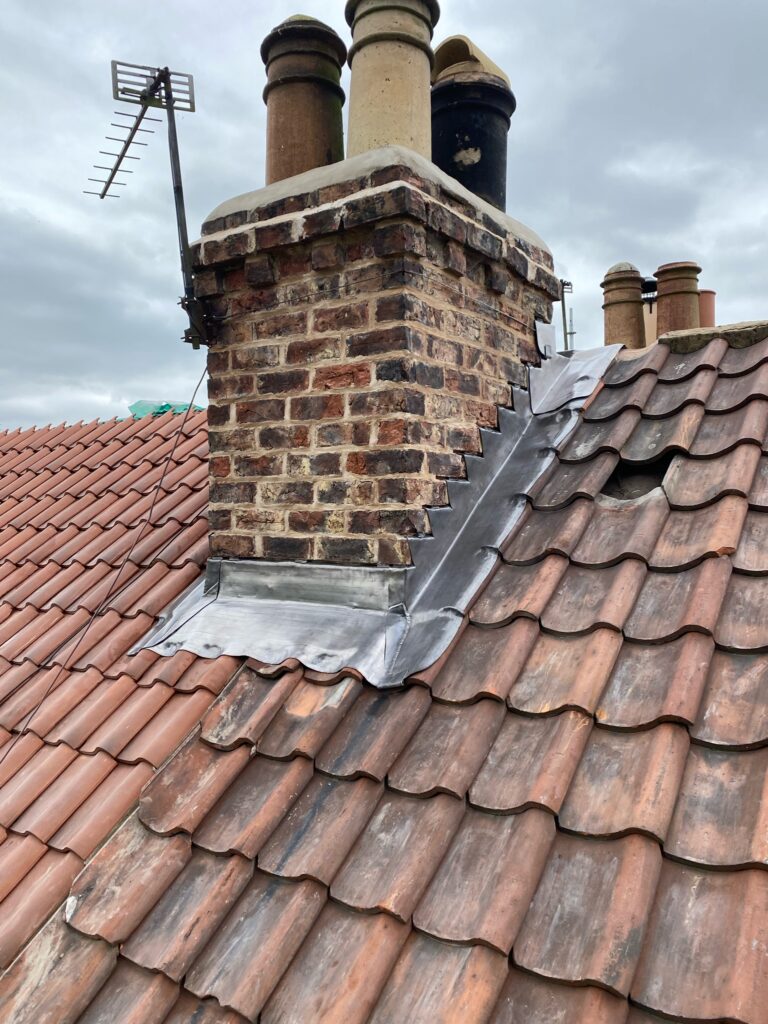


This chimney flashing project included new apron flashings, stepped side flashings and weathering details around a brick chimney stack.

Traditional lead chimney flashings installed to a clay tiled roof.

The Lead Lads provide specialist leadwork services for chimney flashings, aprons, back gutters, valleys and traditional roof details.
This project involved the installation of new lead flashings around a traditional brick chimney stack. The chimney rises through a clay tiled roof, creating one of the most vulnerable roof junctions on the property.
Chimney flashings are important because they create a watertight junction between the roof covering and the masonry. Since a chimney interrupts the natural slope of the roof, rainwater must be directed safely around the stack and back onto the roof covering below.
The completed detail included apron flashings, stepped side flashings, counter flashings and weathering details formed to suit the roof pitch, tile profile and brickwork courses.
Chimney flashings often fail because of age, poor previous repairs, failed mortar joints, split lead, inadequate laps or movement-related fatigue. Once the flashing begins to fail, water can enter behind the lead and track into the roof structure.
In many cases, chimney leaks are not caused by the chimney stack alone, but by the junction between the stack, tiles, back gutter, apron and side flashings. For that reason, proper replacement needs to address the full chimney weathering detail rather than relying on temporary sealant repairs.
From the outset, we focused on movement, durability, neatness and long-term weathering performance.
In practice, that meant selecting the correct lead code, forming separate flashing pieces, chasing the lead into sound mortar joints and allowing the leadwork to move naturally without splitting or pulling away from the chimney stack.
Contact us about leadwork More leadwork resources and guides The leadwork LinkFor this project, we selected traditional leadwork materials suited to chimney flashing details, tiled roof junctions and long-term weathering performance.
If you are comparing materials for a similar chimney flashing detail, our shoppable lead chart is a helpful place to start. In addition, you can explore broader product guidance through The Lead Handbook and our lead roofing guides.
Shop Lead Materials Lead Weight Calculator
Chimney flashings are one of the most important weathering details on a pitched roof. The apron, side flashings, counter flashings and back gutter must all work together to direct water safely around the chimney stack.
This project shows why chimney flashing work should be treated as specialist leadwork. Correct chase depths, suitable laps, movement allowance and neat integration with the tile covering all contribute to long-term performance.
Common signs include leaks around the chimney, damp staining, failed pointing, loose lead, split flashings or slipped tiles around the stack.
Code 4 is commonly used for step and cover flashings, while Code 5 is often used for apron and back gutter details.
An apron flashing is the lead flashing fitted to the lower side of the chimney to direct water back onto the roof covering.
A back gutter, sometimes called a saddle flashing, is fitted to the upslope side of the chimney to divert water around the stack.
In many cases, yes. Old flashings are often disturbed during roof replacement and may already be near the end of their service life.
You can explore lead roll, flashings, fixings, underlay and technical guides through the Lead Lads Shop.